Garage133: DIY Garage Door Automation with ESP32 and Home Assistant
Posted on October 12, 2024 • 12 min read • 2,428 words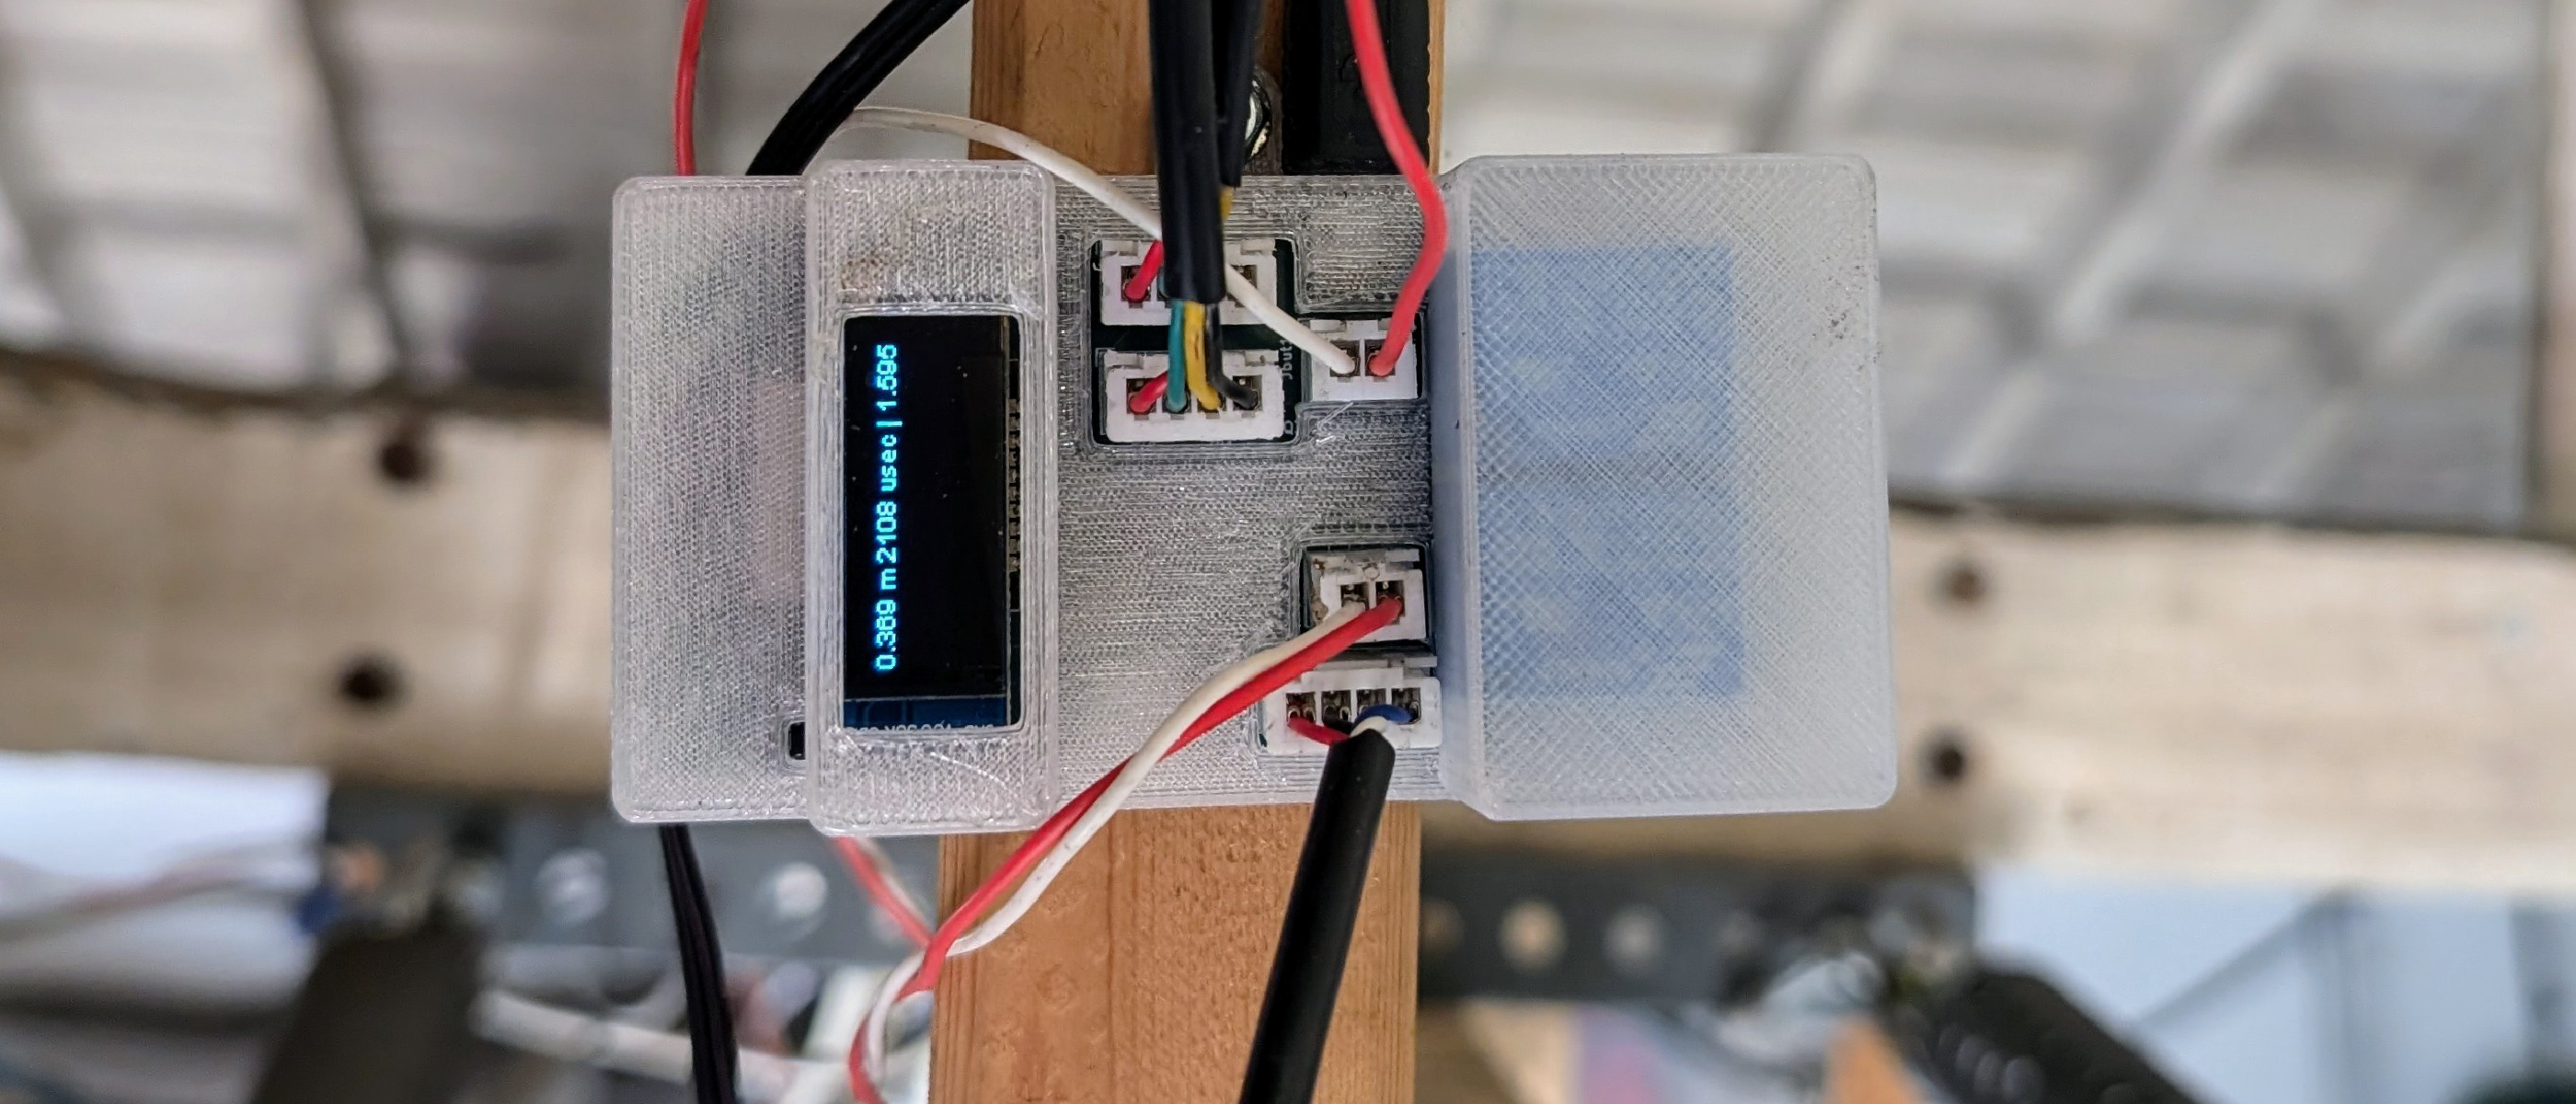
Automating My Garage: Motivation and Requirements
This project started with mild annoyance about garage access.
Our house has a detached garage with two garage doors. Each garage door has a standard electric door opener with radio remote control. We keep one remote in each of our two cars. Another remote in the kitchen has two buttons: one for each of the two garage doors. There is no keypad, and there are no doors into the garage besides the garage doors. If both cars are in the garage and both garage doors are closed, we need to use the remote in the kitchen to open the garage. This is inconvenient if one is outside the house. It is awkward when headed to the garage from our basement door, which is not near the kitchen. Yes, this is a very first-world problem.
It would be convenient to open the doors using our phones, or maybe voice assistant commands. So I looked into adding WiFi control to our garage doors. There are commercial options, but the ones I found used cloud servers and had substantial monthly fees. This seemed unreasonable: telling a garage door to open or close really should not be that difficult. It is just replacing a simple button-press.
Initial DIY Attempt: Z-Wave and Hubitat
Some web searching eventually led me to a couple YouTube videos about DIY garage door automation. The result was one of my first home automation attempts. Based on one of these, I built a simple system using a couple Zettler A/C-powered relays1.
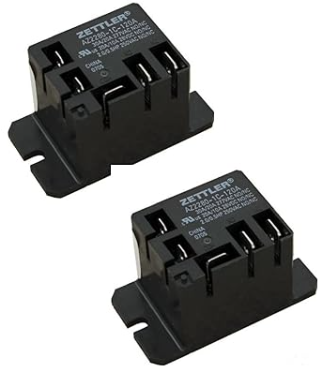
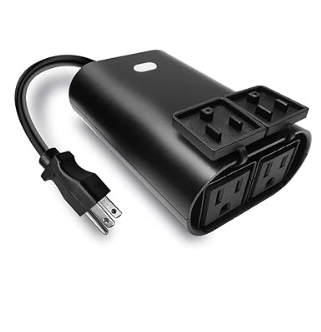
To simulate the door-opener button being pressed, I connected the relays to our garage door openers using doorbell wires. The relays were powered by an outdoor smart-outlet2 with two plugs that are individually switched on and off via commands sent over the Z-Wave radio protocol.
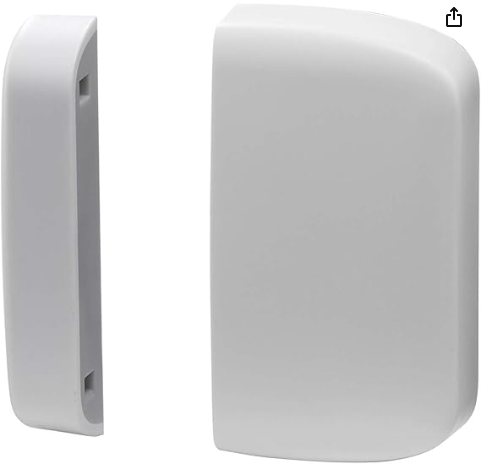
I used window/door contact sensors3 which communicate using the Zigbee radio protocol for detecting when the garage door was closed.
Based on recommendations from a couple YouTube videos, I got a Hubitat4 home automation hub for controlling the smart outlet and reading the contact sensors. This hub has built-in Z-Wave and Zigbee radios. With this system, we were able to monitor the state of the garage doors and open or close them via the Hubitat phone app.
When we wanted to open or close the garage door, we could press a button on the Hubitat dashboard on our phones. This sent a command via Z-wave to the outlet to turn one of the plugs on for a second and then back off again. This in turn caused a relay to connect the two conductors of the wire running to the garage door opener, simulating pushing the button on the inside of the garage. This caused the door to close or open.
Measuring Garage Door State with Ultrasonic Sensors
My attempts to detect the state of the garage door using contact sensors were often frustrating. These sensors only detect when a door is in an exact location, such as when the door is fully closed. They work only when the contact sensor mount was perfectly aligned.
I heard that some people instead use inexpensive sonar modules such as the HC-SR045 to look down from the ceiling of the garage. These sonar modules measure the distance to the nearest surface in front of them.
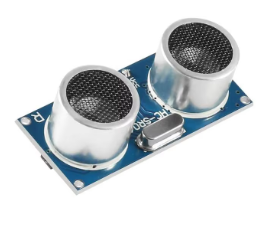
When the garage door is closed and there is no car below the sonar, the sonar measures the distance to the floor. If a car is parked below the sonar, then the sonar measures the shorter distance to the roof or hood of the car. When the garage door is open, it is pulled up above the car. Then the sonar sees the door above the car, just below the ceiling. This is a much shorter distance, so it is easy to tell when the door is open.
I built a simple sensor rig to detect the state of the garage. I soldered-together a perfboard with a socket for a Wemos Mini board (based on the ESP82666 microcontroller), and with connectors to a pair of sonar modules. I added connections to a temperature/humidity sensor, PIR motion detector, and photoresistor. The perfboard was mounted in a 3D-printed box at the bottom of a T-shaped wood frame, with a sonar at each end of the top crossbar.
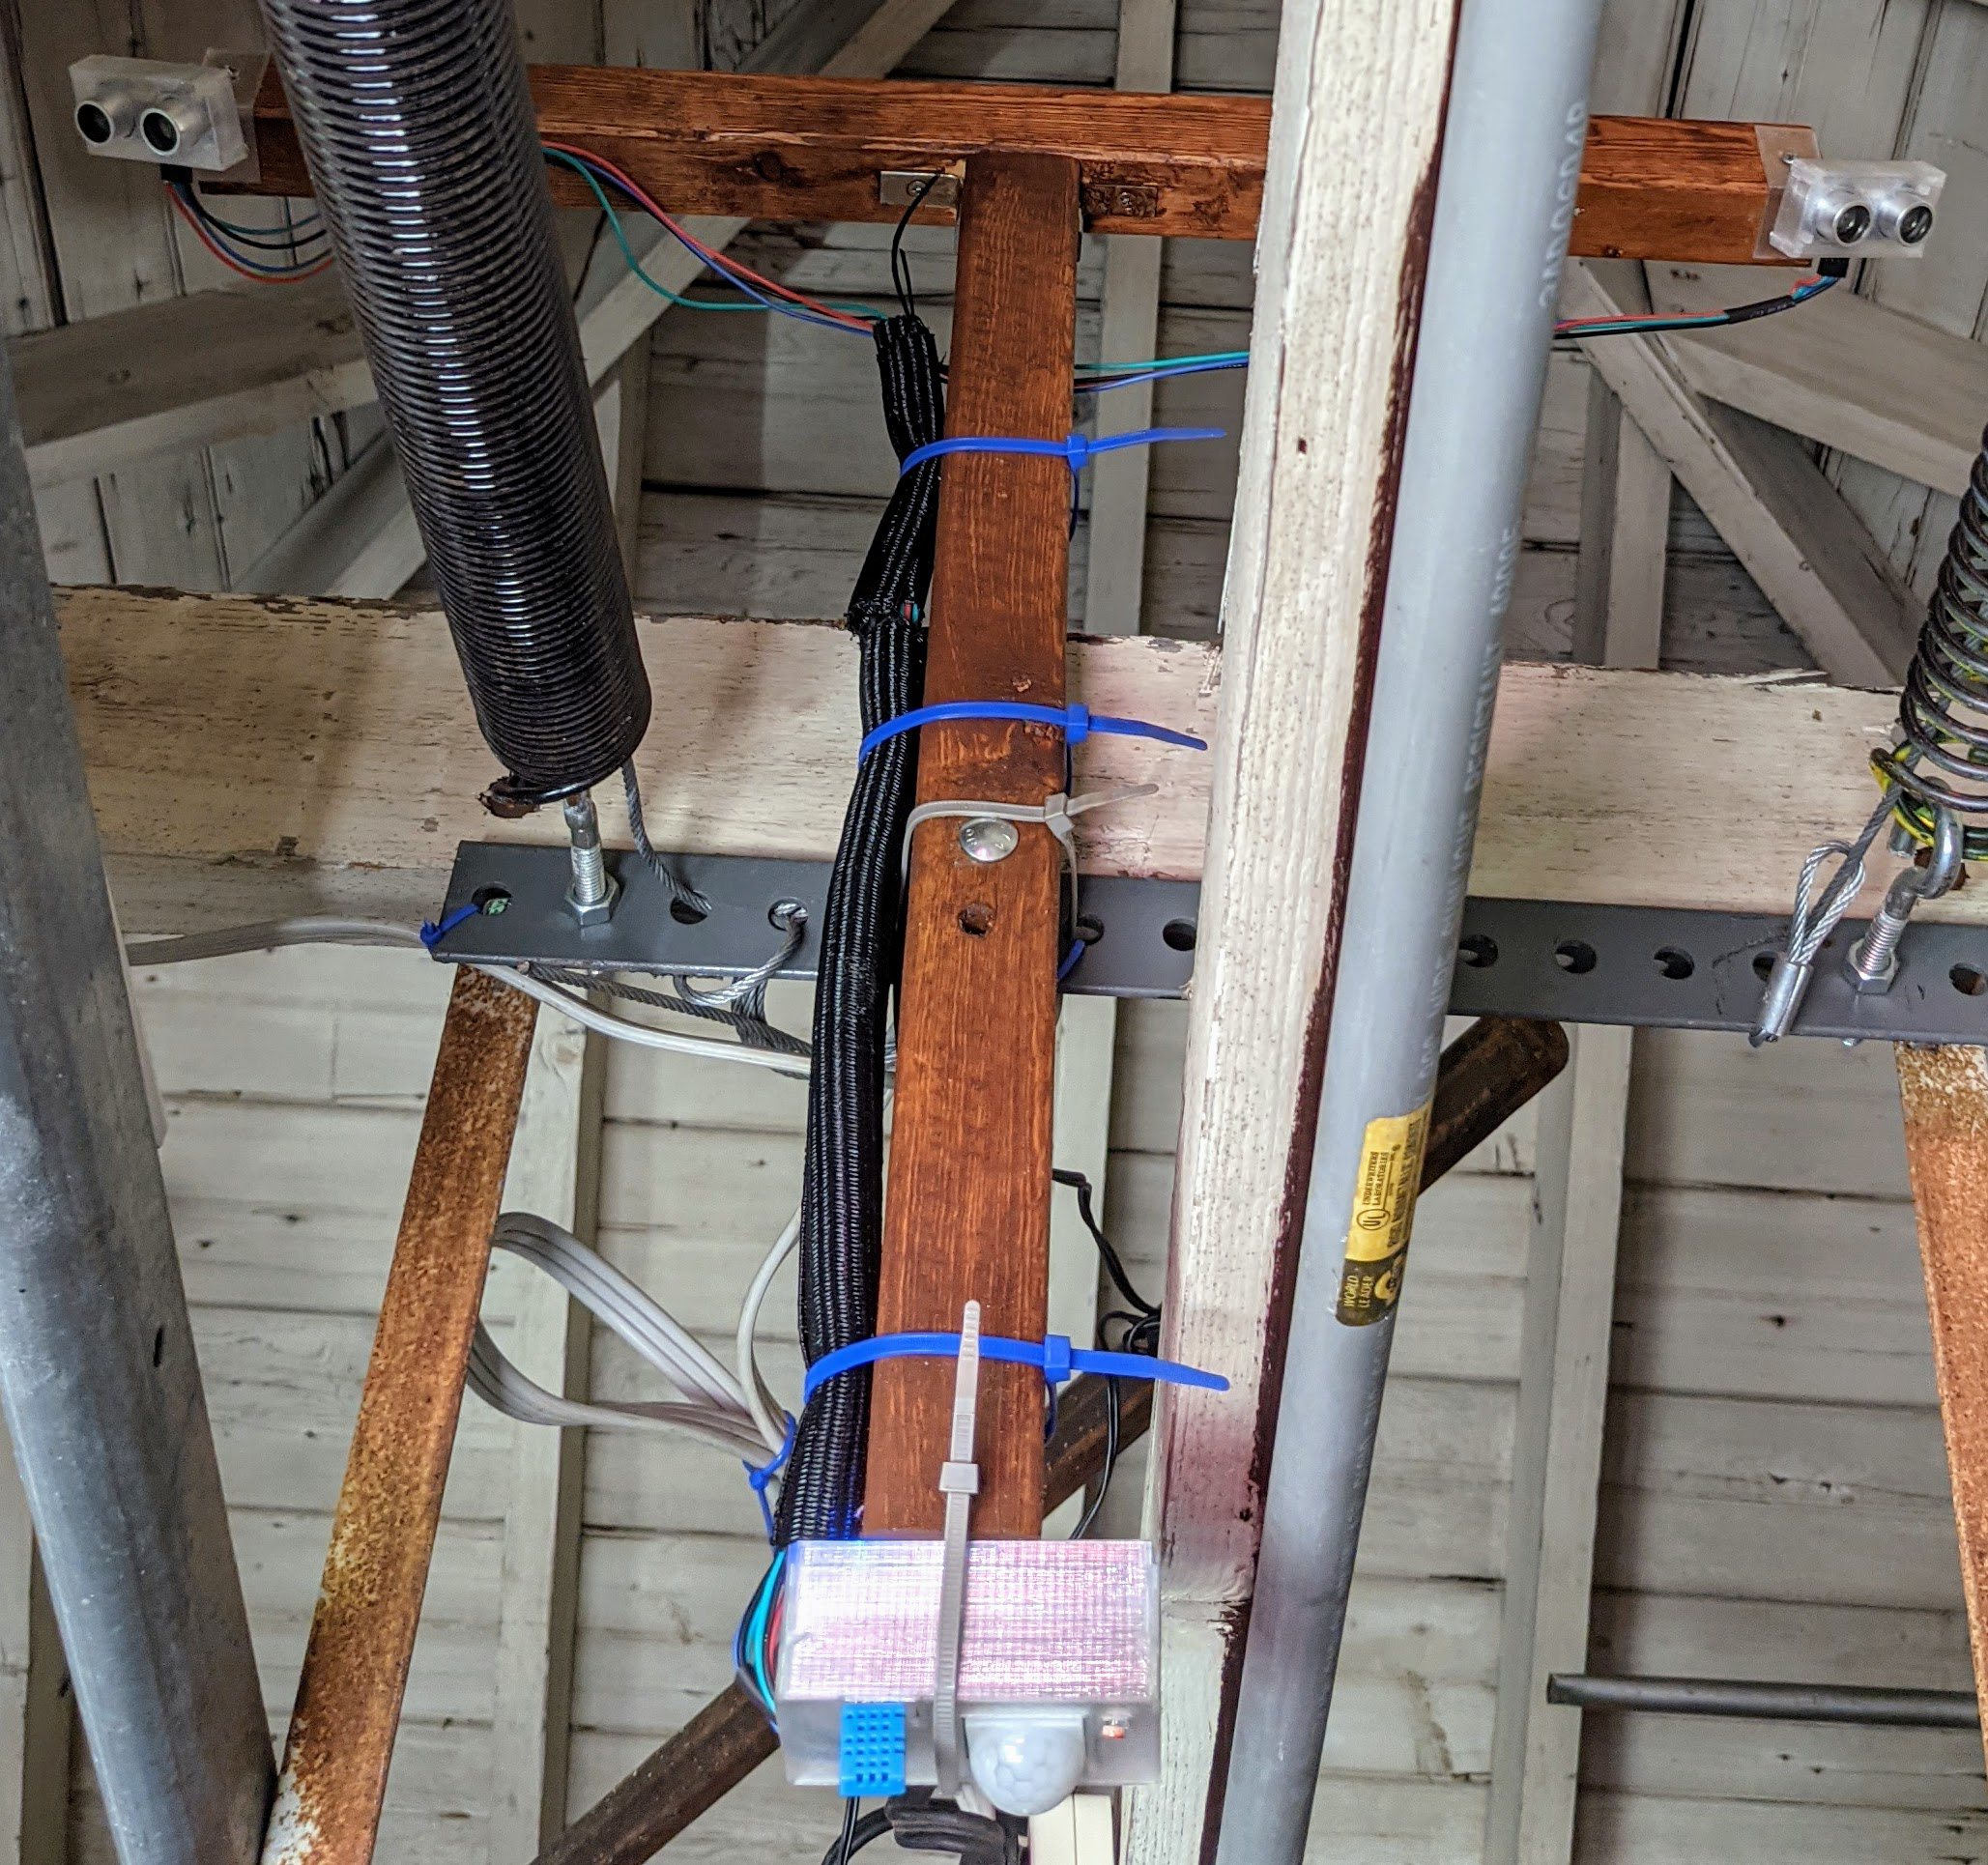
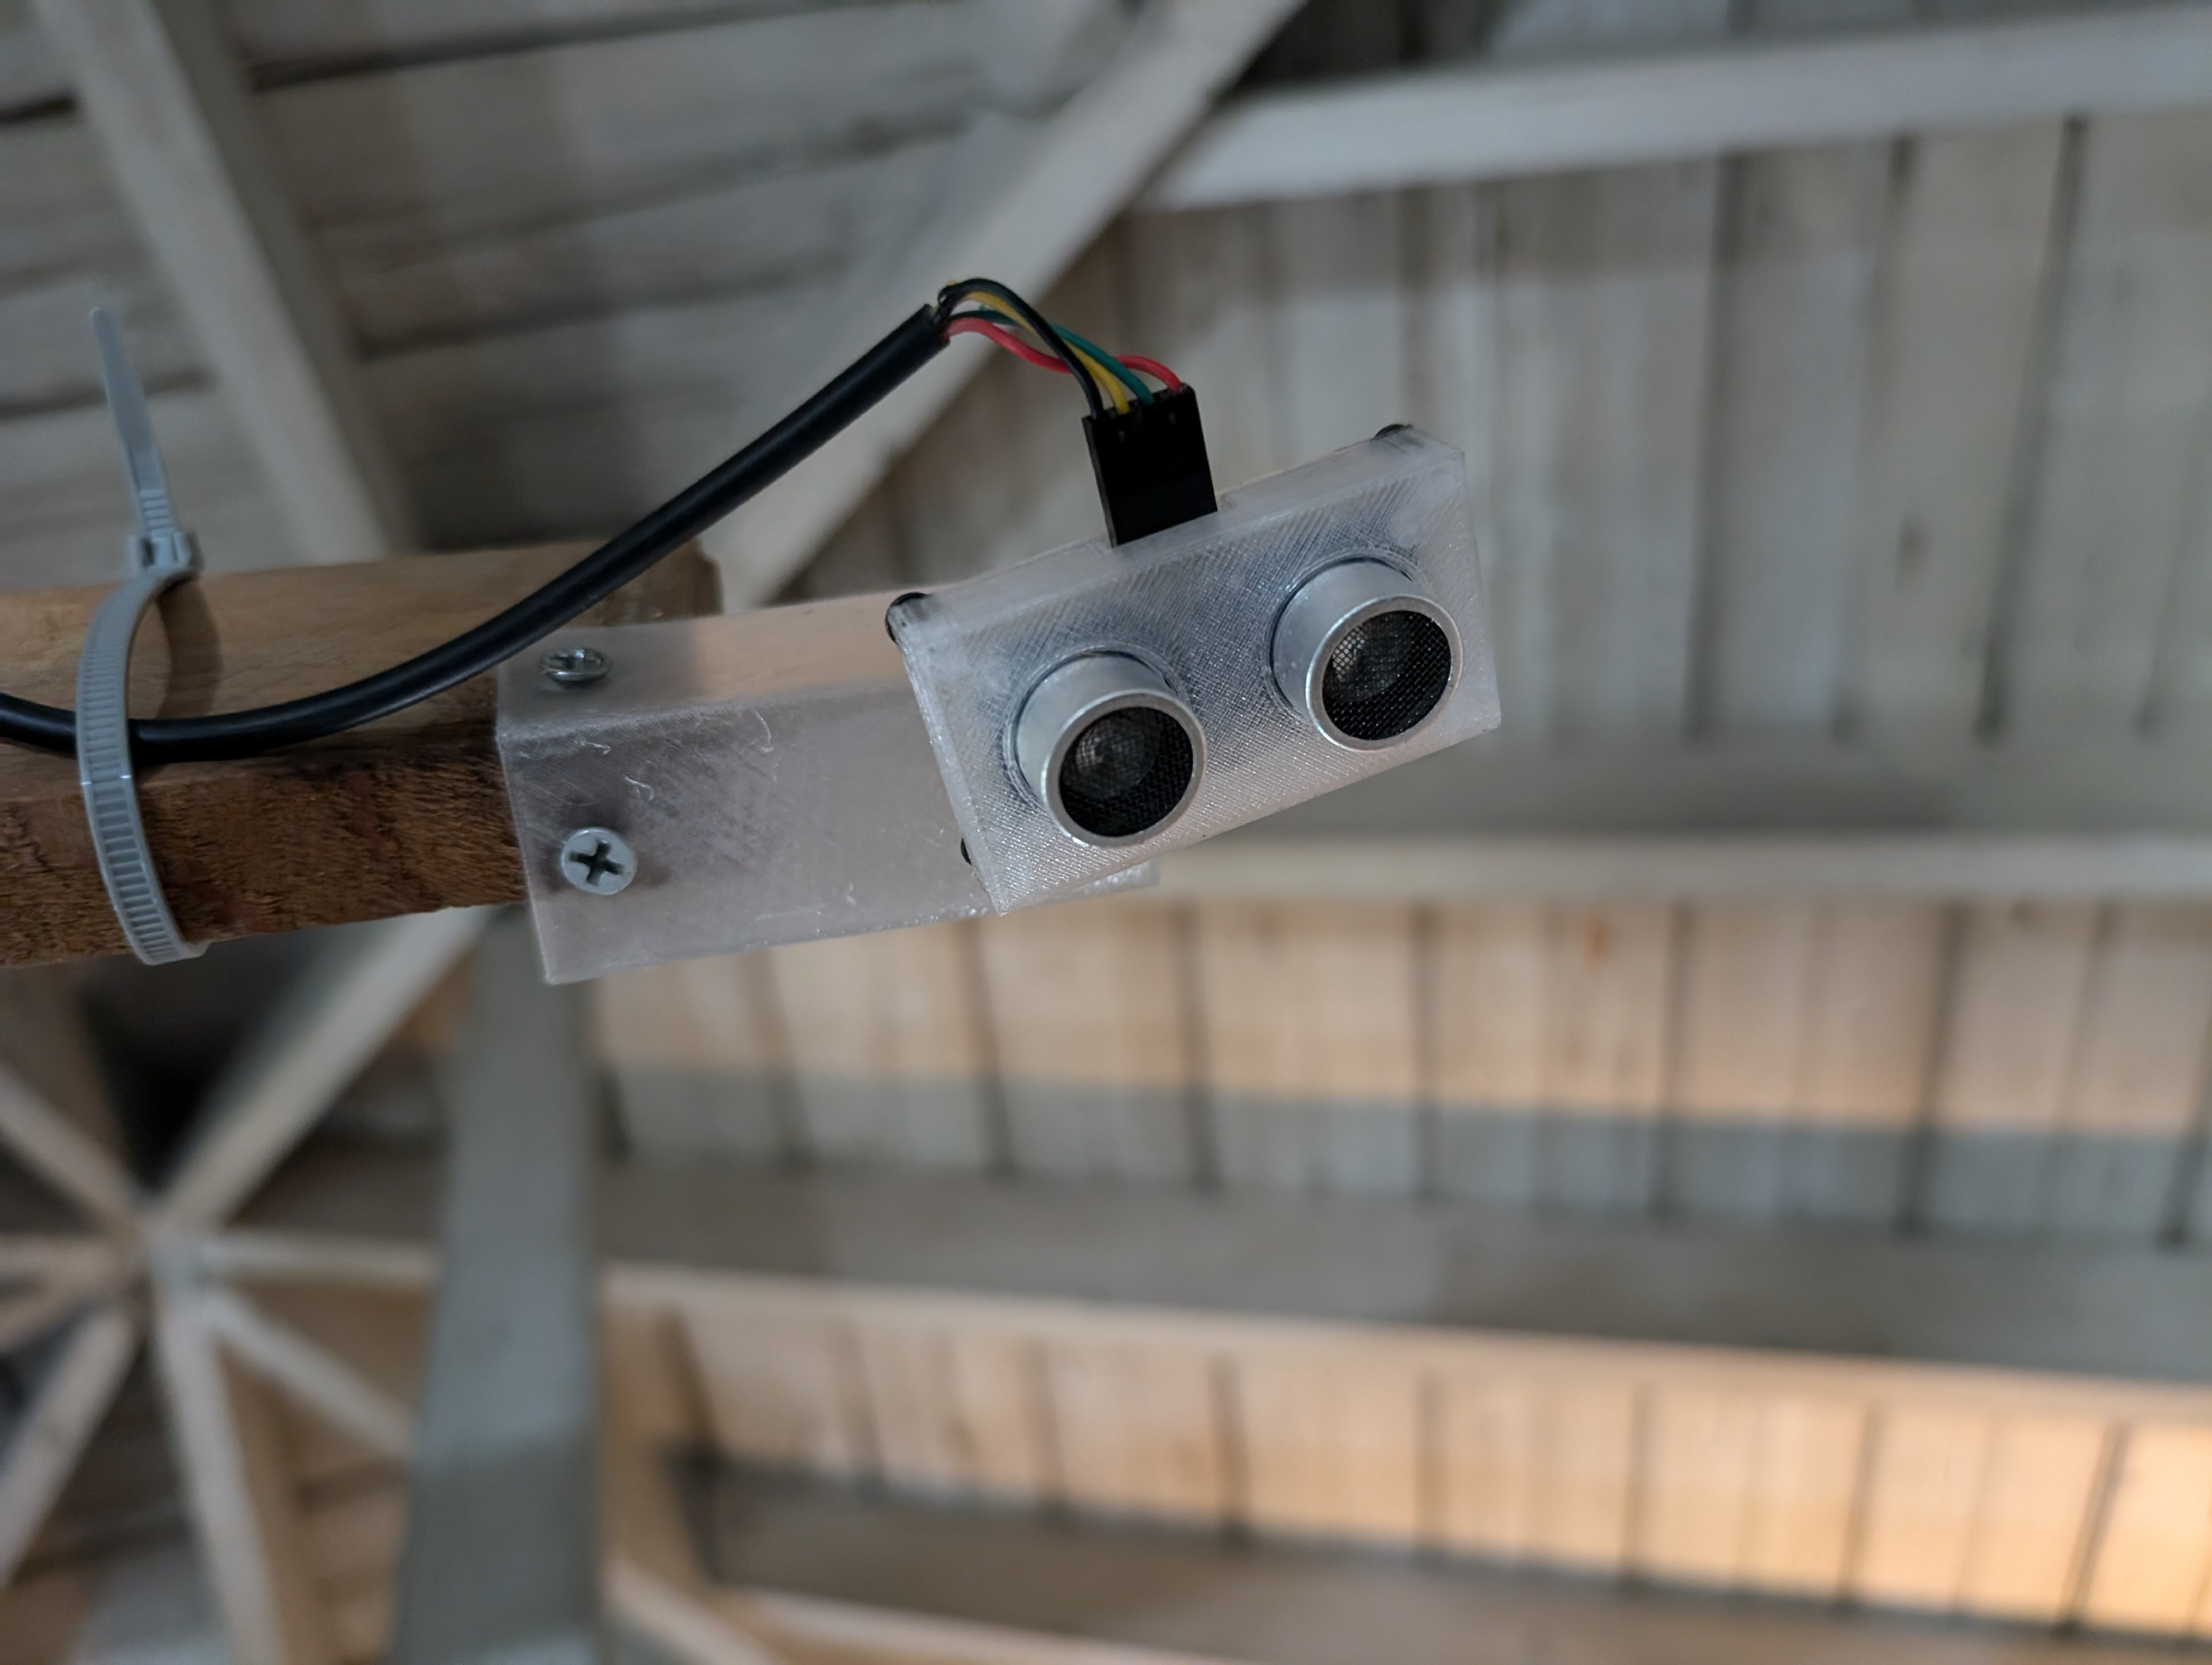
I designed a holder box for the sonar module with a ball-and-socket mount, and also printed the parts on a 3D-printer.
The box-and-socket mount allows a sonar mounted on the sensor rig to be easily aimed. The pixelated texture of the ball-and-socket from 3D-printing provides friction to hold the sonar in its aimed position.
I quickly learned that the sonar works best when it can look straight down from above the middle of the cars. My original T-frame was too narrow, so to keep the cars in “view” of the sonar I had to aim the sonars at a slight angle away from the center of the T toward the cars. However, this angle increased the likelihood the top of the car or floor could act as a mirror for the sound waves. The sonar often measured a farther distance than it should. Instead of sensing the floor or top of the car, it instead detected another surface such as a wall or the garage door reflected in the surface we were trying to detect. Still, with some filtering of unlikely values, this rig did a decent job at detecting the state of the garage.
The temperature sensor is used to adjust the value for the speed of sound in the distance measurement The relationship between air temperature and speed of sound ($c_{\rm air}$ in m/s) is
This effect is significant. The plot below shows how the measured distance varies over 0-40 °C (a range actually seen in our garage) if the distance calculation uses the speed of sound at 20 °C.
The uncompensated distance measurement of a 3m distance varies by 20cm.
I wrote a C++ program for the Wemos Mini to perform the readings and communicate them. It uses Arduino libraries to interface with all the sensors and sends readings to an MQTT7 broker for integration with Home Assistant8. Home Assistant could then show the temperature and humidity inside the garage, and indicate whether each garage door was closed or open. When a garage door was closed, Home Assistant could indicate whether a car is present.
Below is a plot of sonar range readings from the garage.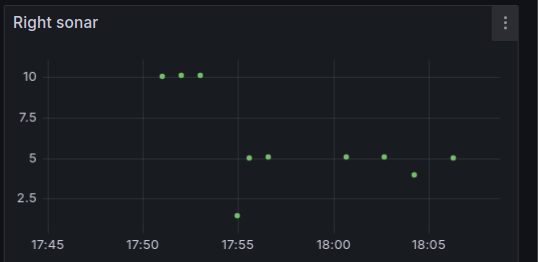
Transitioning to WiFi Control and Home Assistant
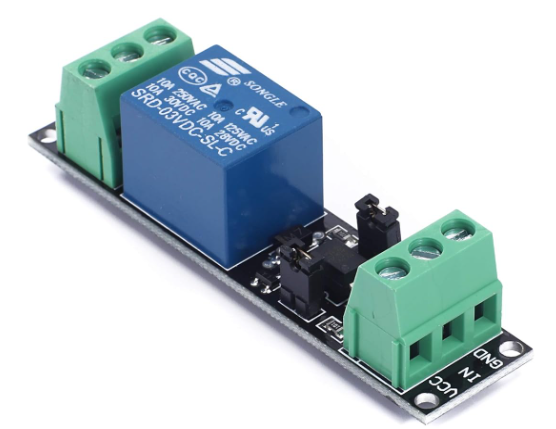
I ordered some inexpensive relay boards designed to work with Arduino microcontrollers. Some of these can also be controlled directly with a Wemos mini board. I found that by using these relay boards I could replace the Hubitat-based door control with a fully Wemos/Home Assistant system.
Around the same time I did my first version of garage automation with Hubitat, I was adding WiFi control to our minisplits using Wemos Mini modules talking to Home Assistant. This was my first experience with Home Assistant. While I was finding the Hubitat frustrating to work with, my experience with the open source Home Assistant experience was much better. The Hubitat used the Groovy language for automations, which I didn’t love. I also found the web interface and the phone app for Home Assistant to be much more polished than what I was able to achieve with Hubitat. I was able to figure out how to do automations with Home Assistant which baffled me in Hubitat.
Not only did I like using Home Assistant better than Hubitat, but the Z-Wave connection to the smart outlet in the garage was not especially reliable. The smart outlet reportedly has a weak antenna. The WiFi connection to the Wemos Mini in the sensor rig performed better.
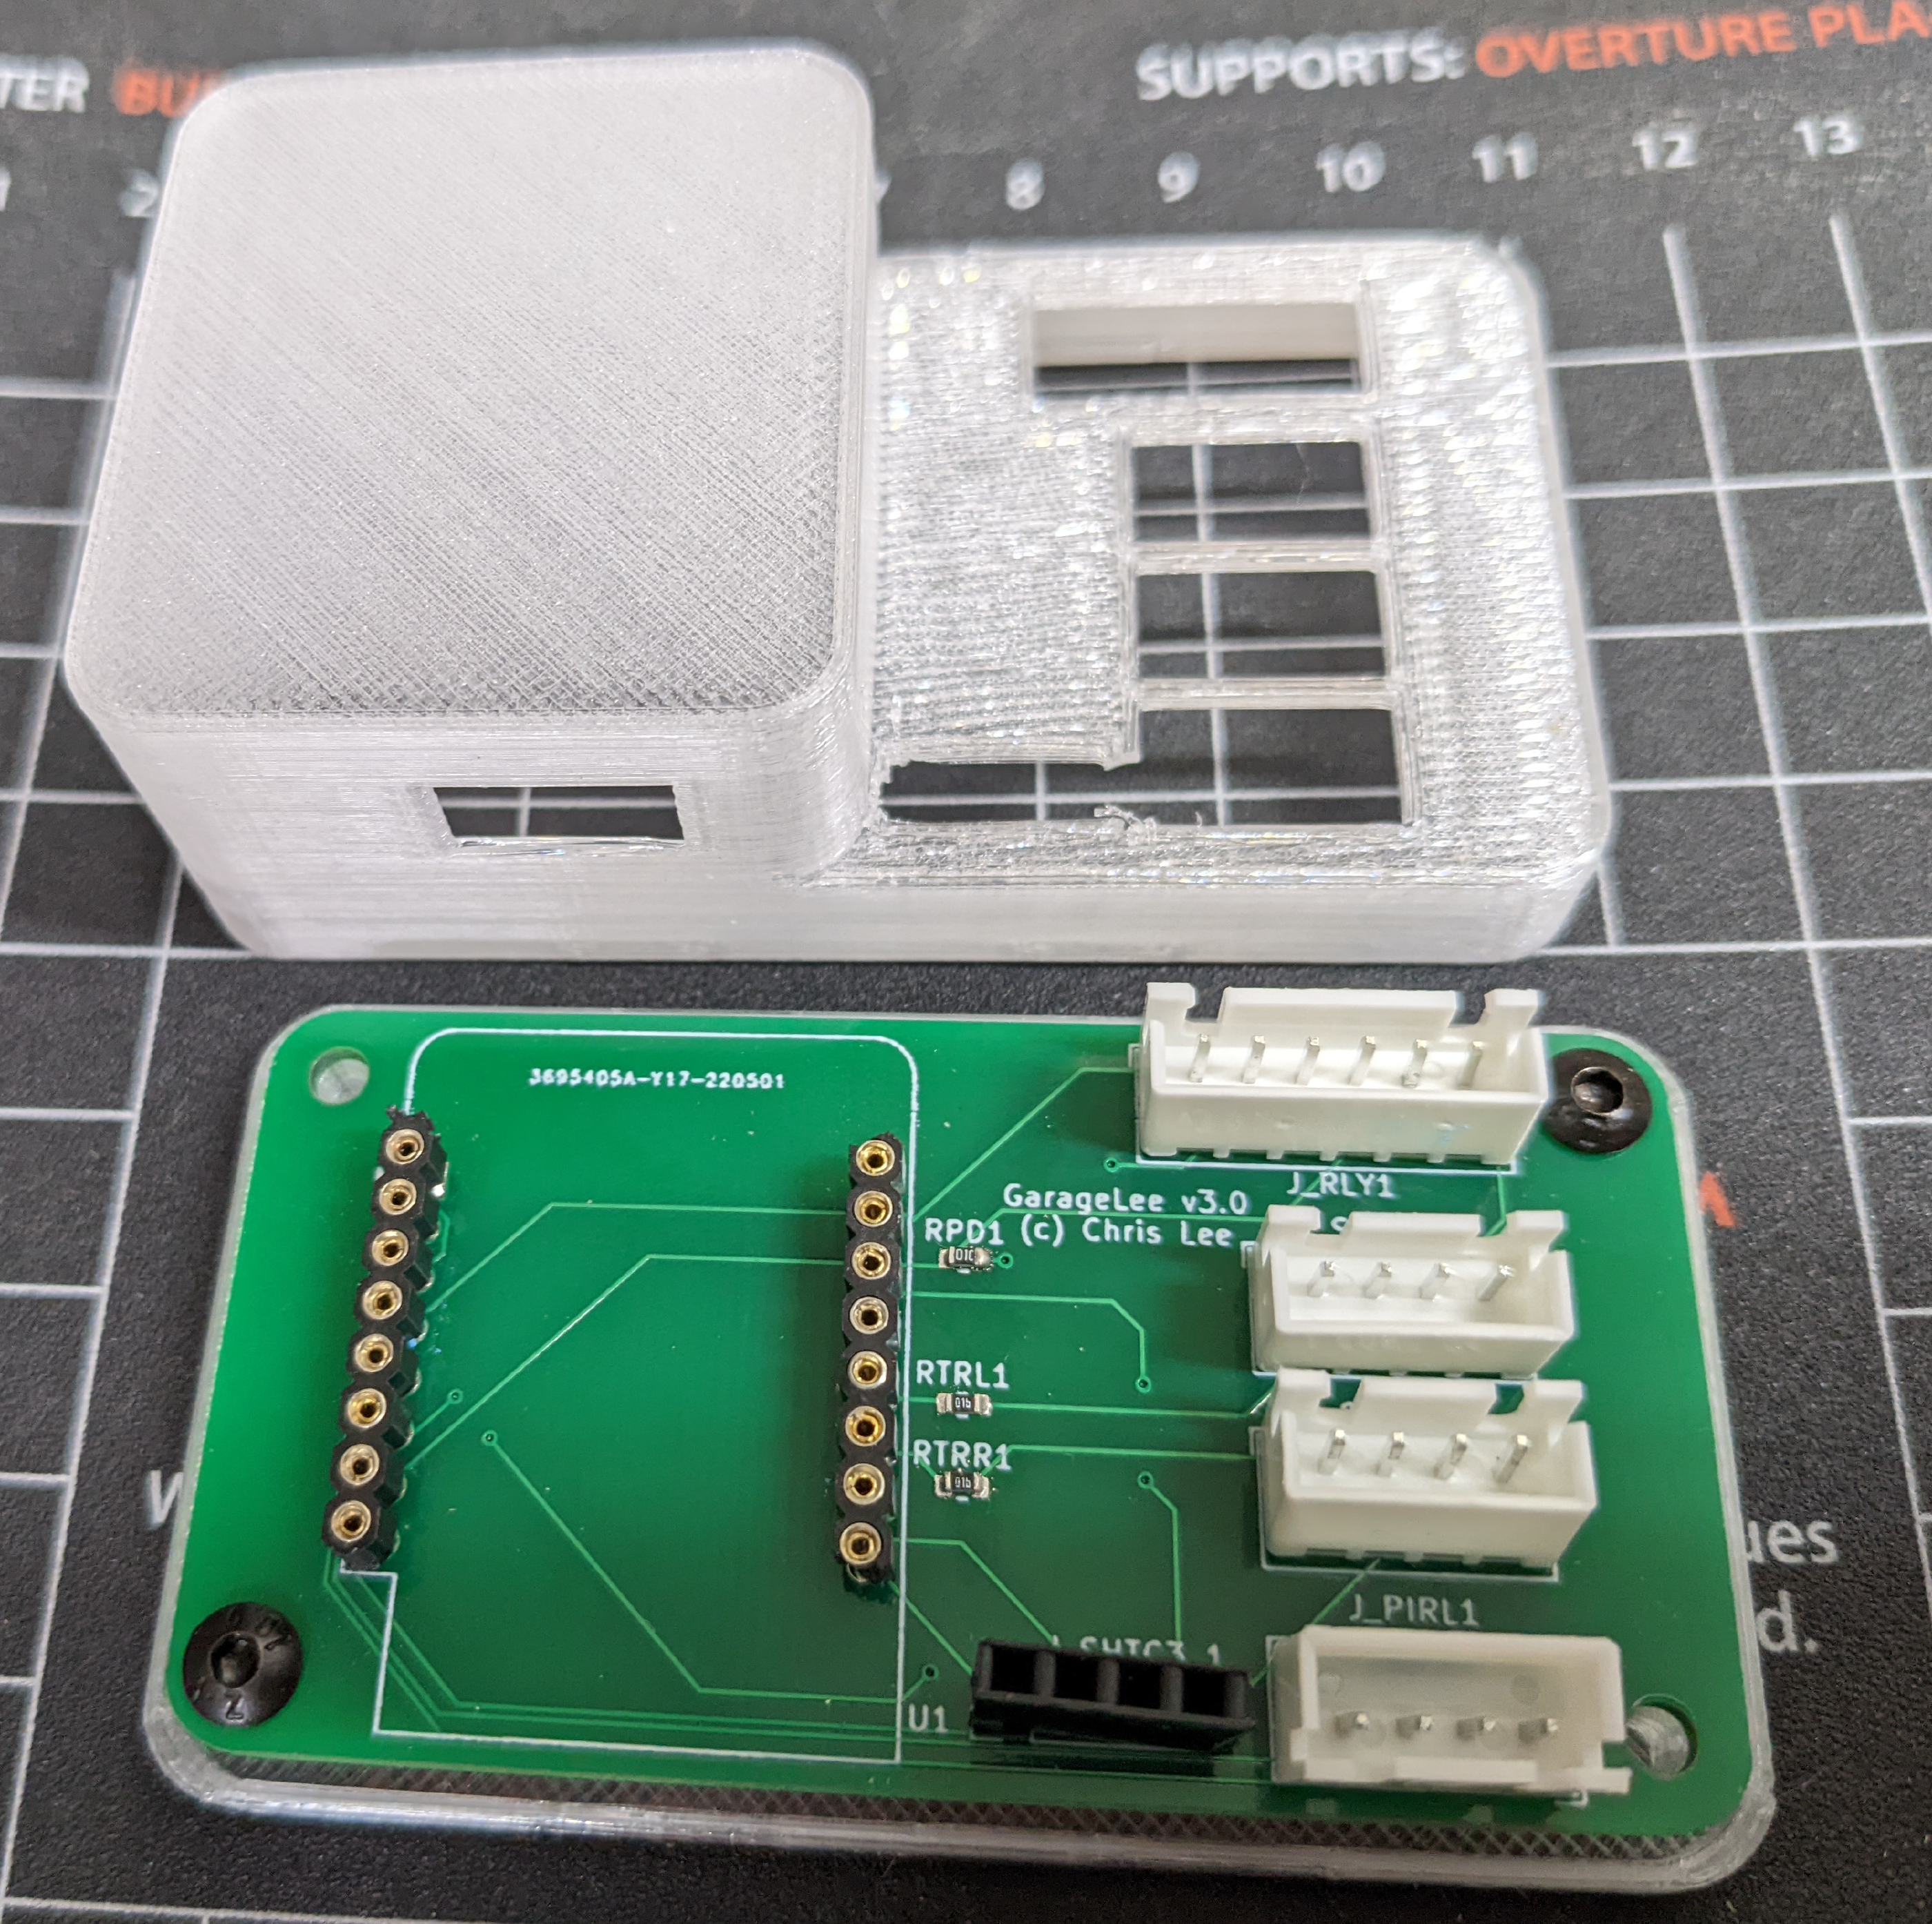
To replace the old perfboard, I designed a PCB with KiCAD which combined garage sensing and control in a single device. The PCB has connectors to two relay boards in addition to connections to the sonars, the PIR, the photodiode, and the temperature/humidity sensor. It was the first board where I tried surface mount components: just a few resistors. I designed an EBox to house the board and for mounting it on the sensor rig.
I made a box to hold the two relay boards, and mounted this and the EBox on the sensor rig in the garage.
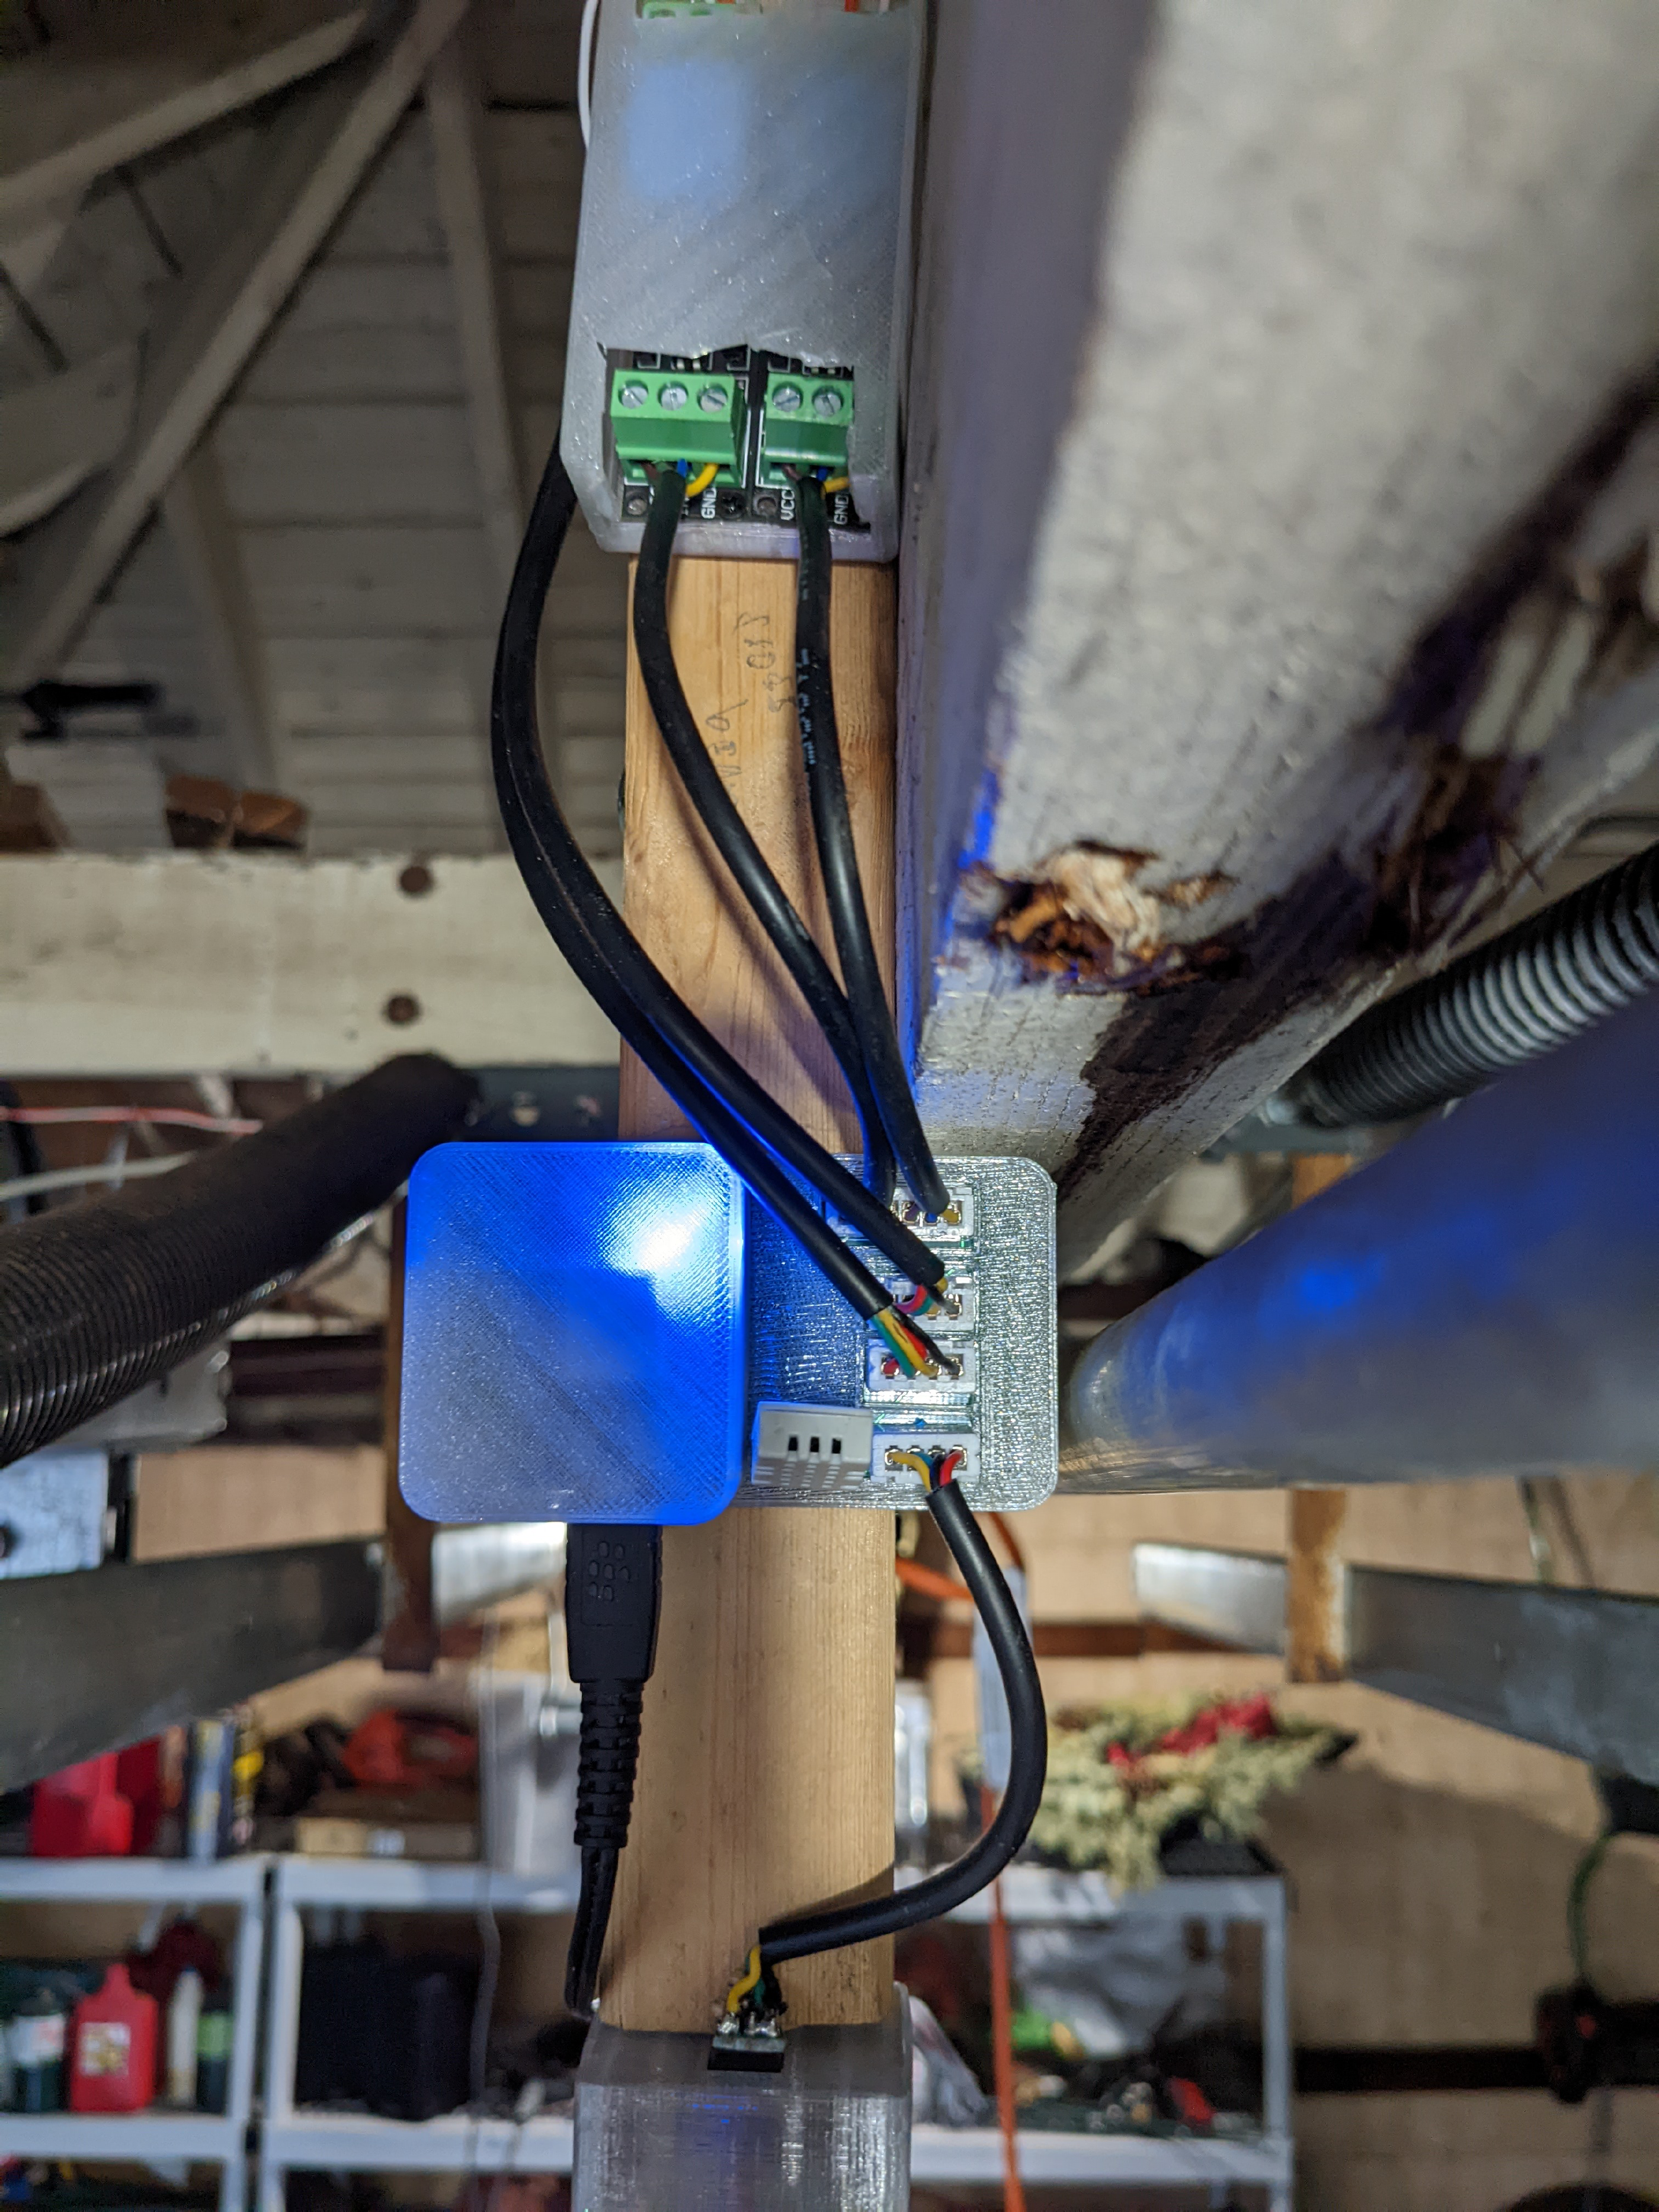
This succeeded in allowing both sensing and control to work via Home Assistant, and the new system worked more reliably than the older one.
The Garage133 ESP32 Controller Board Design
After learning how to build more complex circuit boards and improving my C++ codebase through work on other projects, I designed a new board. It is based on the ESP329 microprocessor, and uses integrated relay modules instead of separate relay boards.
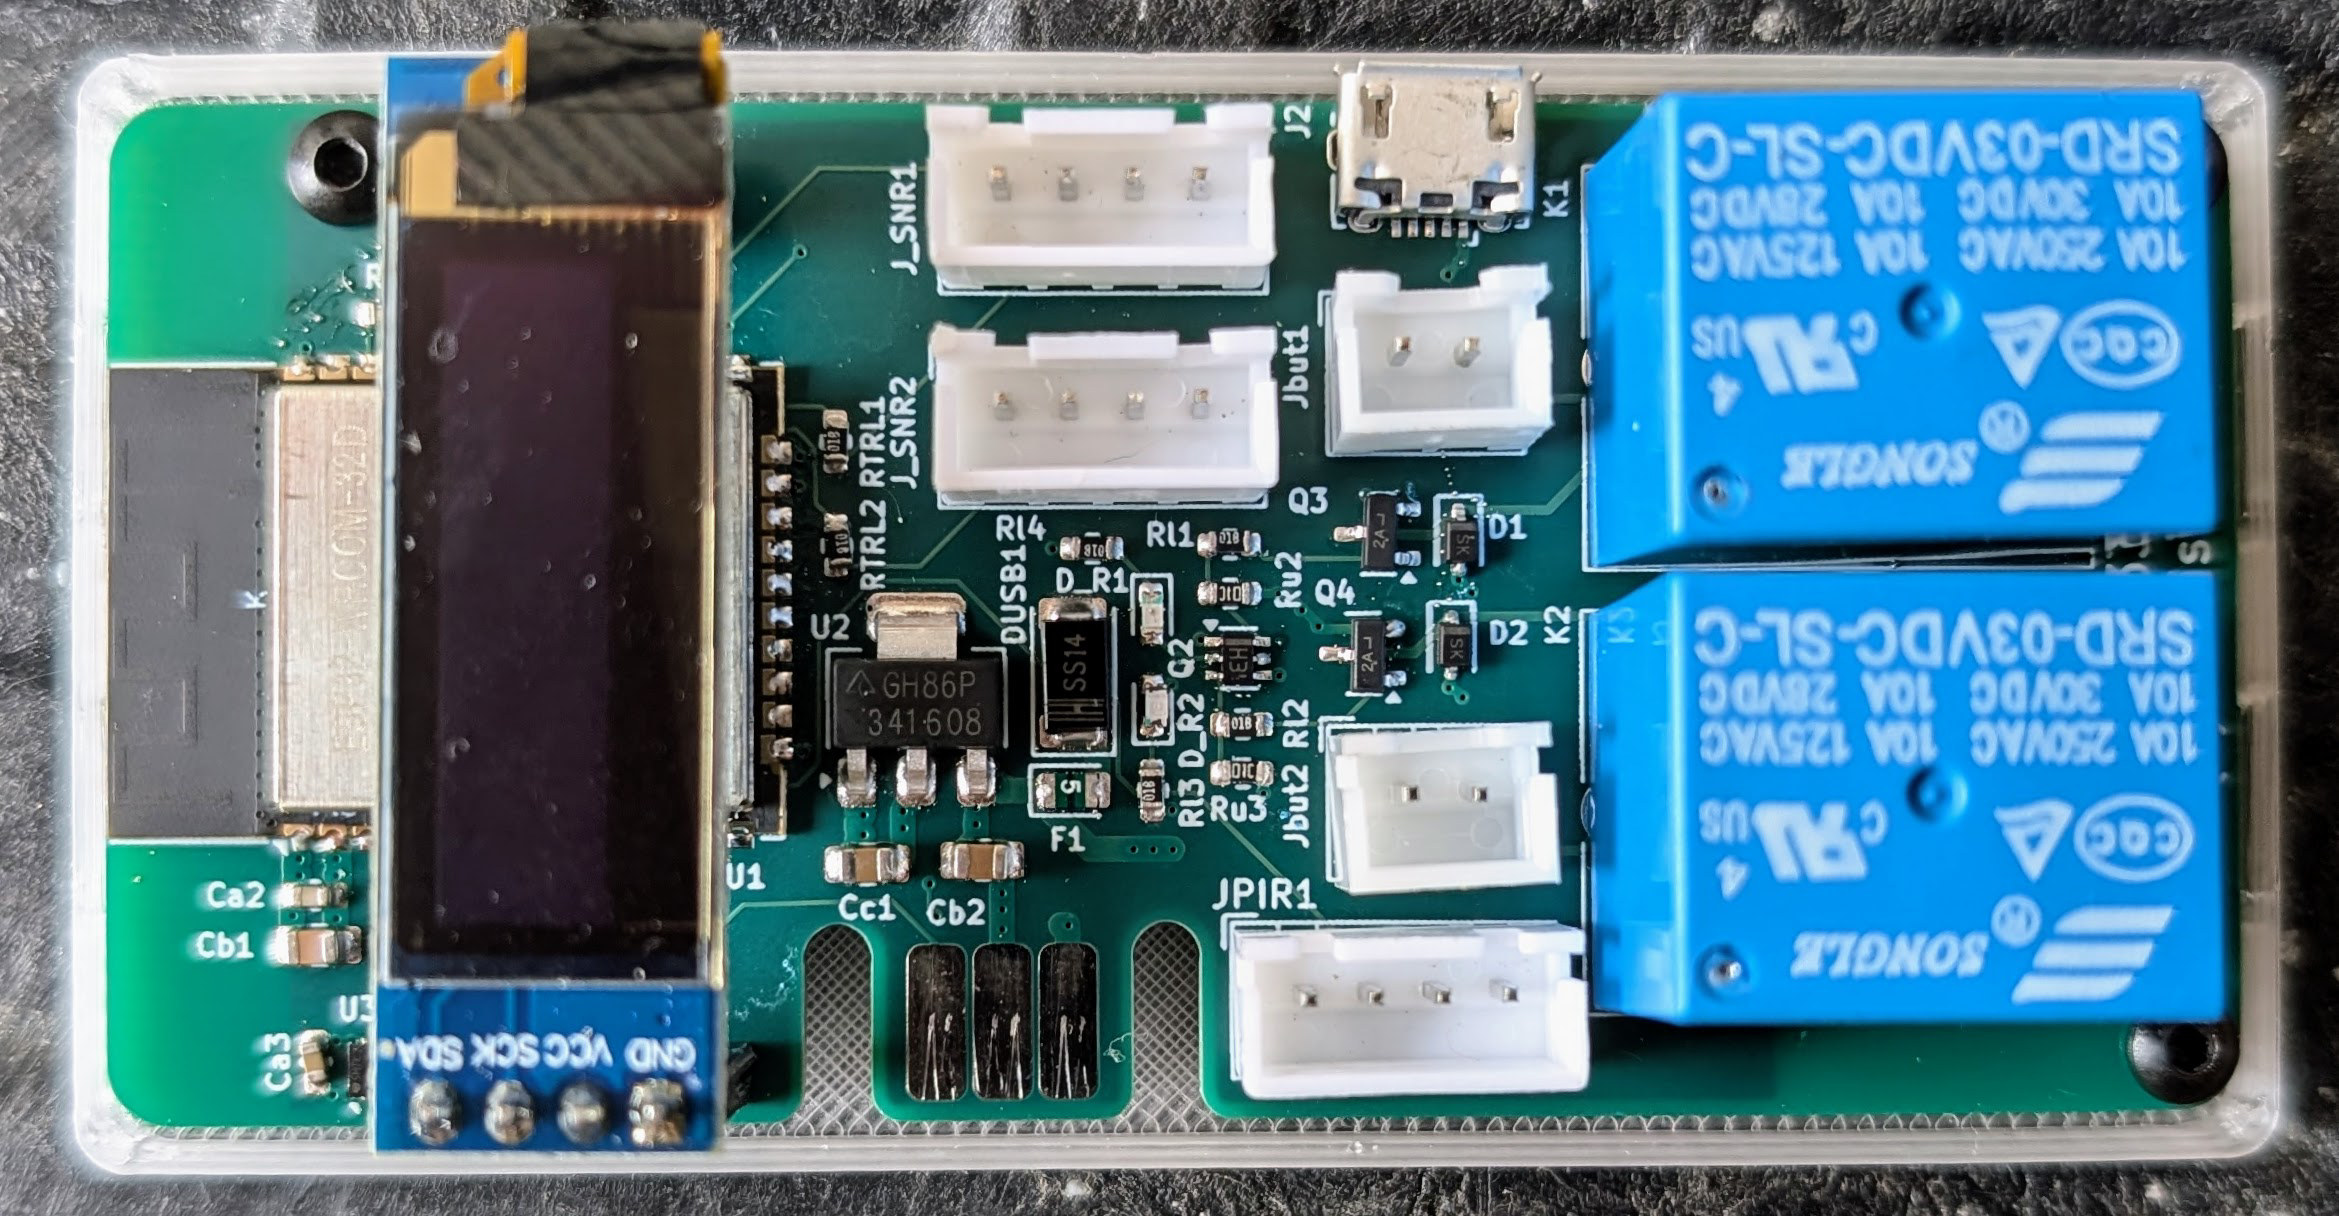
The main the motivations for the new design were:
- I found that WiFi performance with the ESP32 WROOM modules I was using to be far better than the ESP8266-based boards I had been using. This was important because the WiFi connection to the garage was still a little spotty (though still better than the Z-Wave performance in the original system).
- There are a limited number of I/O-pins on the ESP8266, so it was difficult to interface to all the sensors and controllers. The design was far easier with the ESP32.
- The screw-terminal connections for the door-opener wires in the relay boards were not as reliable as I would like, and I had to re-connect these periodically. I replaced these with JST connectors on the main board. Also, I wanted to learn how to drive the relay modules with my own circuits.
- Software for my recent projects, based on the og310 library, is much improved from code from the days when I designed my previous board. The upgrade served as an opportunity to modernize the code.
The result is the current Garage133 board and software. I’ve put all sources for the design on GitHub at https://github.com/chl33/Garage133, including
- KiCAD circuit design,
- OpenSCAD sources for the 3D-printed components, and
- C++ source code.
Here is what the new controller board looks like when mounted on the latest T-frame.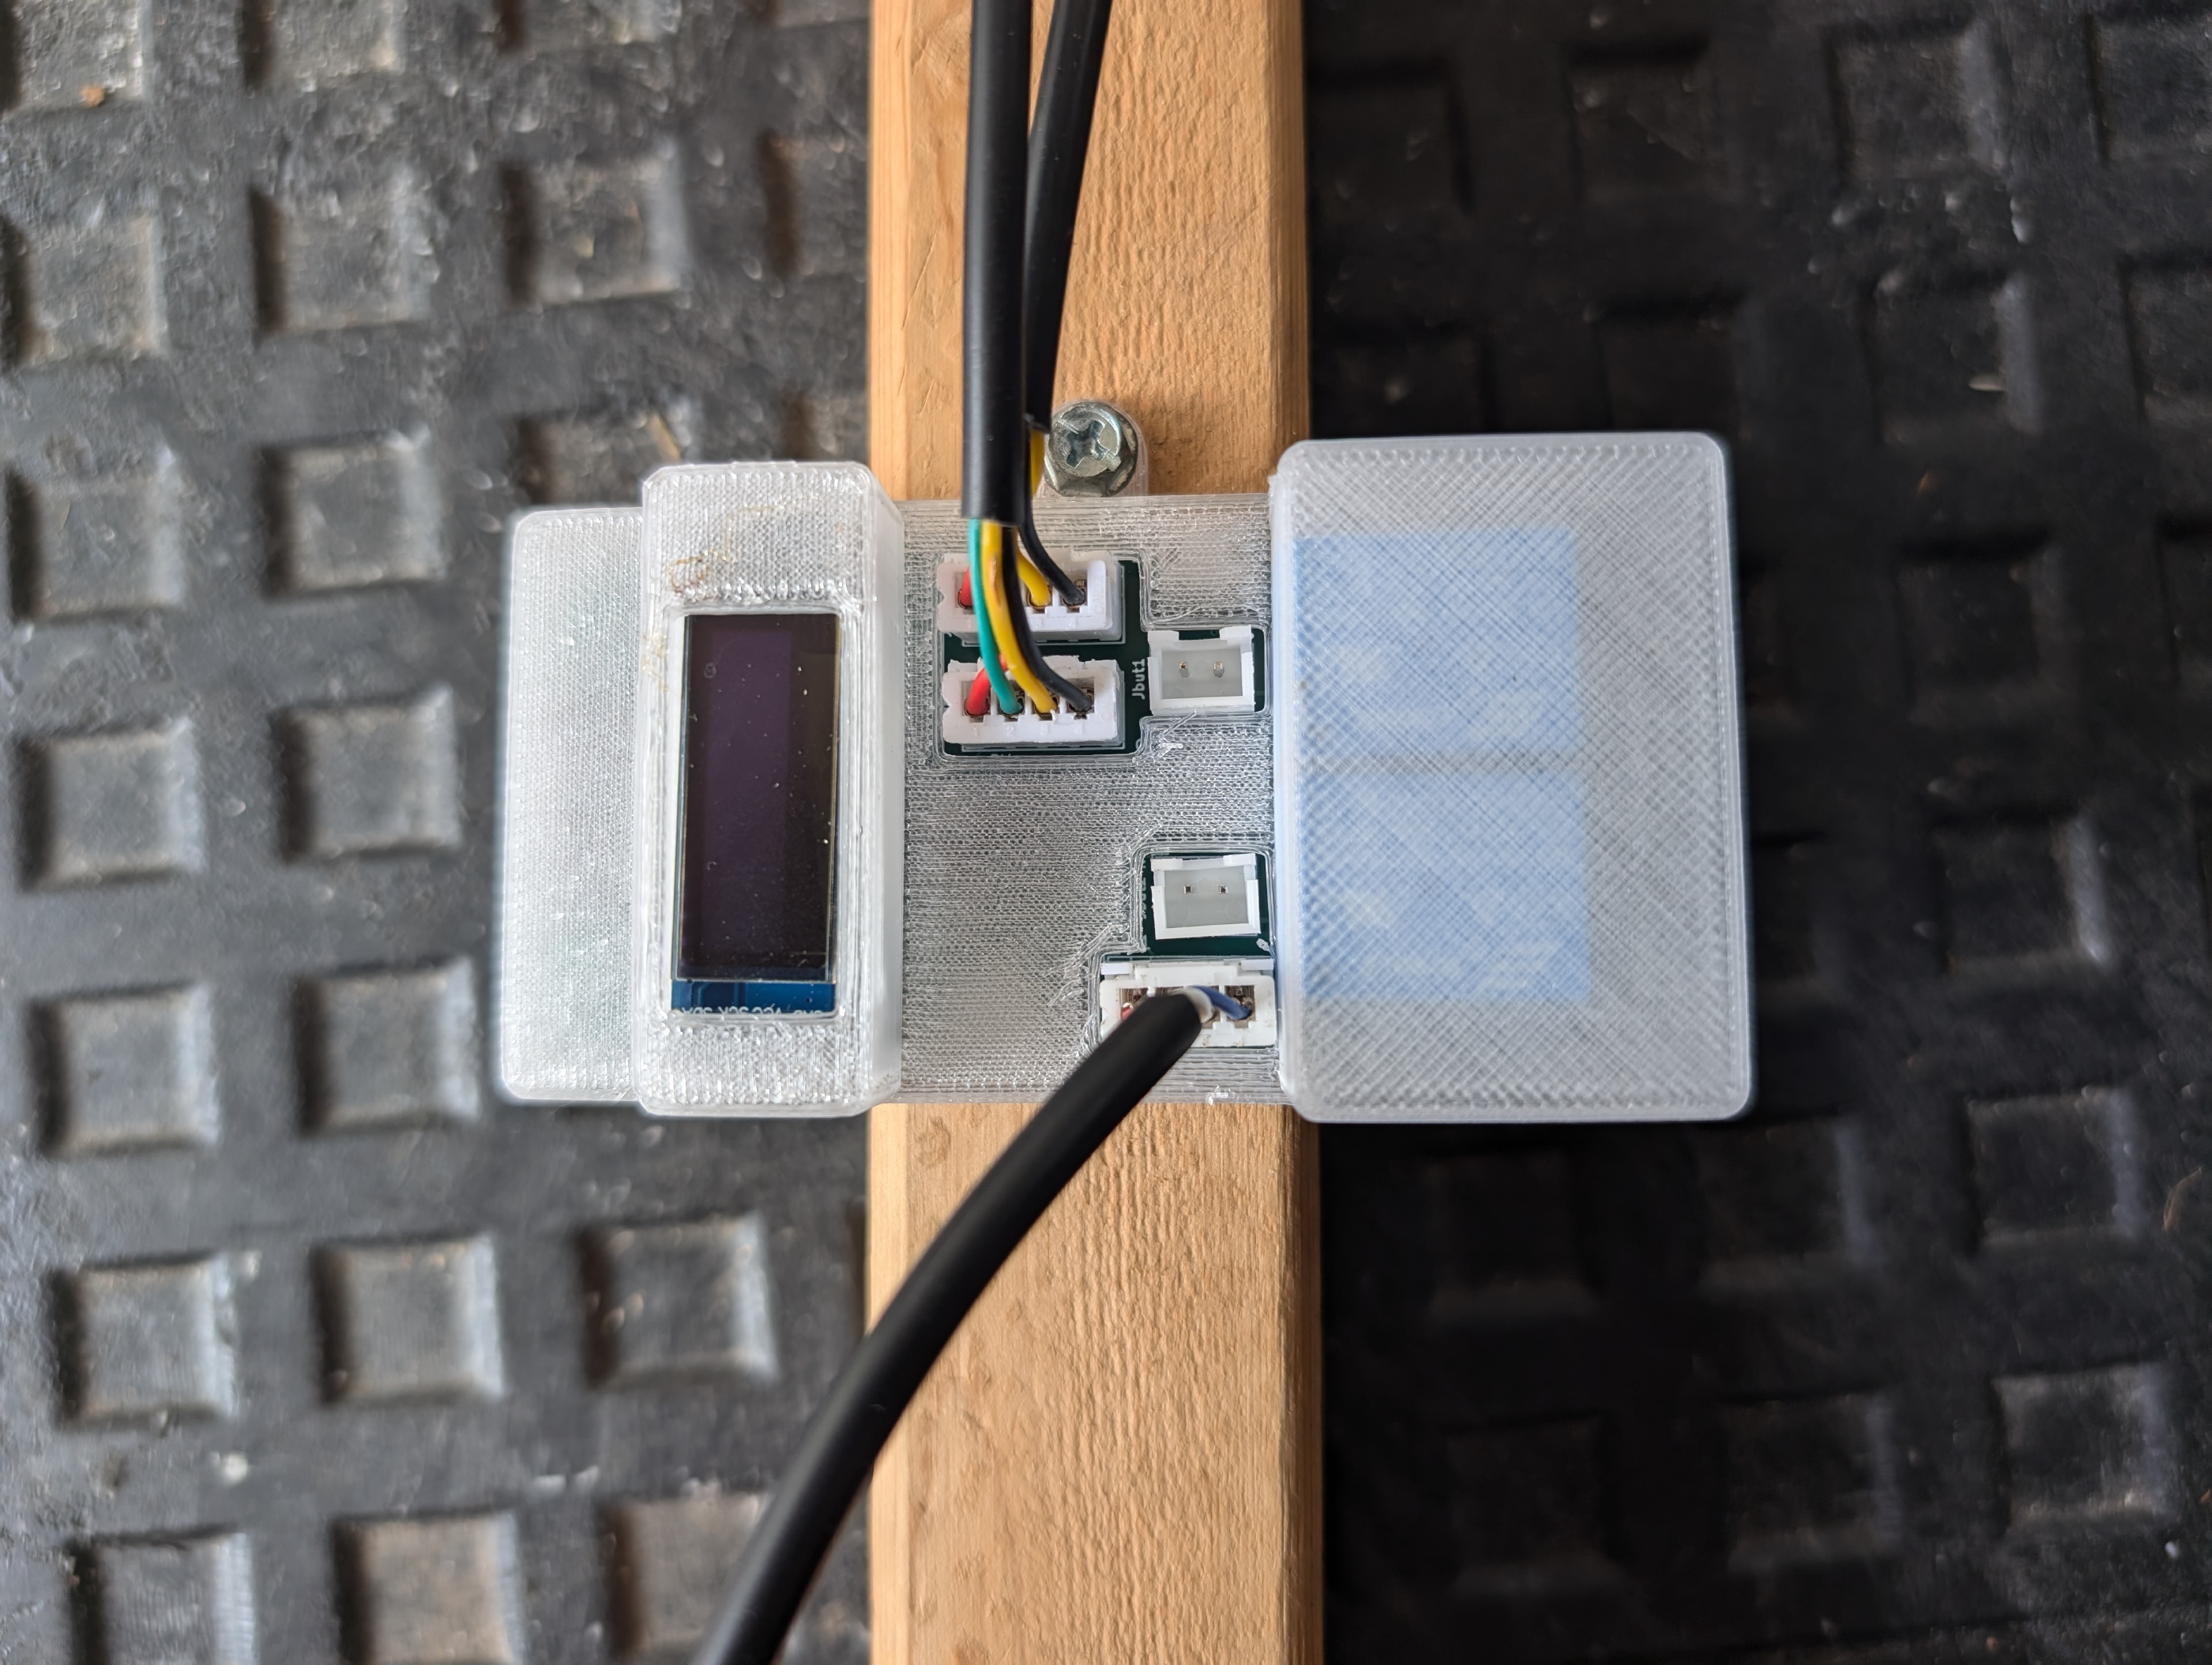
This is the T-frame before being mounted in the garage.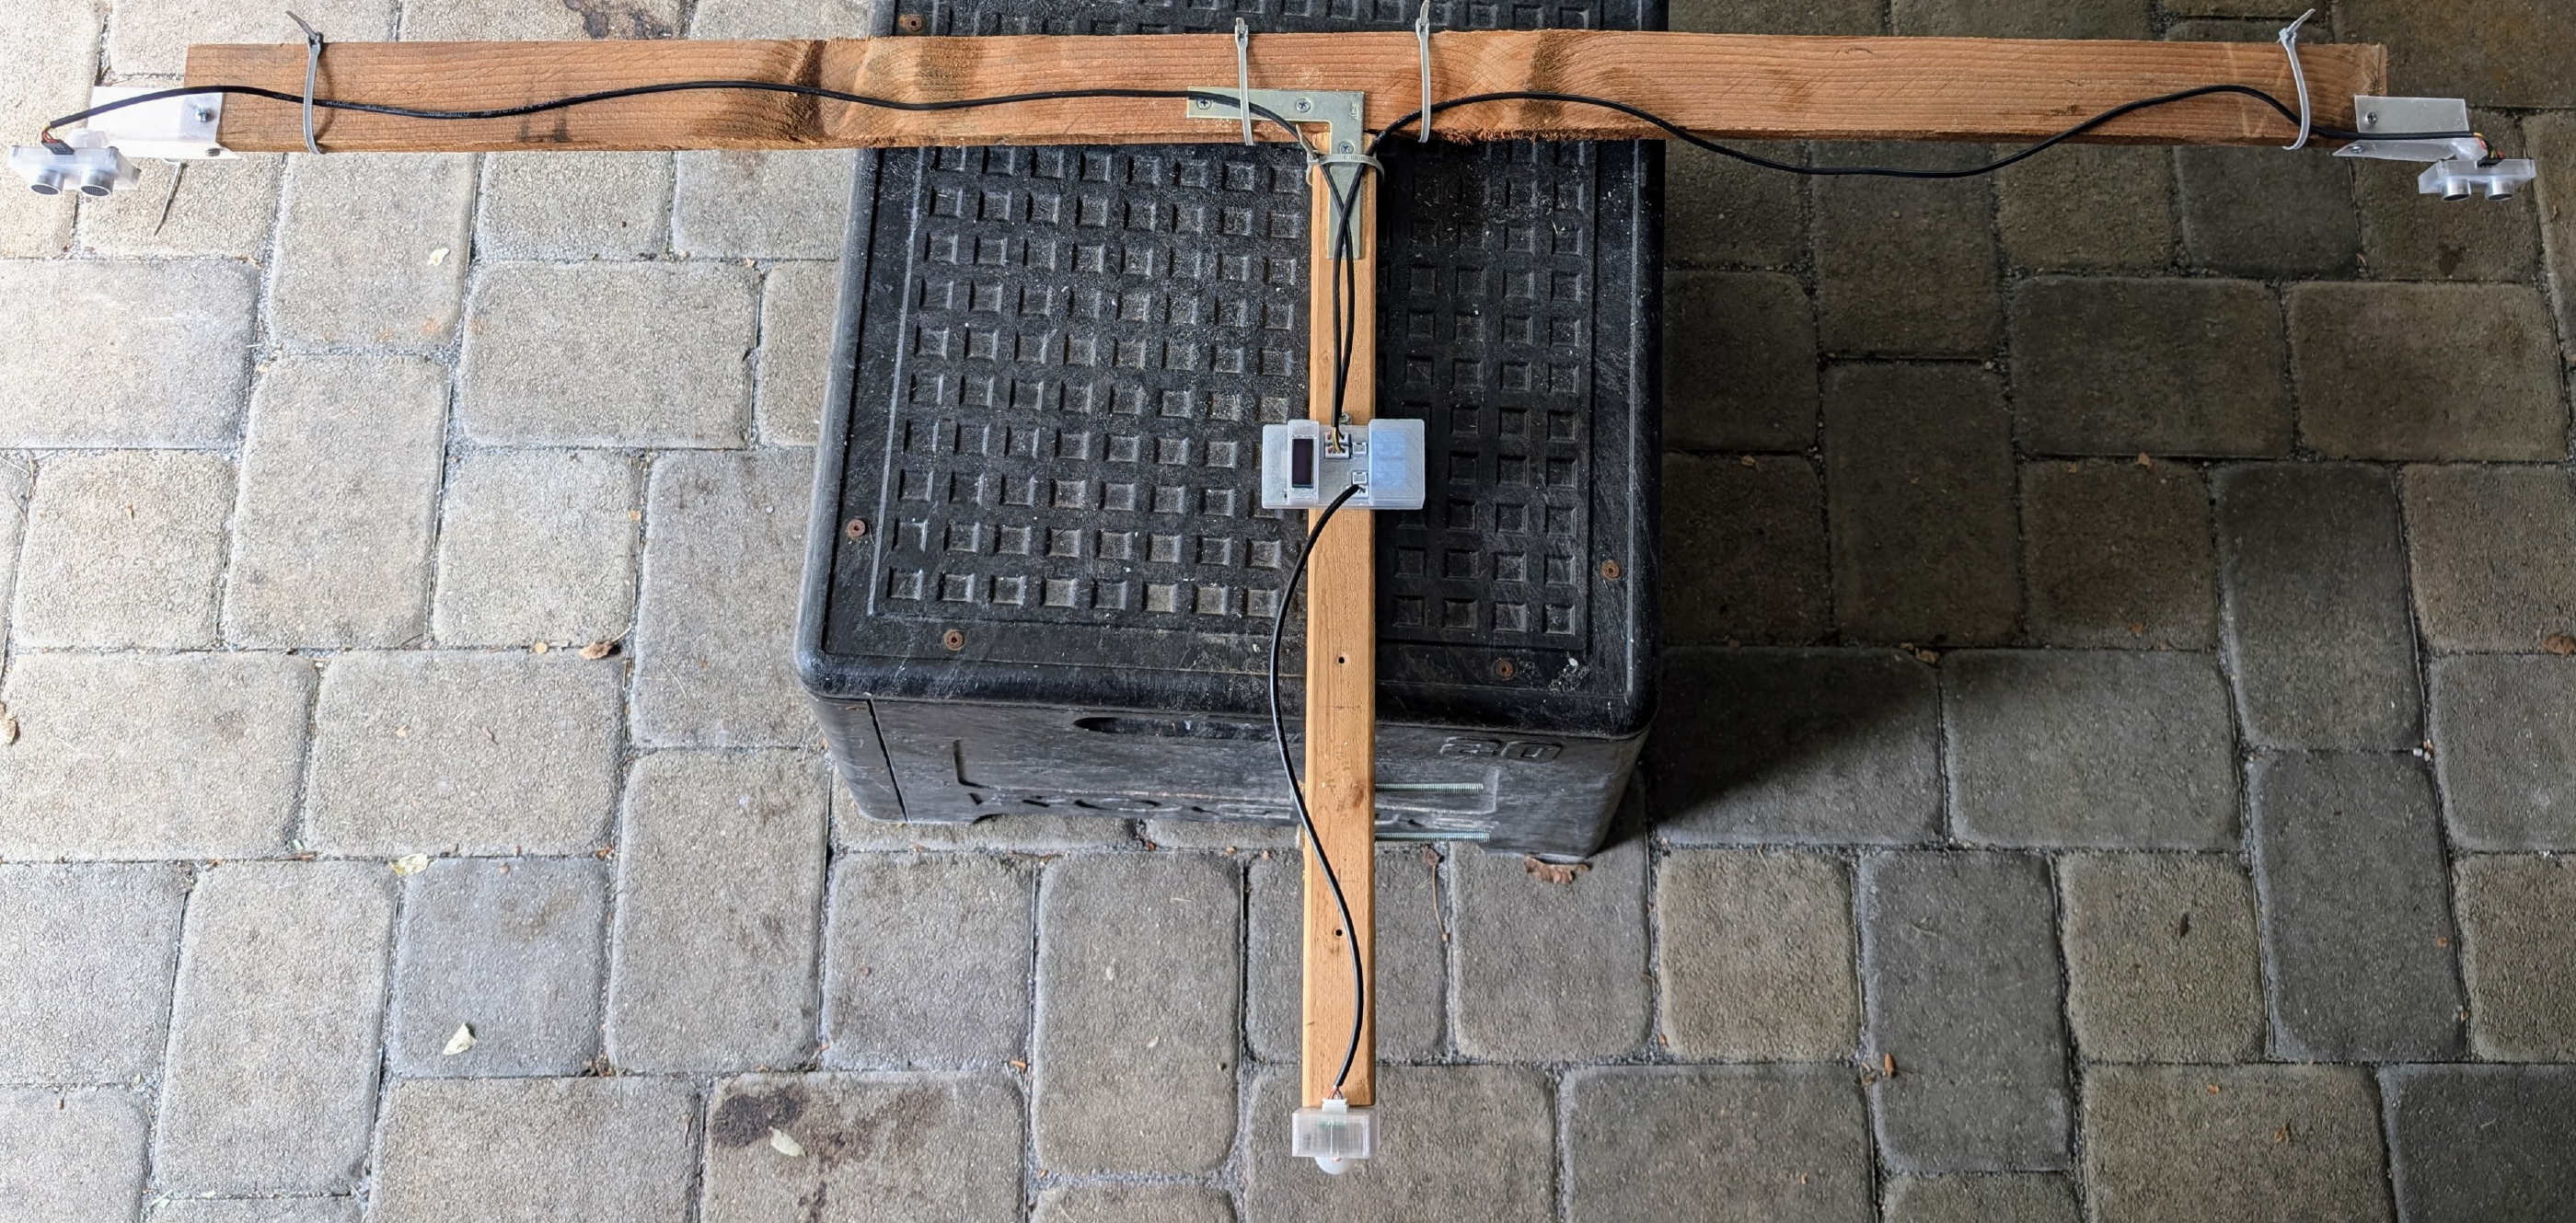
The new frame has a much longer top bar, so that the sonars can look straight down at the car or floor below. This has greatly improved the reliability of the sonar readings, eliminating almost all sonar reflections. Here is a picture of the sonar mount while in the process of being aimed via the ball-and-socket mount.
Smart Garage Control: Voice, NFC, and Remote Access
Each garage door control is integrated as a “cover” of the garage-door type in Home Assistant. These can be exported from Home Assistant to voice assistants. We have speakers around the home with Google Assistant support. We exported the garage door devices to these, so we can ask about the state of the doors or open and close them via voice commands.
I printed some small holders for NFC tags and attached these near the garage door. When a family member taps one of these tags with their phone, Home Assistant triggers the opener for the corresponding door. This is an easy way to open the garage door when standing just outside of it.
Have you ever driven away from your house and been unsure whether you closed the garage door? It would be nice if the garage door could just close itself in this case. I am hesitant to make automations to automatically close the garage door when we are away and the door is detected open, however. If something went wrong (e.g., the door was mistakenly sensed to be open when it was really closed), then the garage door could automatically open while we were away. I do have Home Assistant send an alert to my phone if it detects a door is open for an extended period. I can then confirm the state of the garage and close the door if necessary.
The ability to remotely monitor and control the garage door is useful on other occasions as well. There have also been times when we wanted to give someone access to our garage when we were away. We have used this system to remotely open the door for friends or contractors on occasion.
References
Ecolink Wireless Door/Window Zigbee Contact sensor ( Amazon). ↩︎
Hubitat Elevation Home Automation Hub. A commercial home automation hub with support for Zigbee and Z-Wave radios. ( Amazon). ↩︎
HC-SR04. An inexpensive sonar module which is compatible with Arduino and similar microcontrollers ( AliExpress). ↩︎
ESP8266: a low-cost WiFi microchip, with built-in TCP/IP networking software, and microcontroller capability, produced by Espressif Systems. ↩︎
The MQTT protocol ( Wikipedia) is useful for IOT (Internet of Things) applications. ↩︎
Home Assistant is a popular Open Source home automation platform. It is the hub for my own smart home, and it is fun to work with. ↩︎
ESP32: a family of microcontrollers made by Espressif Systems. A successor to the ESP8266 microcontroller. ↩︎
og3is my C++ utility library for ESP microprocessors, published on GitHub. ↩︎