Improving Reliability for ESP32 Plant Watering Systems: Lessons from Plant133
Posted on November 3, 2025 • 5 min read • 1,007 words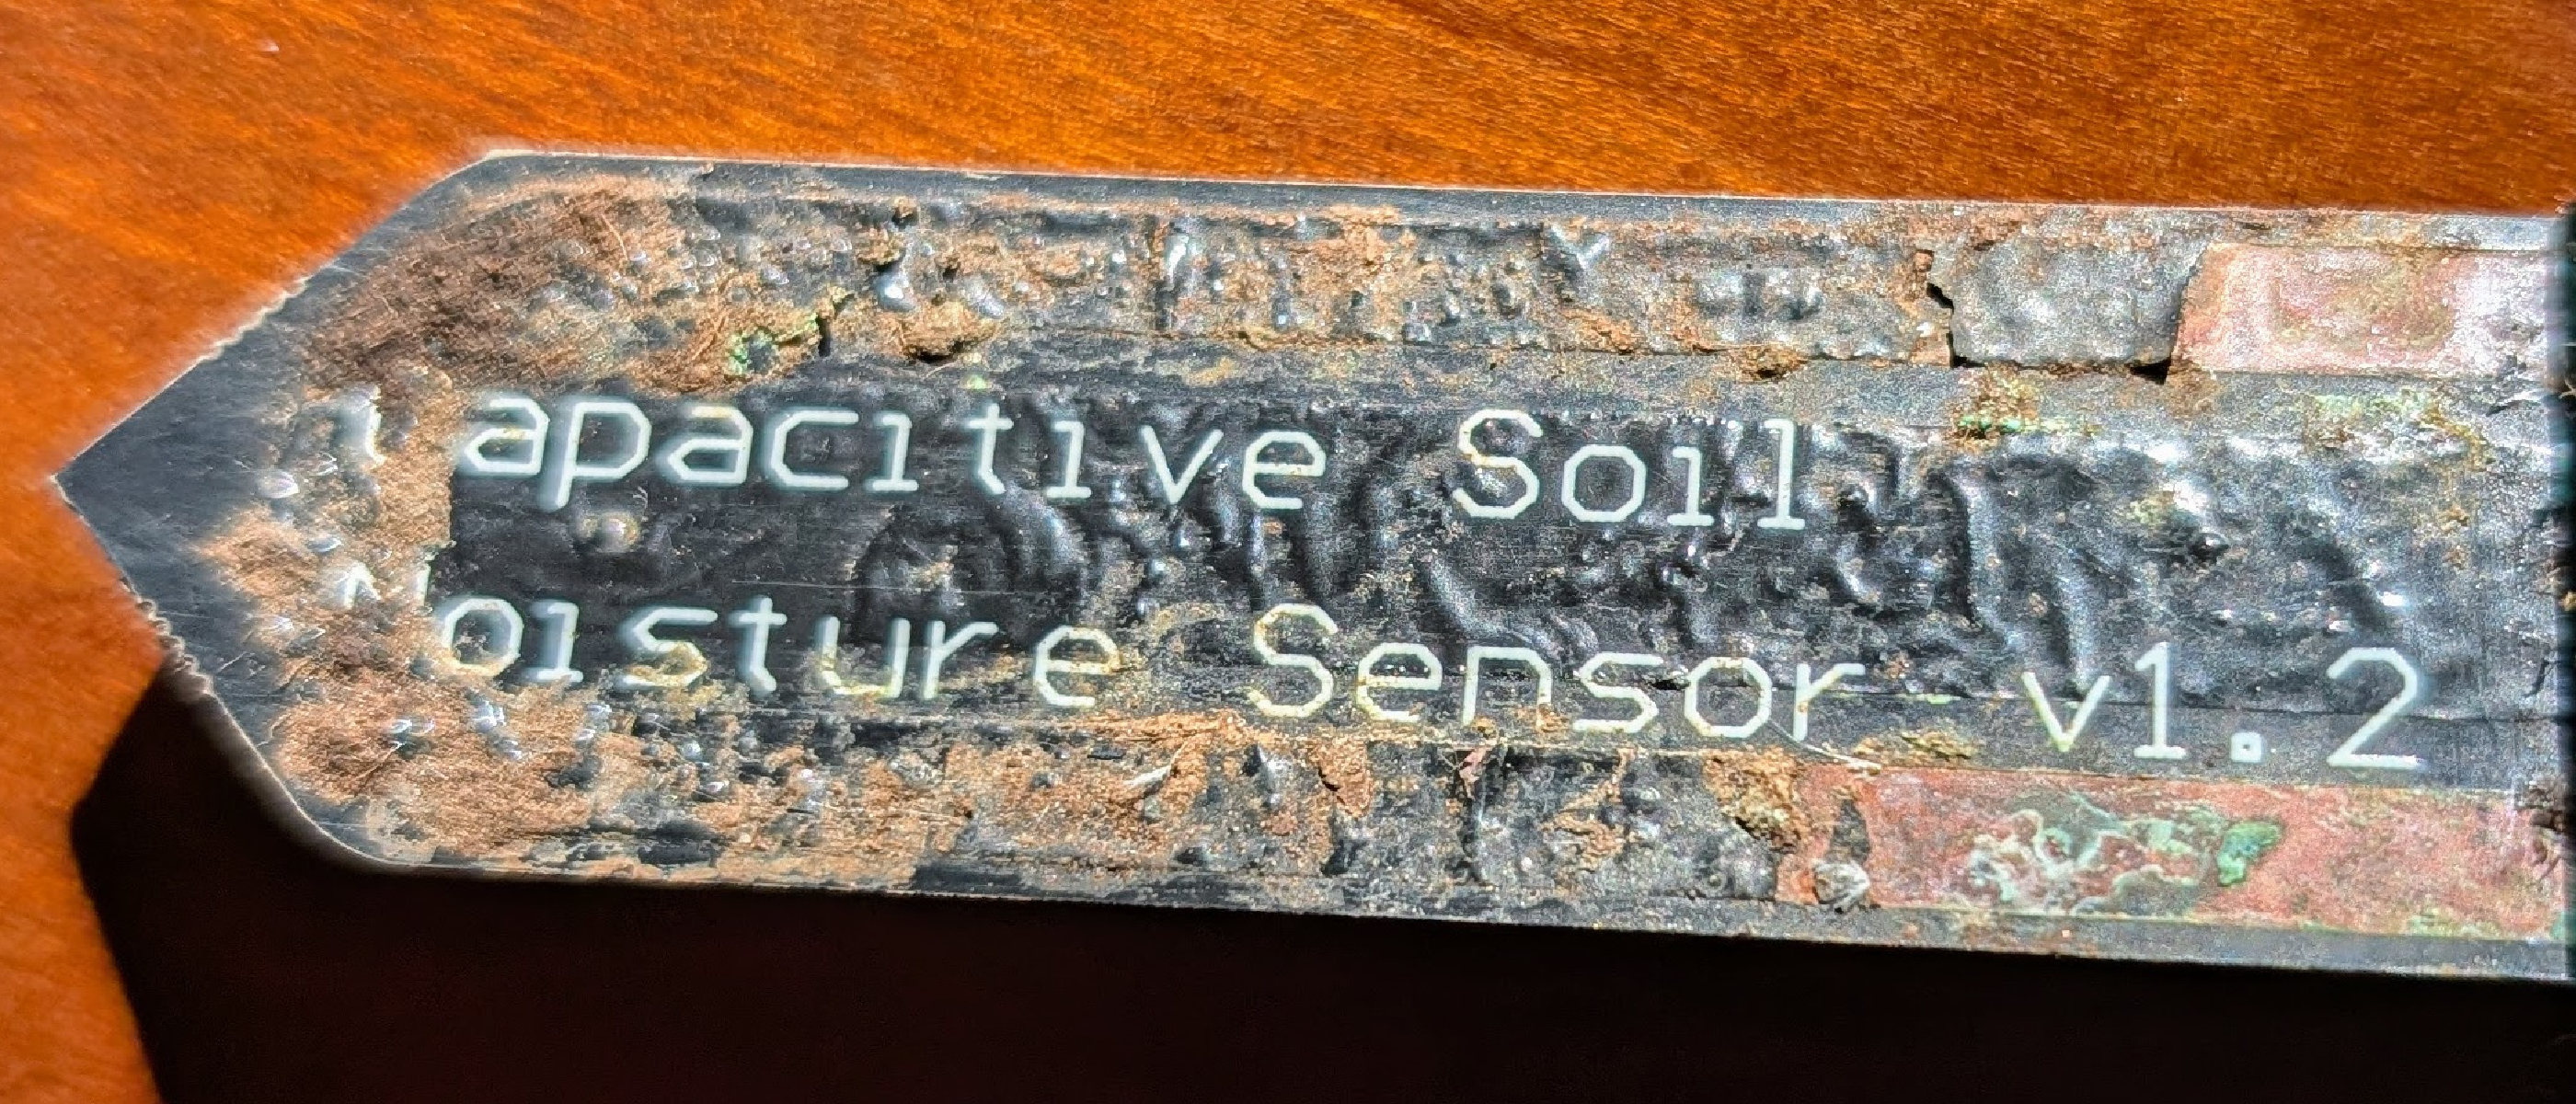
Plant133 is my custom automatic system for watering indoor plants, using an ESP32 microcontroller. The “ Plant1337” (4-plant) update of the original was a solid improvement, but has a design flaw. This brief post discusses the problem and its fix. It also reveals the parts of the system that I’ve had to replace most often, and my attempt to improve one of them. The updated printed circuit boards (PCBs) discussed in this post were manufactured courtesy of my blog sponsor, PCBWay. The updated design is available in the project GitHub repository.
Fixing ESP32 PCB design flaws
When early Plant1337 boards were first powered on, a pump ran for a fraction of a second while software booted. This caused a small mess if the water tube was not yet run to the plant. To prevent this, I added a resistor meant to pull-down the input to the MOSFET driving the pumps during startup. This resistor caused the operation of the pump to be less reliable, however. It was a hardware fix that proved I’m still just a software engineer.
The boards worked much more reliably when these resistors were removed. I found that when I removed the resistors, it was always the pump for plant #2 that ran briefly on startup, not the others.
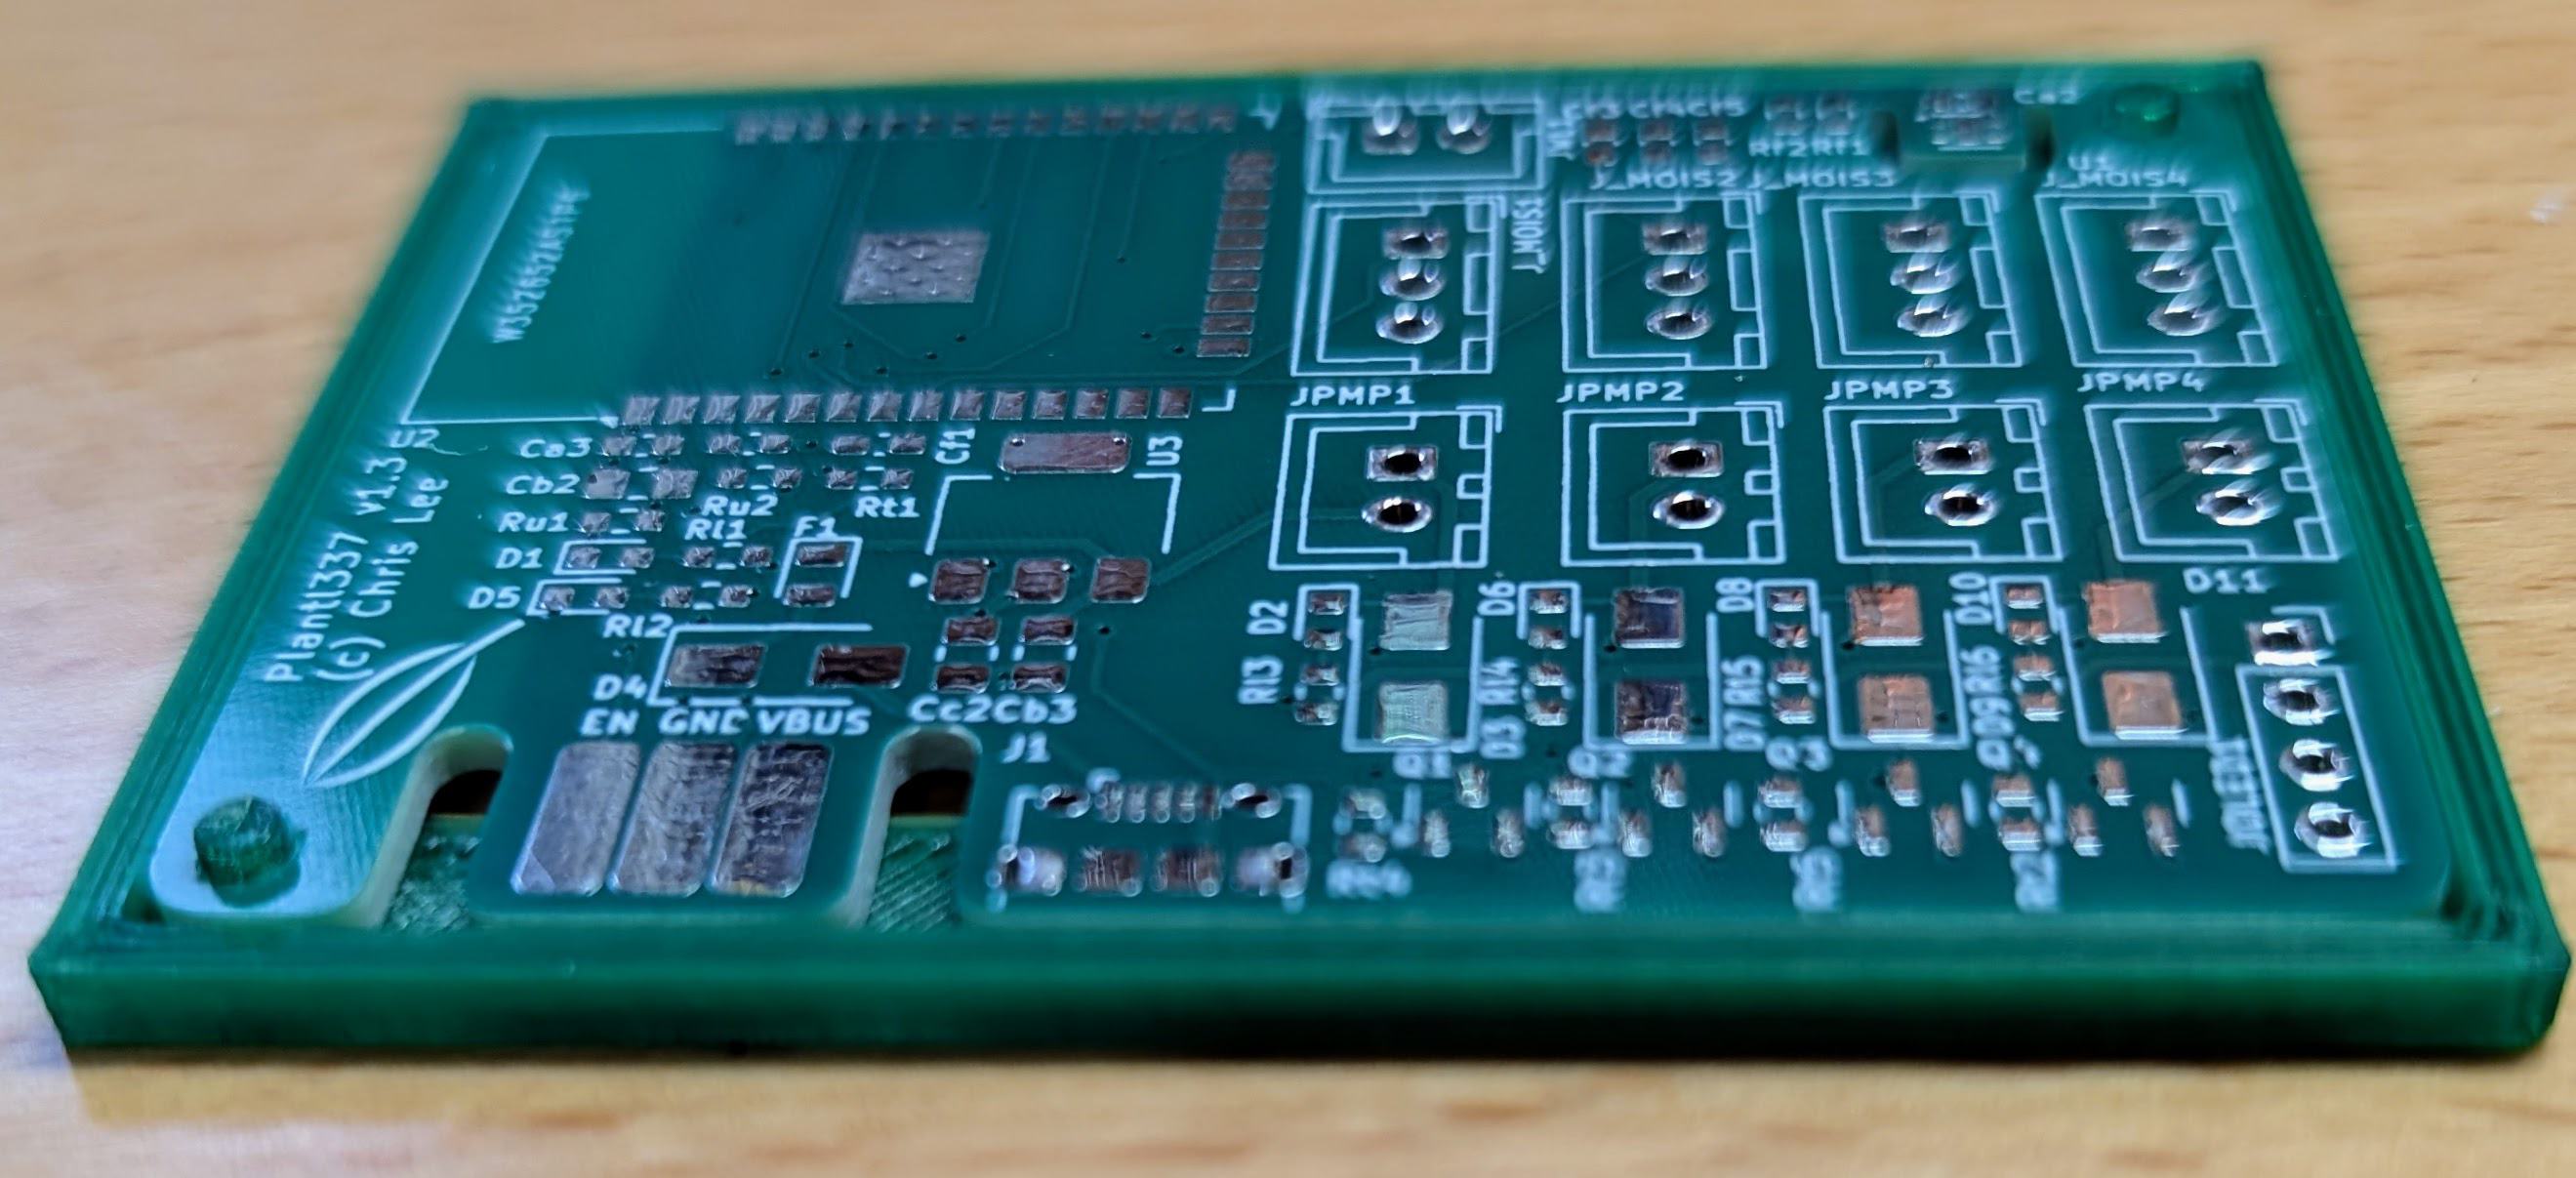
Reviewing the nice ESP32 summary at the ESP32 Pinout Reference from the Random Nerd Tutorials, I realized that all the GPIO pins I used for pump control were normal GPIO pins, but the pin for pump 2 (GPIO5) was labeled “outputs PWM signal at boot, strapping pin”. So in the next version of the board, I removed the pull-down resistors and switched control of the pump in question to a more boring GPIO pin: GPIO13. The change turned out to be pretty easy. PCBWay printed the new boards for me to help with this post. I simply uploaded the Gerber files generated by KiCad (the open source PCB design software I use), selected the number of boards and a stencil, and the boards were shipped to me a couple days later. The updated boards work much more reliably: the pumps run when they are supposed to, and none of the pumps run when the board is first powered-up.
My main lesson learned is to carefully review all pin assignments in board designs with ESP32s.
When assembling the new boards, I tried using a custom 3D-printed fixture for holding the stencil in place when applying the solder paste. Details are in my recent blog post. This was very successful, much easier than using screws to hold the stencil in place as I had been doing previously.
Part failures
Plants in my house have been watered by untold generations of Plant133 over a few years now, and I’ve noticed a number of hardware failures. Two parts have tended to fail in the past few months: the pumps and moisture sensors. Fortunately, these are very inexpensive and easy to buy in bulk. On occasion, however, a plant isn’t getting watered properly and I have to do some debugging. It helps to have something like Home Assistant and/or Grafana to plot the time histories of the devices.
Pumps stop pumping
Pump failures are fairly easy to diagnose: the plant should have been watered but the moisture level doesn’t increase. The pump should be tested. First, use the “test pump” button on the web interface. If watering is enabled for a plant and this button is pressed in the web interface, the pump should run for a second. If the red “pump on” LED flashes and you don’t hear the pump, there is a problem. To check if the problem is actually a connector failure, remove the connector and connect the conductors directly to a 5V supply. If a pump doesn’t work, it can easily be replaced.
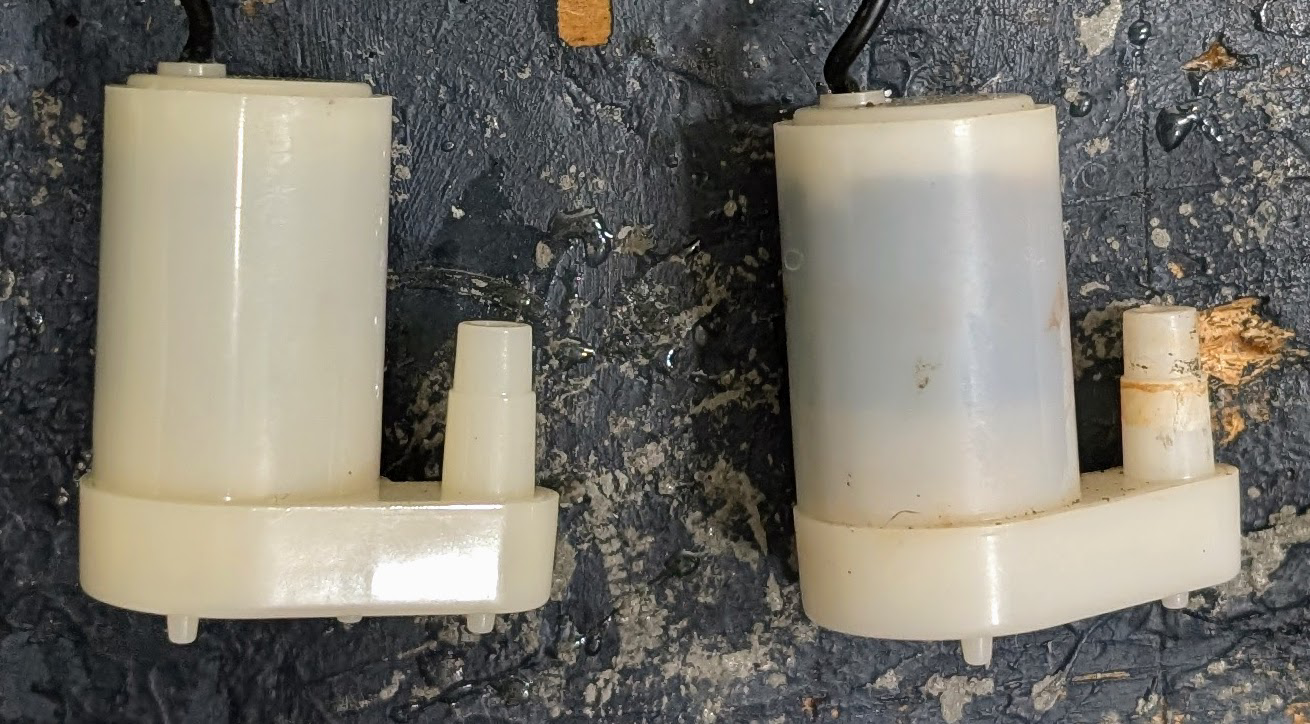
I haven’t taken the pumps apart, but I suspect the water seal. I think some moisture eventually gets into the pumps and they just corrode. Maybe other pumps are better: I ordered the most inexpensive ones I could find on AliExpress.
When moisture sensors go bad
Another common failure is of the soil moisture sensor. I noticed some sensors started reading wild swings in moisture levels.
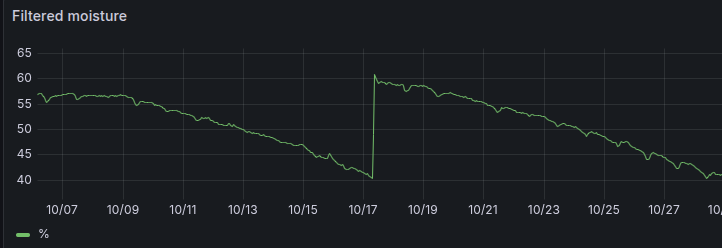
Here is an example:

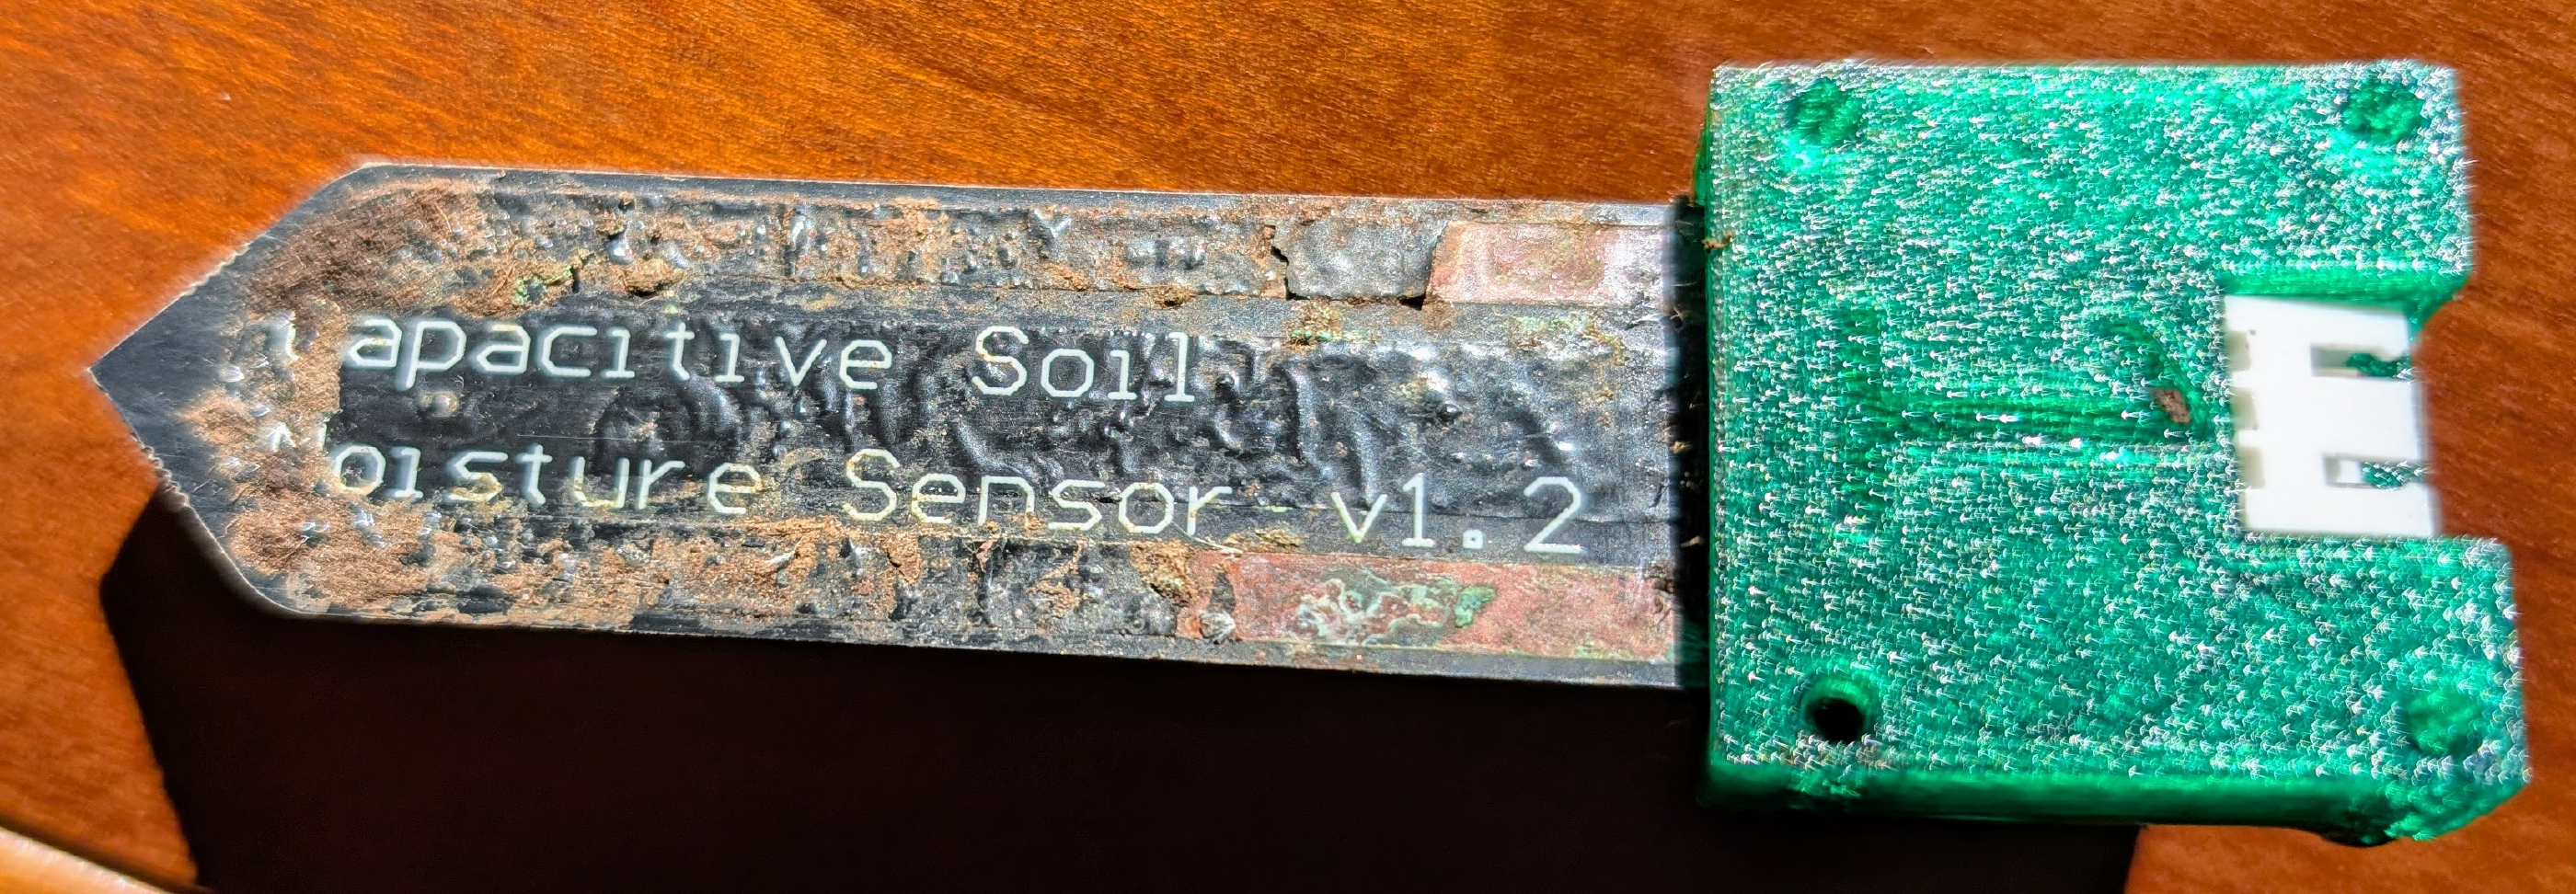
This sensor showed very clear corrosion, probably caused by moisture getting into the sensor PCB from the edges.
After the sensor was replaced, the readings made sense again. The moisture level declines until the plant is watered. The bumps in the plot are due to the soil warming when the sun strikes it directly during the day. Moisture readings increase slightly with temperature.
There are a number of discussions online about how to make these sensors last longer. For use outdoors, (like in Garden133), the top of the sensor where the electronics live, is typically protected with a cap filled with silicone. For indoor applications like Plant133 this is unnecessary. Some people said they seal the edges of the sensor to keep moisture from penetrating the PCB, suggesting the use of varnish or fingernail polish.
I have attempted to seal the edges of some new sensors with epoxy. I’ve begun to deploy these as replacements for failed sensors. We will have to see whether this actually improves their longevity.
In one recent case, replacing the sensor did not work. Instead, changing the wire connecting the sensor to the Plant133 board fixed the problem. The JST connector of the wire to the sensor apparently had a poor connection.
Conclusion
I think the hardware of Plant133 might be really finished this time. Otherwise, I’ll be back in next year with more lessons learned. The plants in my house are looking happy, though.