Room133: A Versatile DIY ESP32 Sensor for Home Assistant
Posted on September 5, 2024 • 9 min read • 1,858 words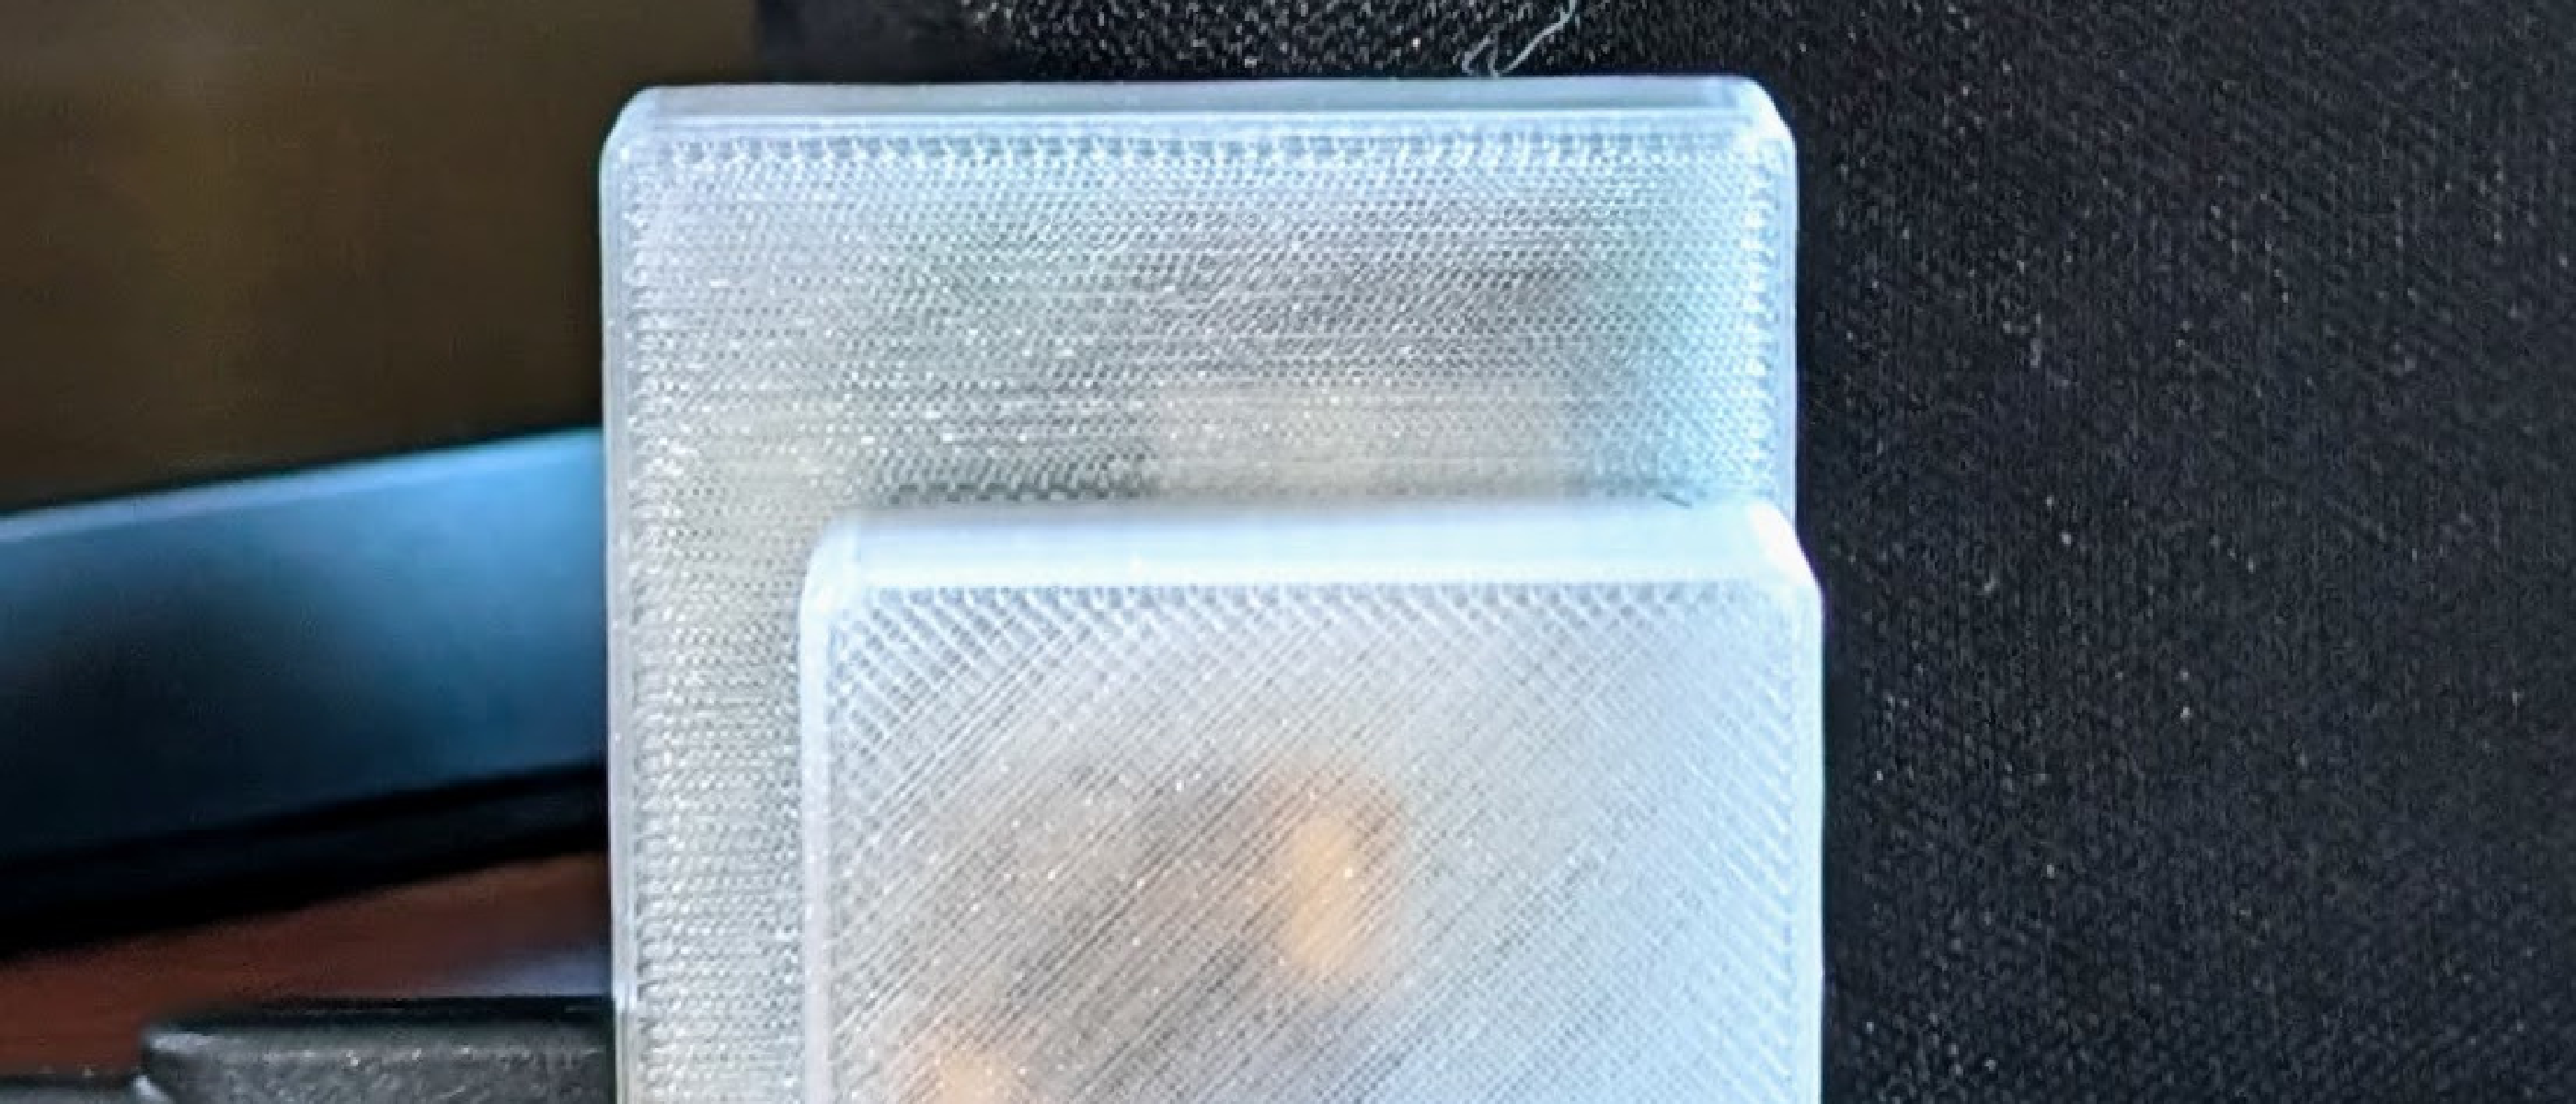
Introduction
Room133 is a printed circuit board (PCB) that serves as a basis for a family of home automation devices. It evolved to replace a number of custom DIY devices I deployed around my house as I played with turning our house into a “smart home.” It partners especially well with the Home Assistant1 home automation platform. It can work either with ESPHome2 firmware or the custom firmware I’ve written for it. This was a project which helped maintain (somewhat) my sanity during the recent pandemic.
In our house, devices based on Room133:
- Monitor temperature and humidity in different rooms,
- Measure light levels,
- Detect motion (with passive infrared sensors) or presence (using inexpensive radar sensors) for lighting control,
- Check for standing water in the basement,
- Monitor the water level of our boiler, and
- Act as Bluetooth extenders for the Home Assistant1 system which is the hub of our smart home system. These help integrate Bluetooth smart locks into our home automation system.
I put the software, PCB design, and EBox (case for the electronics) design with an MIT
license in the
Room133 Github repository.
All software and hardware are designed and built with Open Source tools:
- The software is built with PlatformIO3 and ESPHome2.
- The PCBA is designed using KiCAD4.
- The EBox is designed using OpenSCAD5. I print these on a Prusa 3D printer, with PETG filament.
The EBox which contains the PCBA for Room133 can be configured based on the specific use case for the board. The system which configures these is described in this blog post.


The materials needed for most of devices cost around $10 total. The exception is the use of specialized sensors which cost around $15 each.
Hardware
The hardware and software of Room133 has many similarities to the Plant133 and Dough133 boards I have posted about earlier.
- It is based on an ESP326 Wroom module.
- It is programmed via a separate board through an edge connector rather than having its own USB interface.
- It has a SHTC37 temperature/humidity sensor on the board.
Below is a render of the latest PCBA design.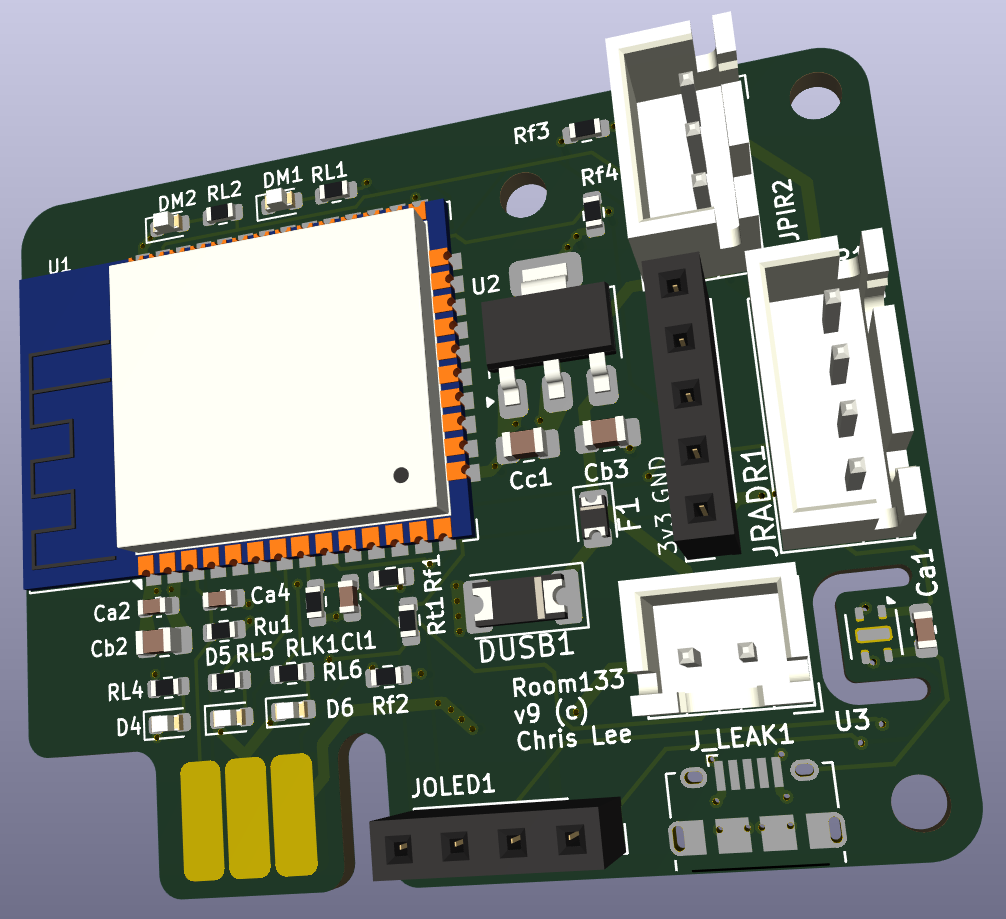
One note for the PCB design is the footprint for the SHTC3 sensor. This is inside the horseshoe-shaped shape milled-out near the lower right of the board. A problem with using this sensor is that heat from elsewhere in the board tends to leak to the sensor through the board. To get a decent measurement of surrounding air, the sensor must be isolated from the rest of the board in this way, moved away from microprocessors, resistors, and power supplies, and isolated from air around the rest of the board by the EBox. A small capacitor near the sensor ensures it has sufficient power to operate.
The screw holes for fastening the board to the EBox are only on the right side. This keeps metal away from the keep-out zone of the WiFi antenna on the left side of the ESP32 module, minimizing impact on communication performance.
Below is a picture of the board with only the radar connector populated.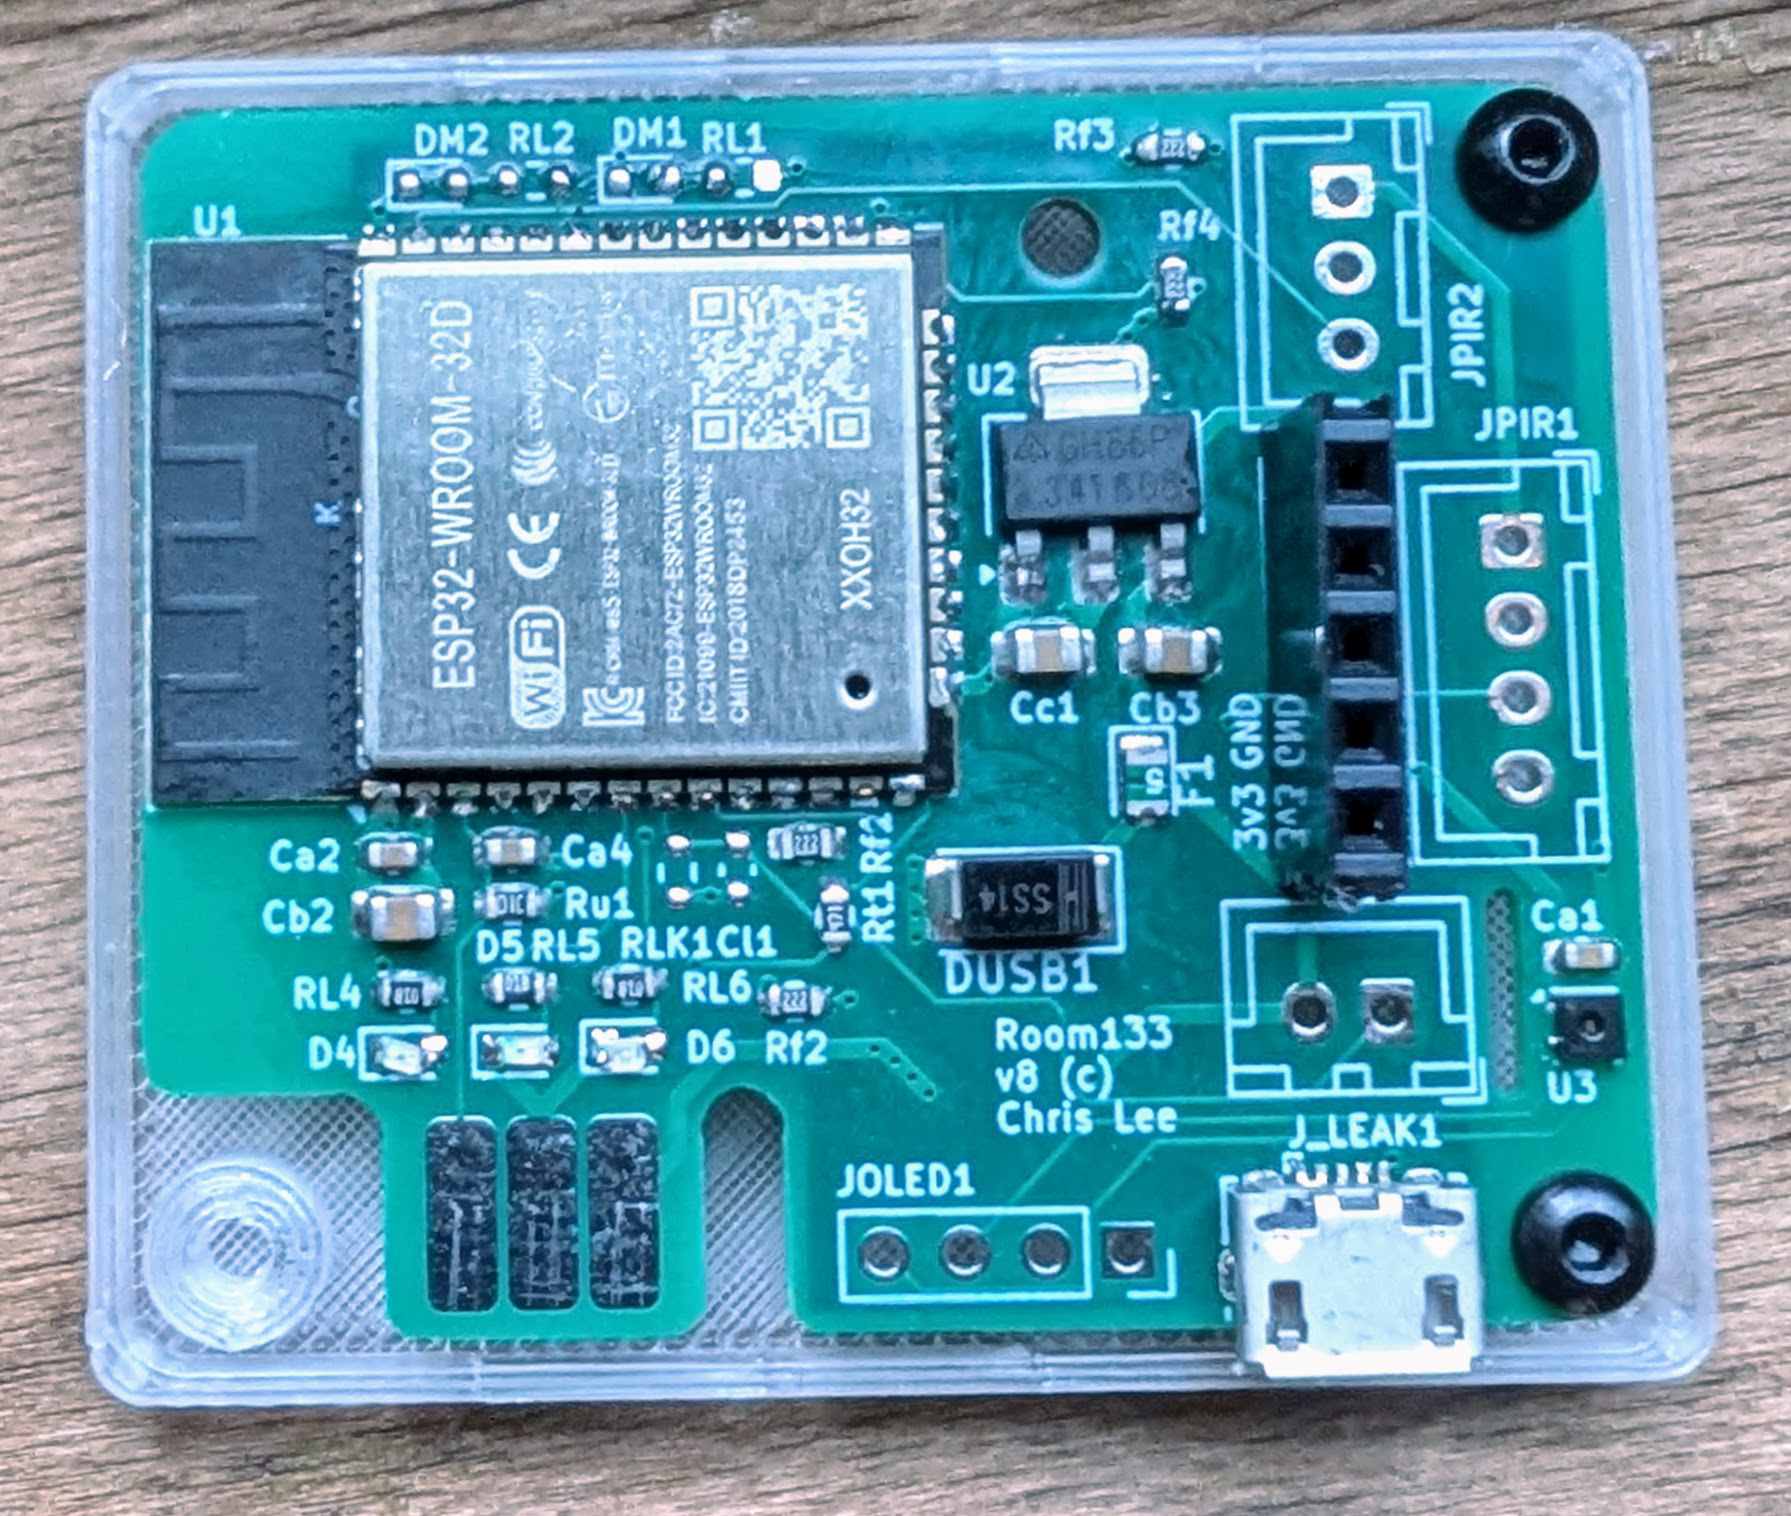
Software
The Room133 board can run with a few different firmware implementations.
For most purposes, I use my Room133 software based on the og38 C++ software framework
I built for these kinds of projects.
For monitoring our boiler, I use the
boiler
application, which is also based on og3.
Software based on og3 publishes sensor information to an MQTT9 broker, with
special entries which tell Home Assistant how to talk to all the included sensors.
I use ESPHome for radar presence detection and Bluetooth proxy applications.
Applications
Sensing for lighting control: PIR + light sensor
For purposes such as automatic control of lights in the house, it is useful to know when people are in a given room. Lights can be turned-on automatically when people enter the room, and turned off some amount of time after they leave the room.
Passive infrared sensors have long been used to detect the presence of people. These are inexpensive and do a good job of detecting people when they are moving. They don’t detect people who are still, as known to anyone who has needed to wave their arms after being plunged into darkness, which is why the board also now supports millimeter-wave radar sensors (as discussed below).
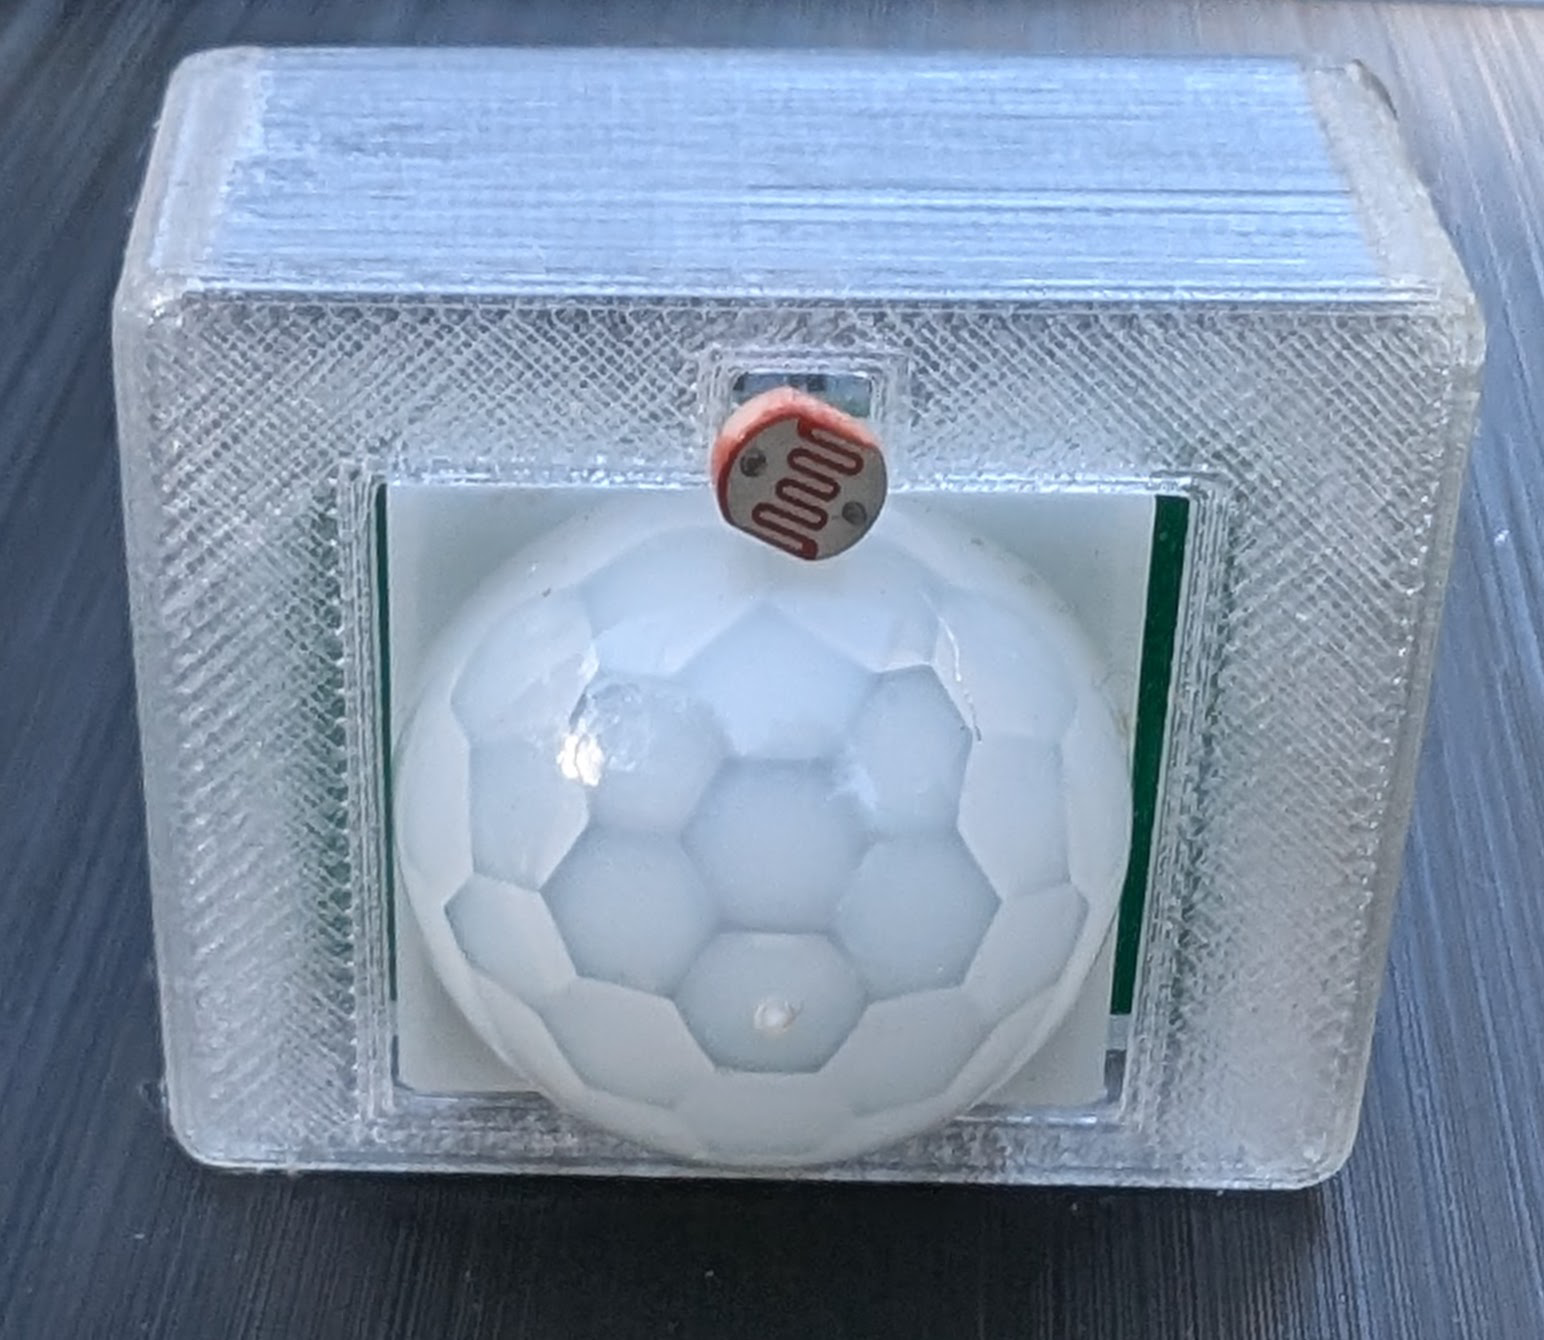
A common PIR module is the HC-SR501.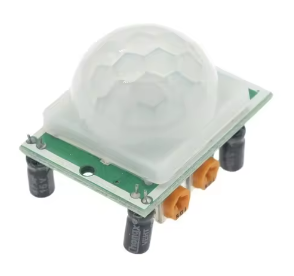
I designed a simple box to hold this along with a photoresistor.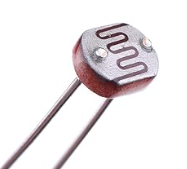
I found it a complicated job to make a cable to the PIR and photoresistor. To simplify the process, I made a simple PCB with a 4-pin male JST connector on one side, and on the other side a 3-socket header for the PIR sensor and a 2-socket header for the photoresistor on the other side. There is also a resistor on the board which goes in series along with the photoresistor between +5V and ground.
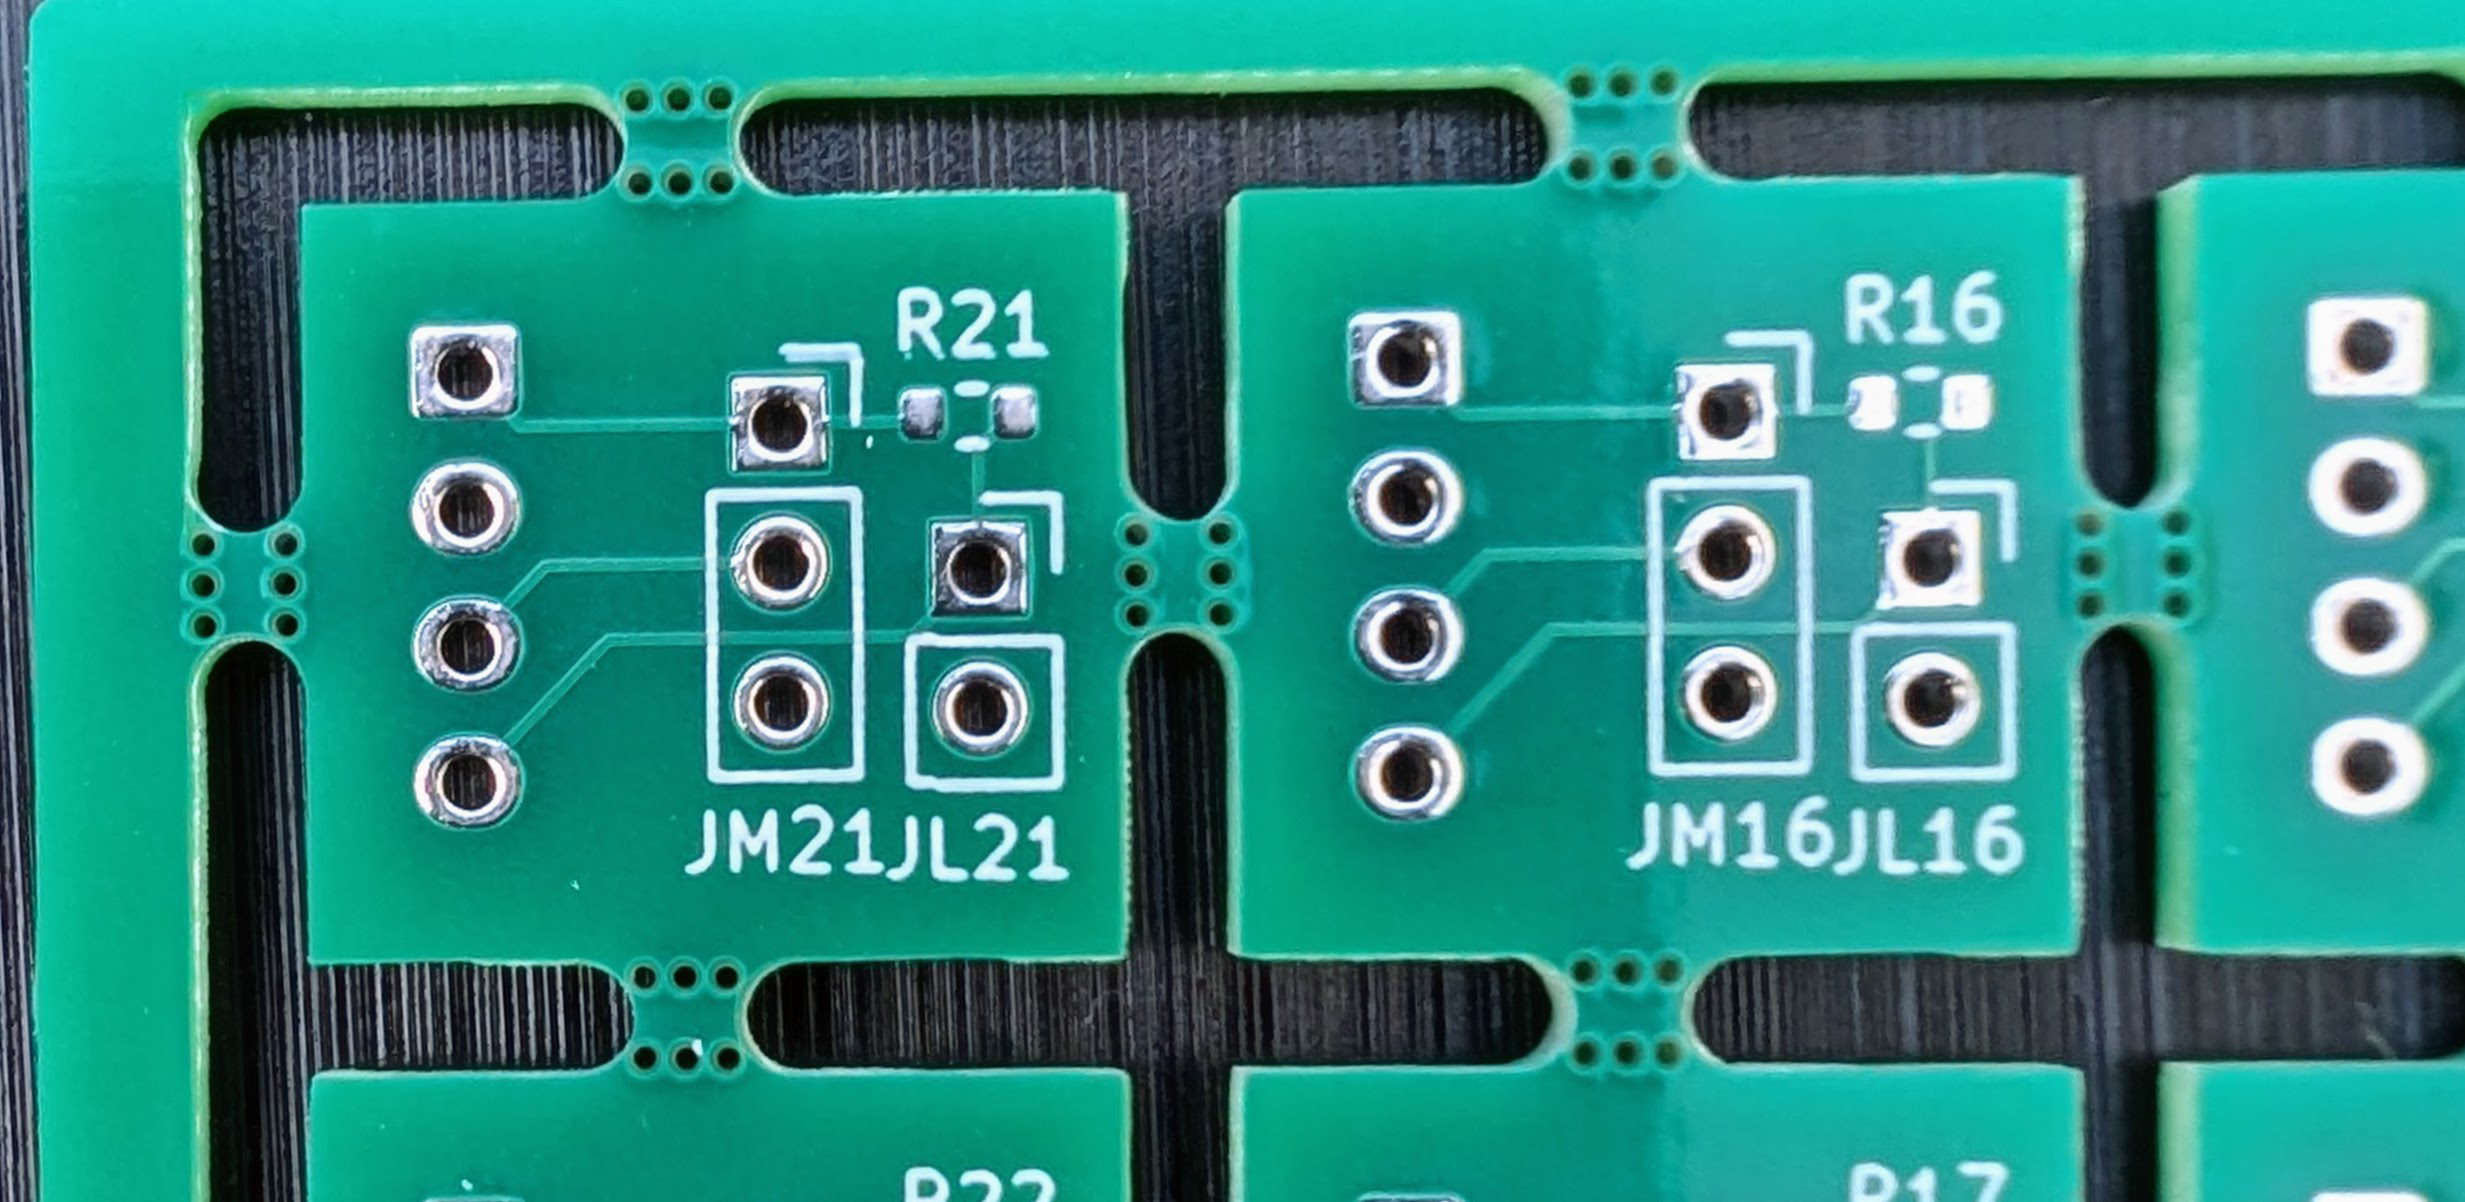
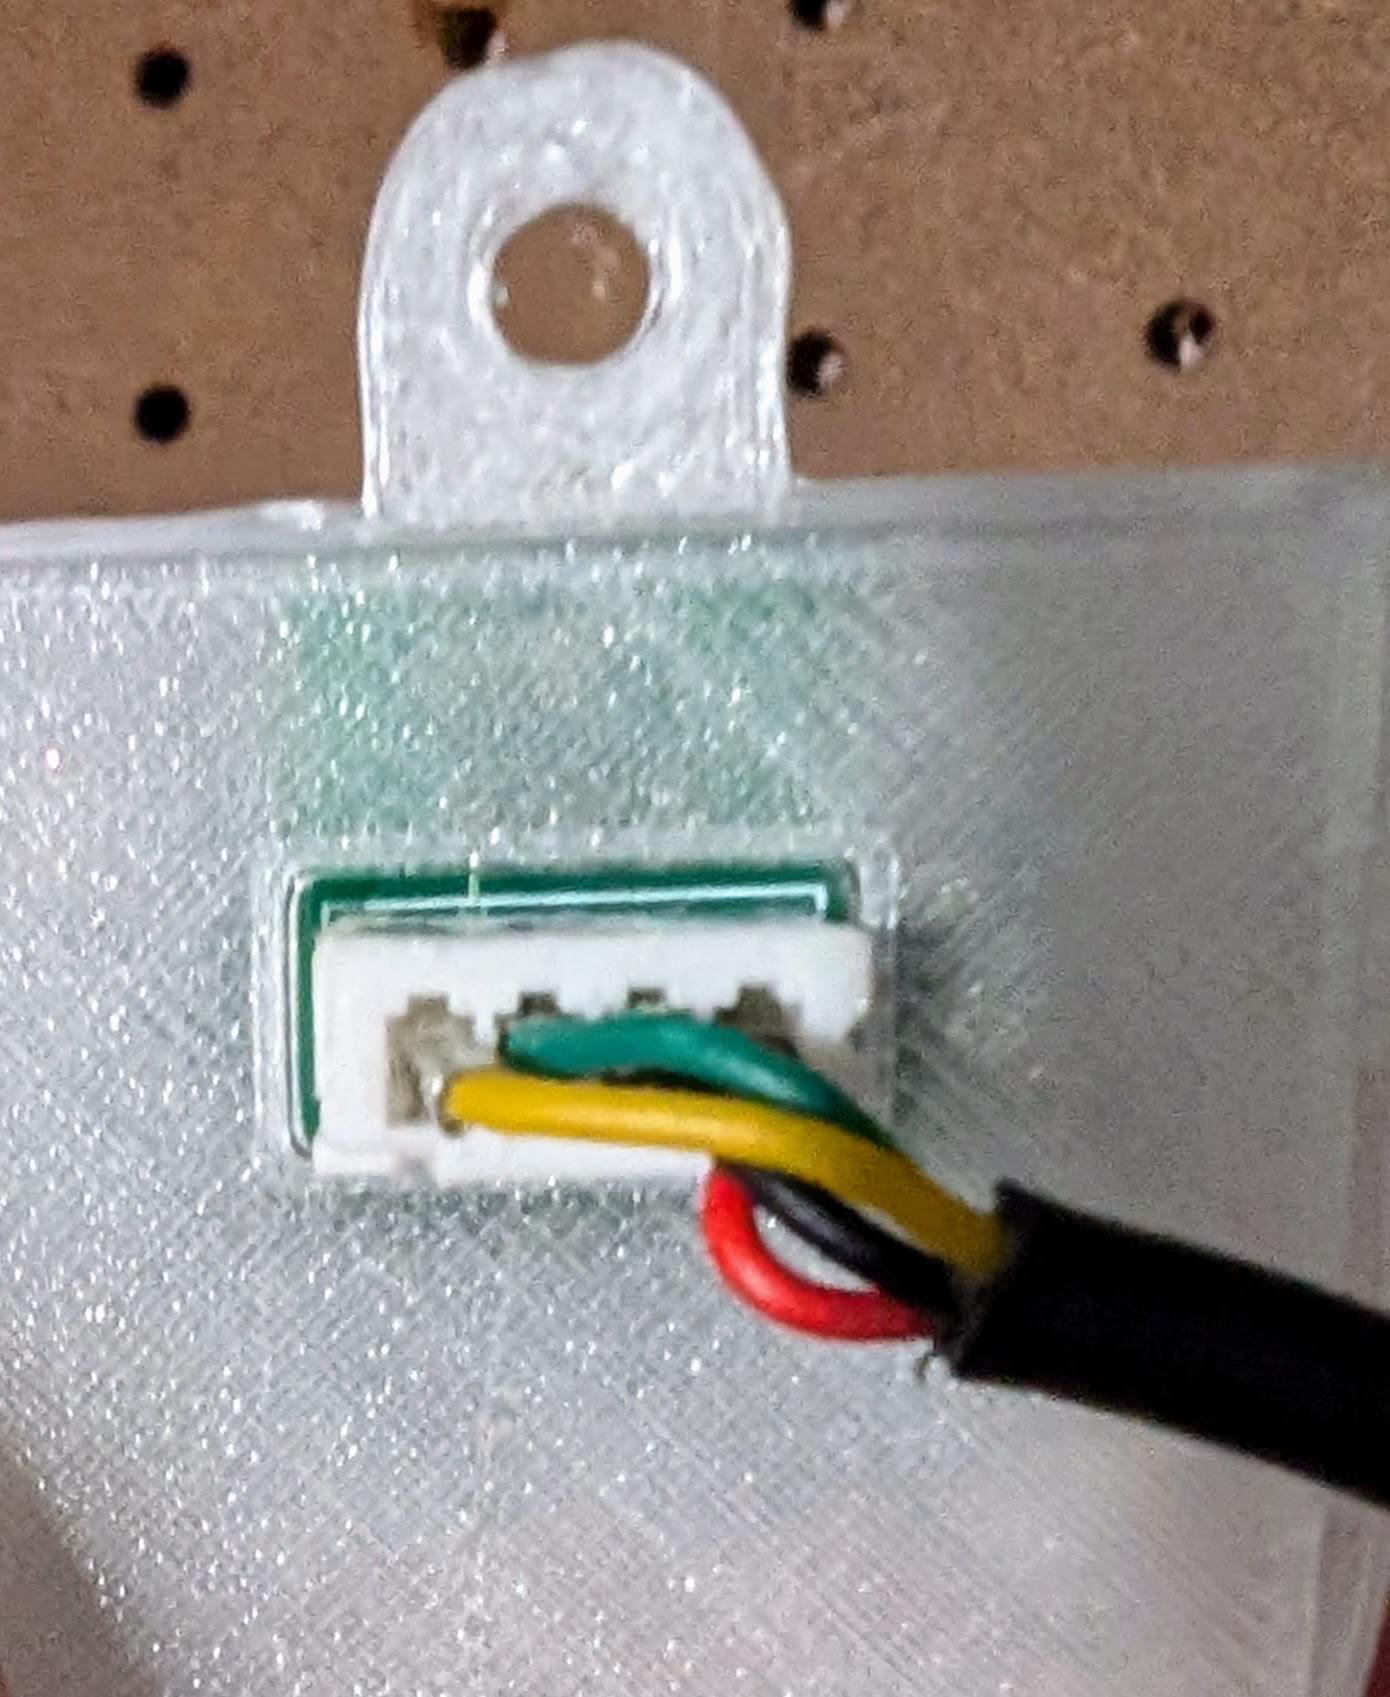
This small board allows a 4-conductor wire with female JST connectors on each side to connect the sensor to the Room133 board. I label the connector for this wire on the PCBA the “PIRL” connector.
Lighting control for two rooms: PIR + light + PIR
To allow the board to support two different PIR sensors, there is an optional 3-pin JST connector which could connect to such a sensor without a photoresistor. I use this to control lights in two different rooms in our basement.
Leak detection
Our basement used to be prone to flooding, until we improved the drain and sump system.
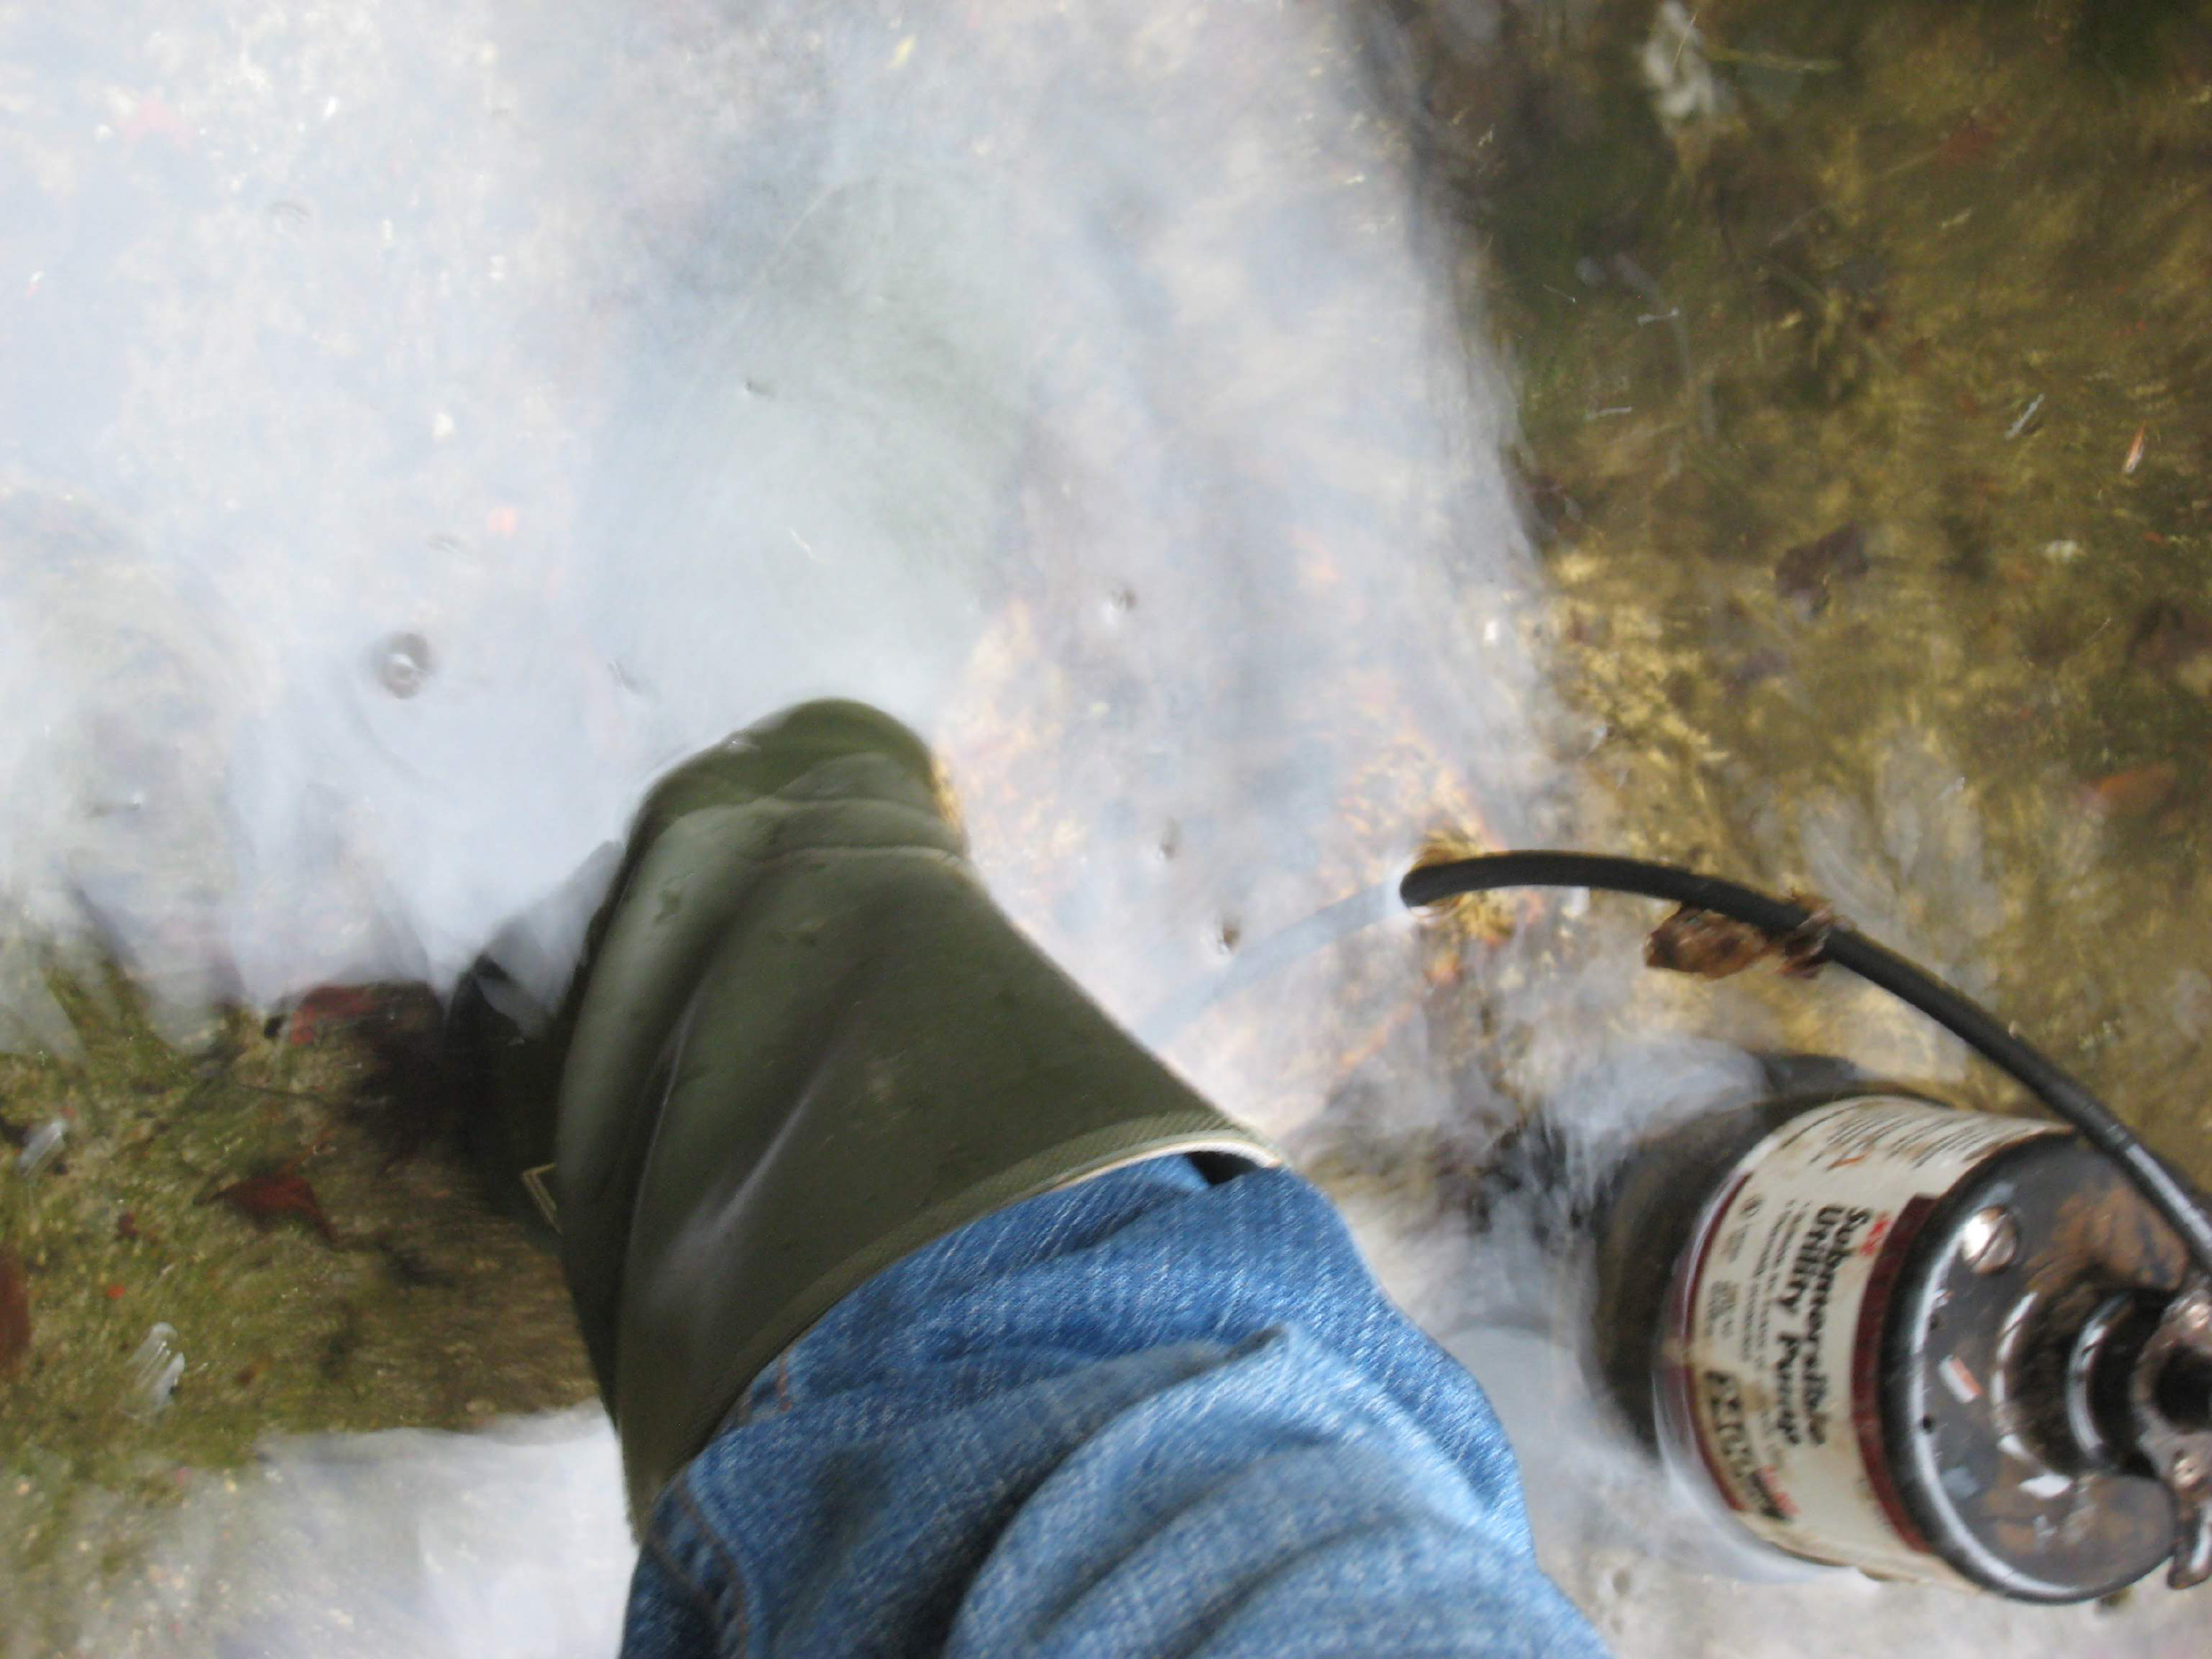
Still, it is best to be able to detect water on the floor, particularly in the area of the sump pump, and in the area near our boiler and hot water heater.
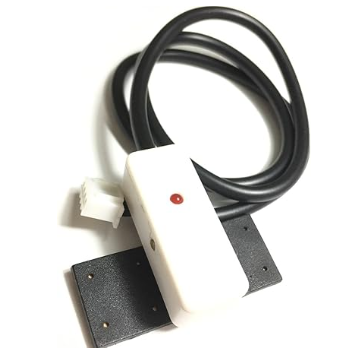
I tried a LevelSense10 flood and leak detector, and it seems to work pretty well.
I think this is basically just a couple conductors and a bipolar junction transistor (BJT) for
amplifying current flow between them for easier detection.
These boards in the basement also support the PIR sensor connector along with the leak detector.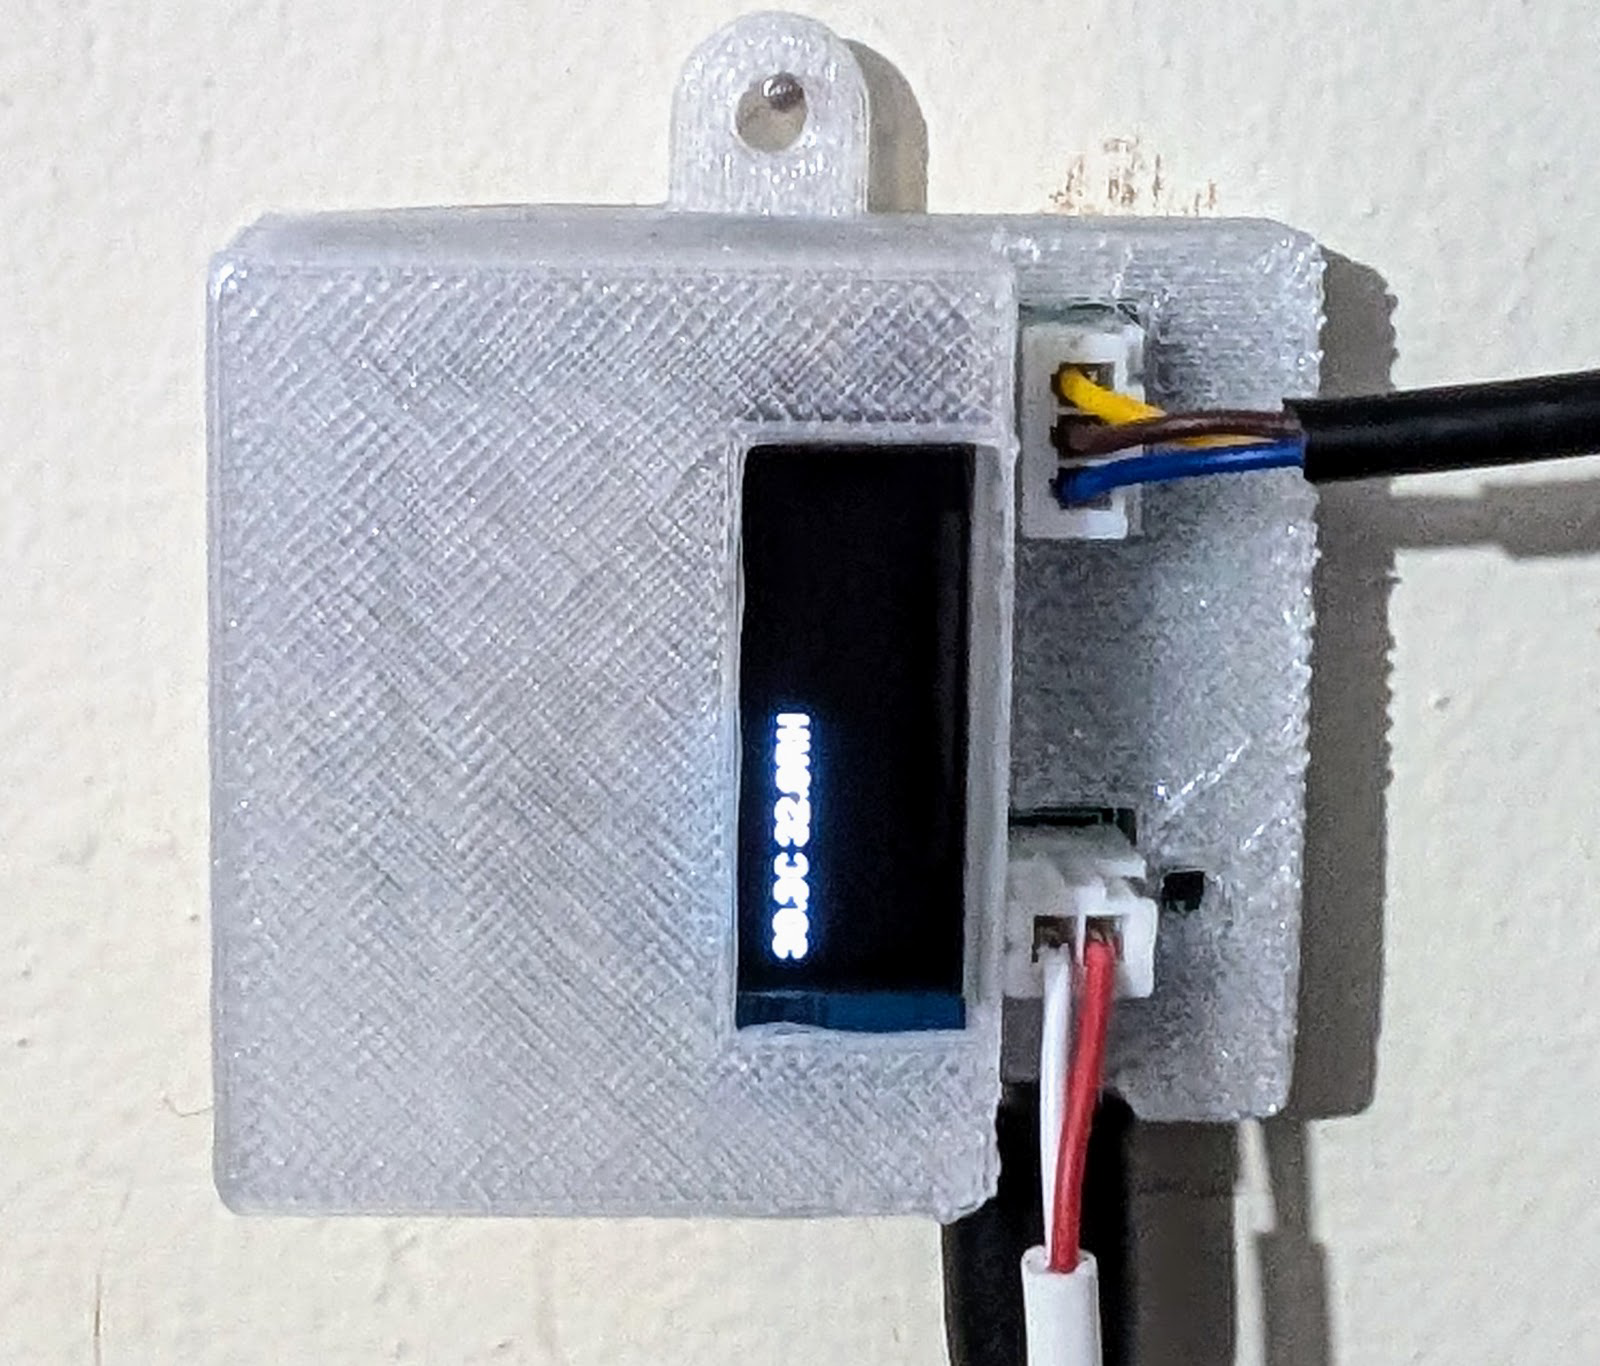
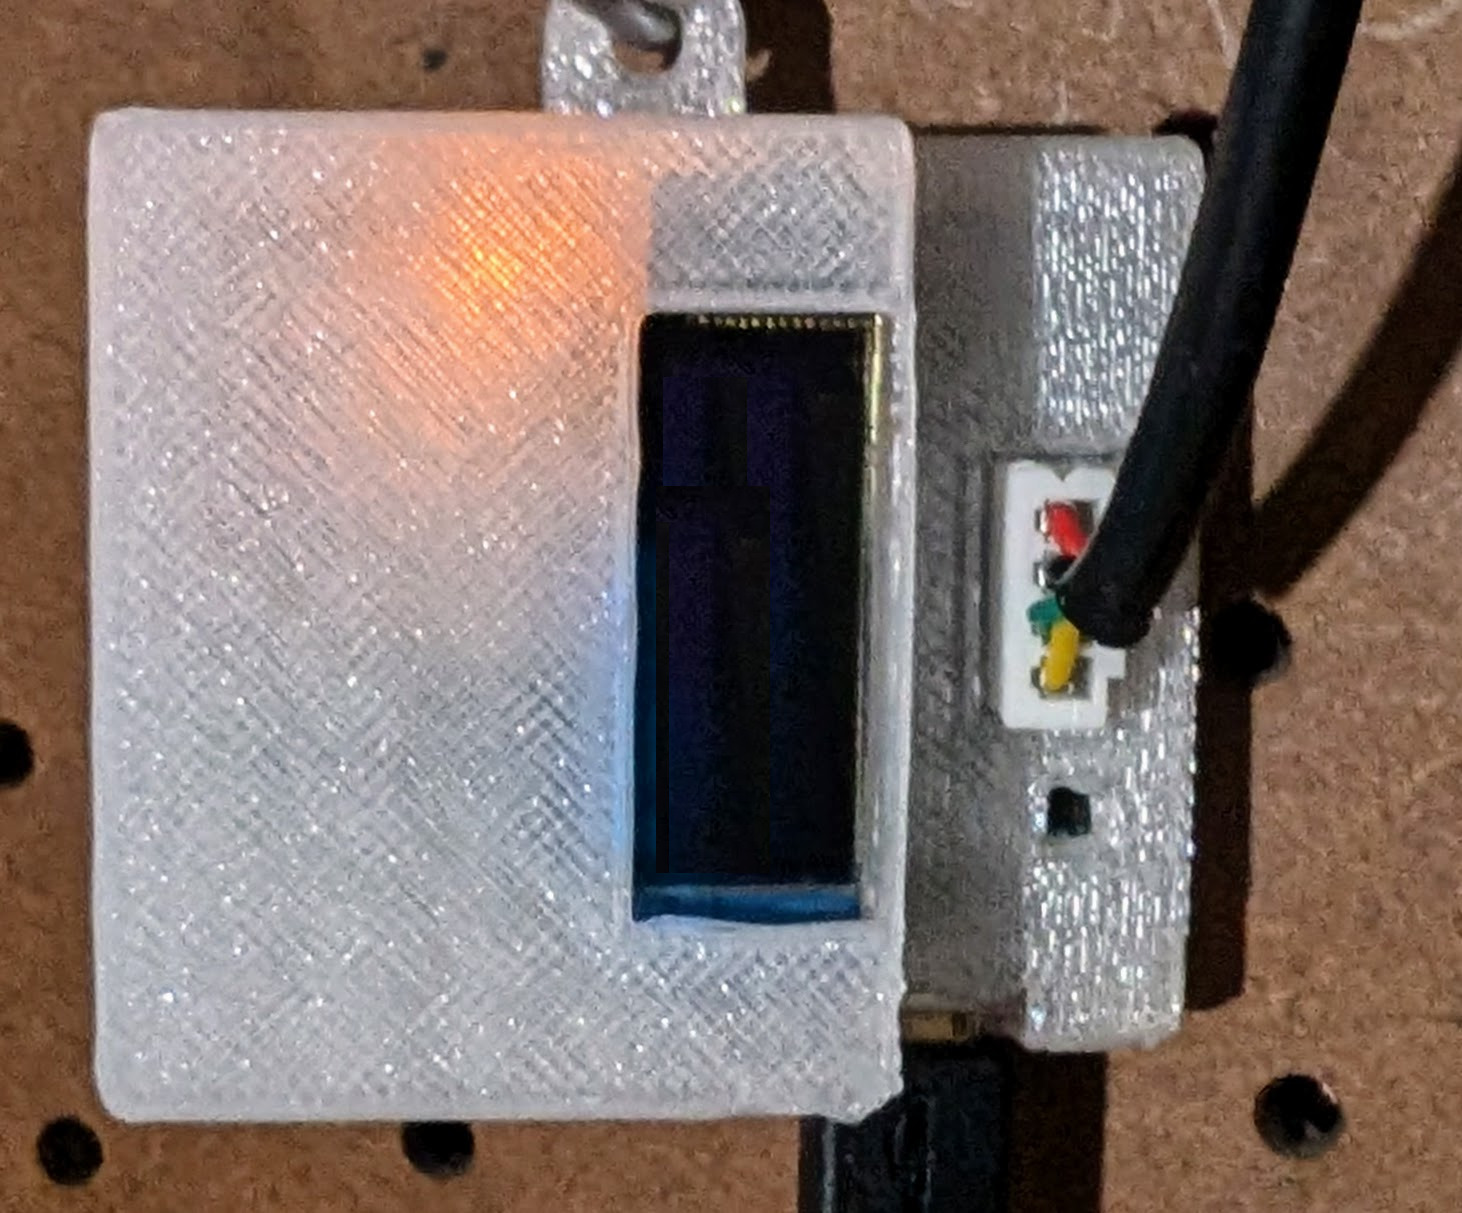
Boiler monitor
Our house is mostly heated by steam heat. Over time some steam leaks from the system. The water level in the boiler goes down, and we need eventually to add more water into the boiler tank. If we don’t add water, the water level will go down to the point where the boiler will stop running, and our house will no longer be heated. I found a sensor which could be mounted on gauge glass which can detect the presence or absence of water inside the glass.
It can be mounted to detect when the boiler should be refilled, before the boiler disables itself.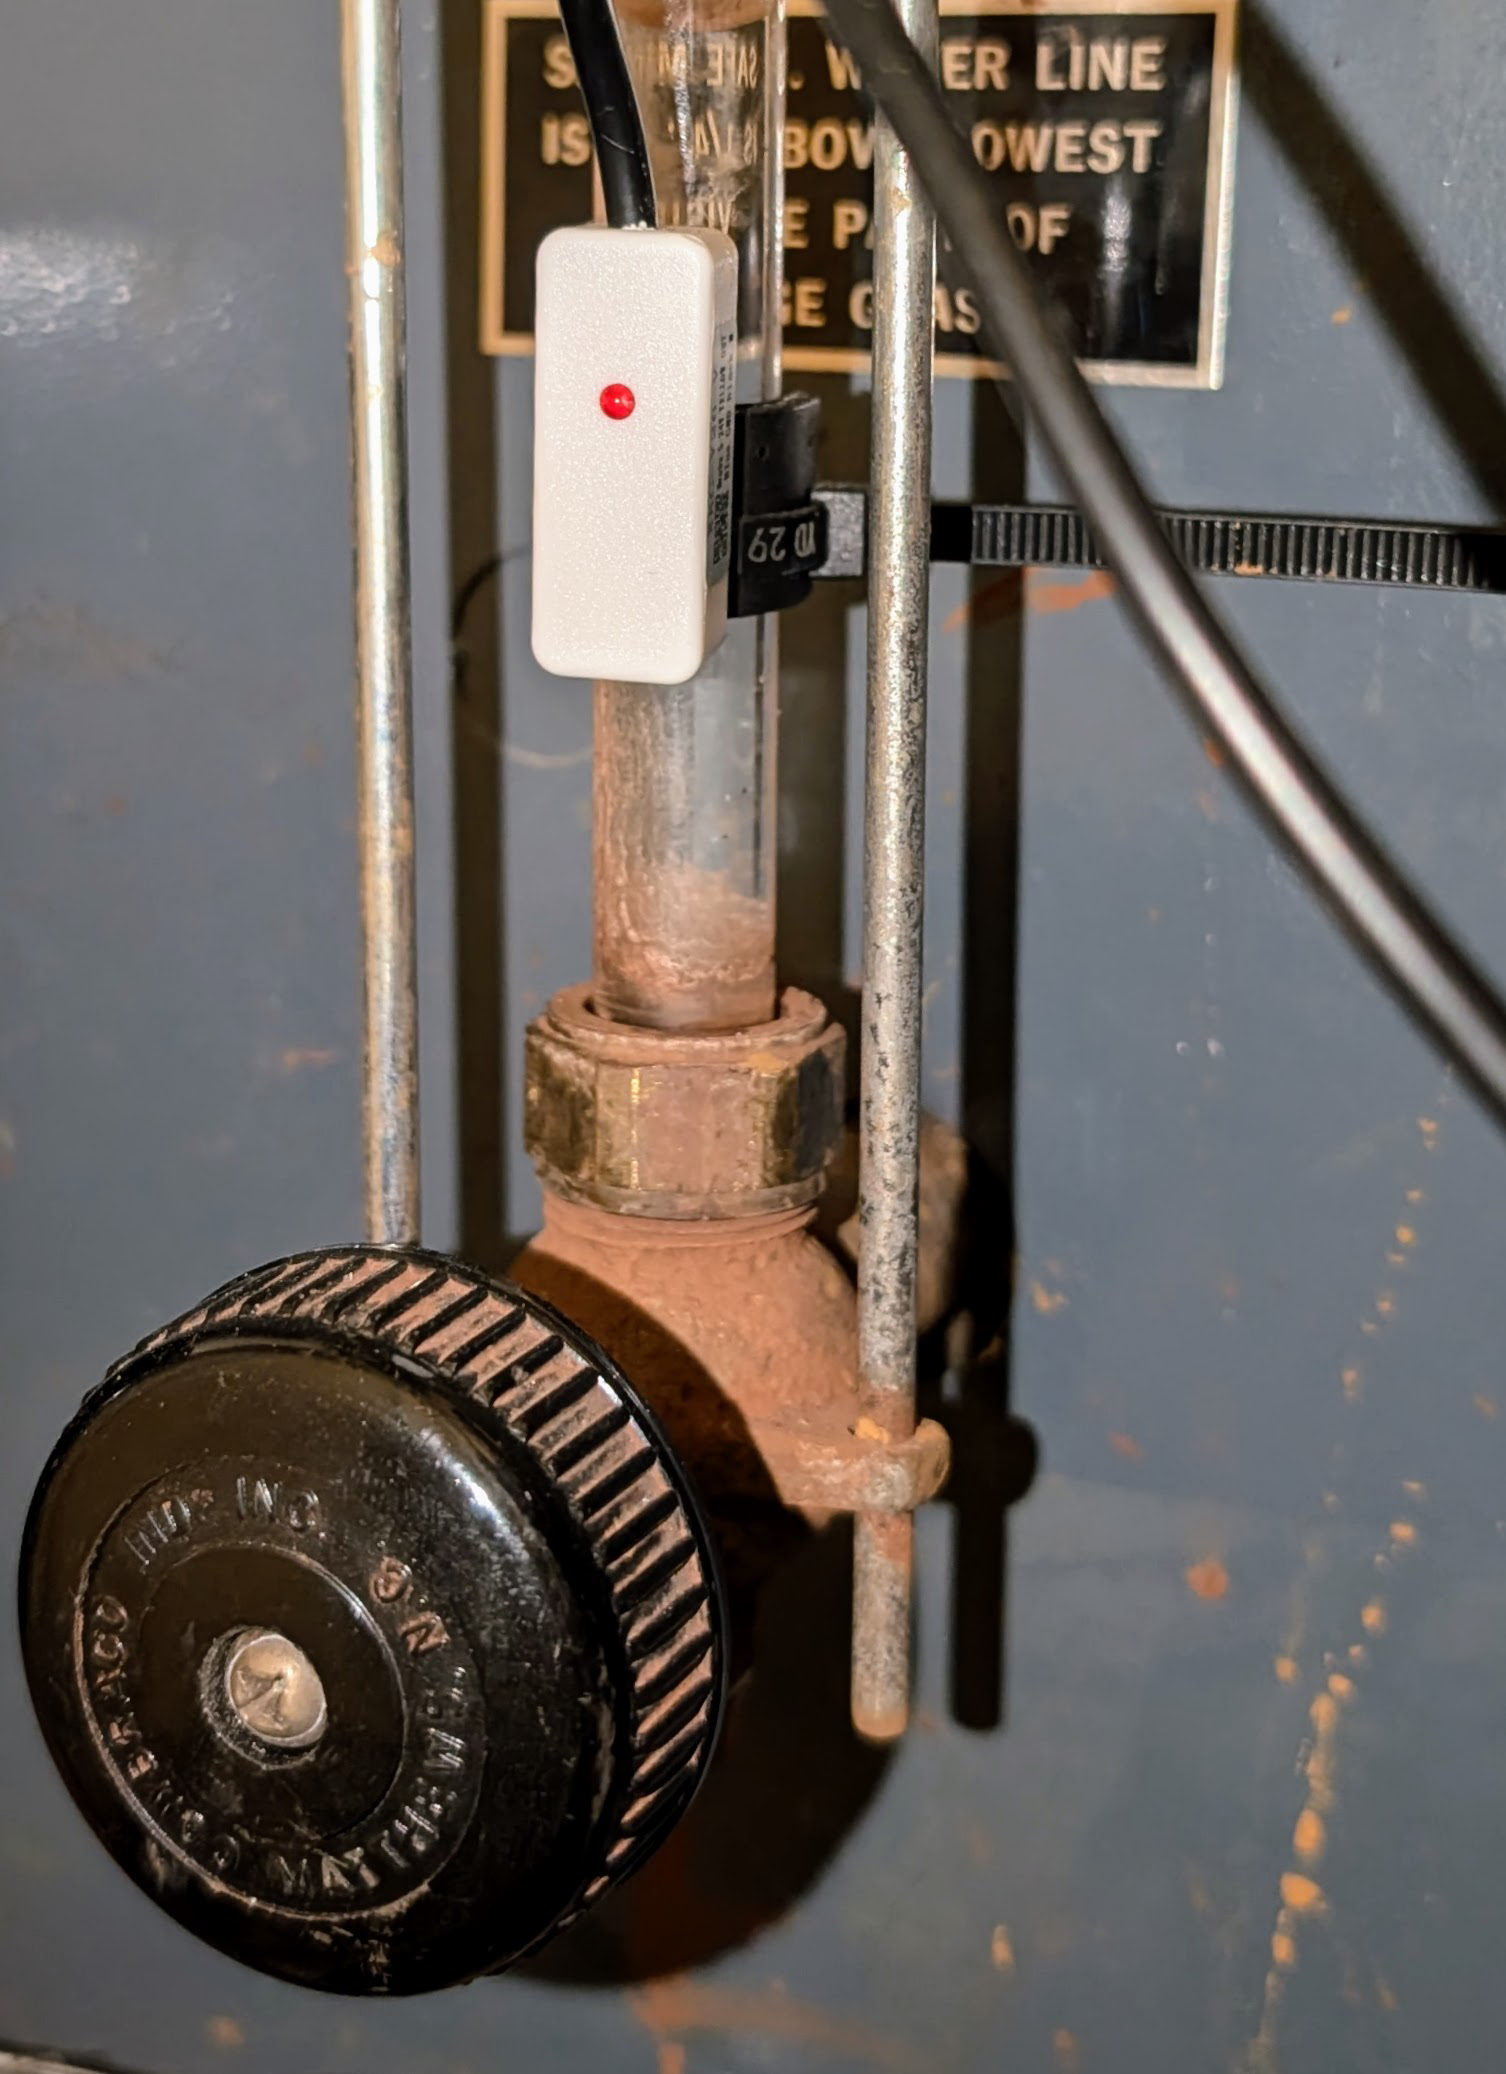
Initially, I made a custom perfboard with a Wemos mini microprocessor to interface with this
sensor.
With my
boiler software and an adapter cable,
the Room133 board can monitor the sensor.
This allows us to use Home Assistant to send notifications to our phone when the boiler needs
to be refilled.
Presence detection with radar
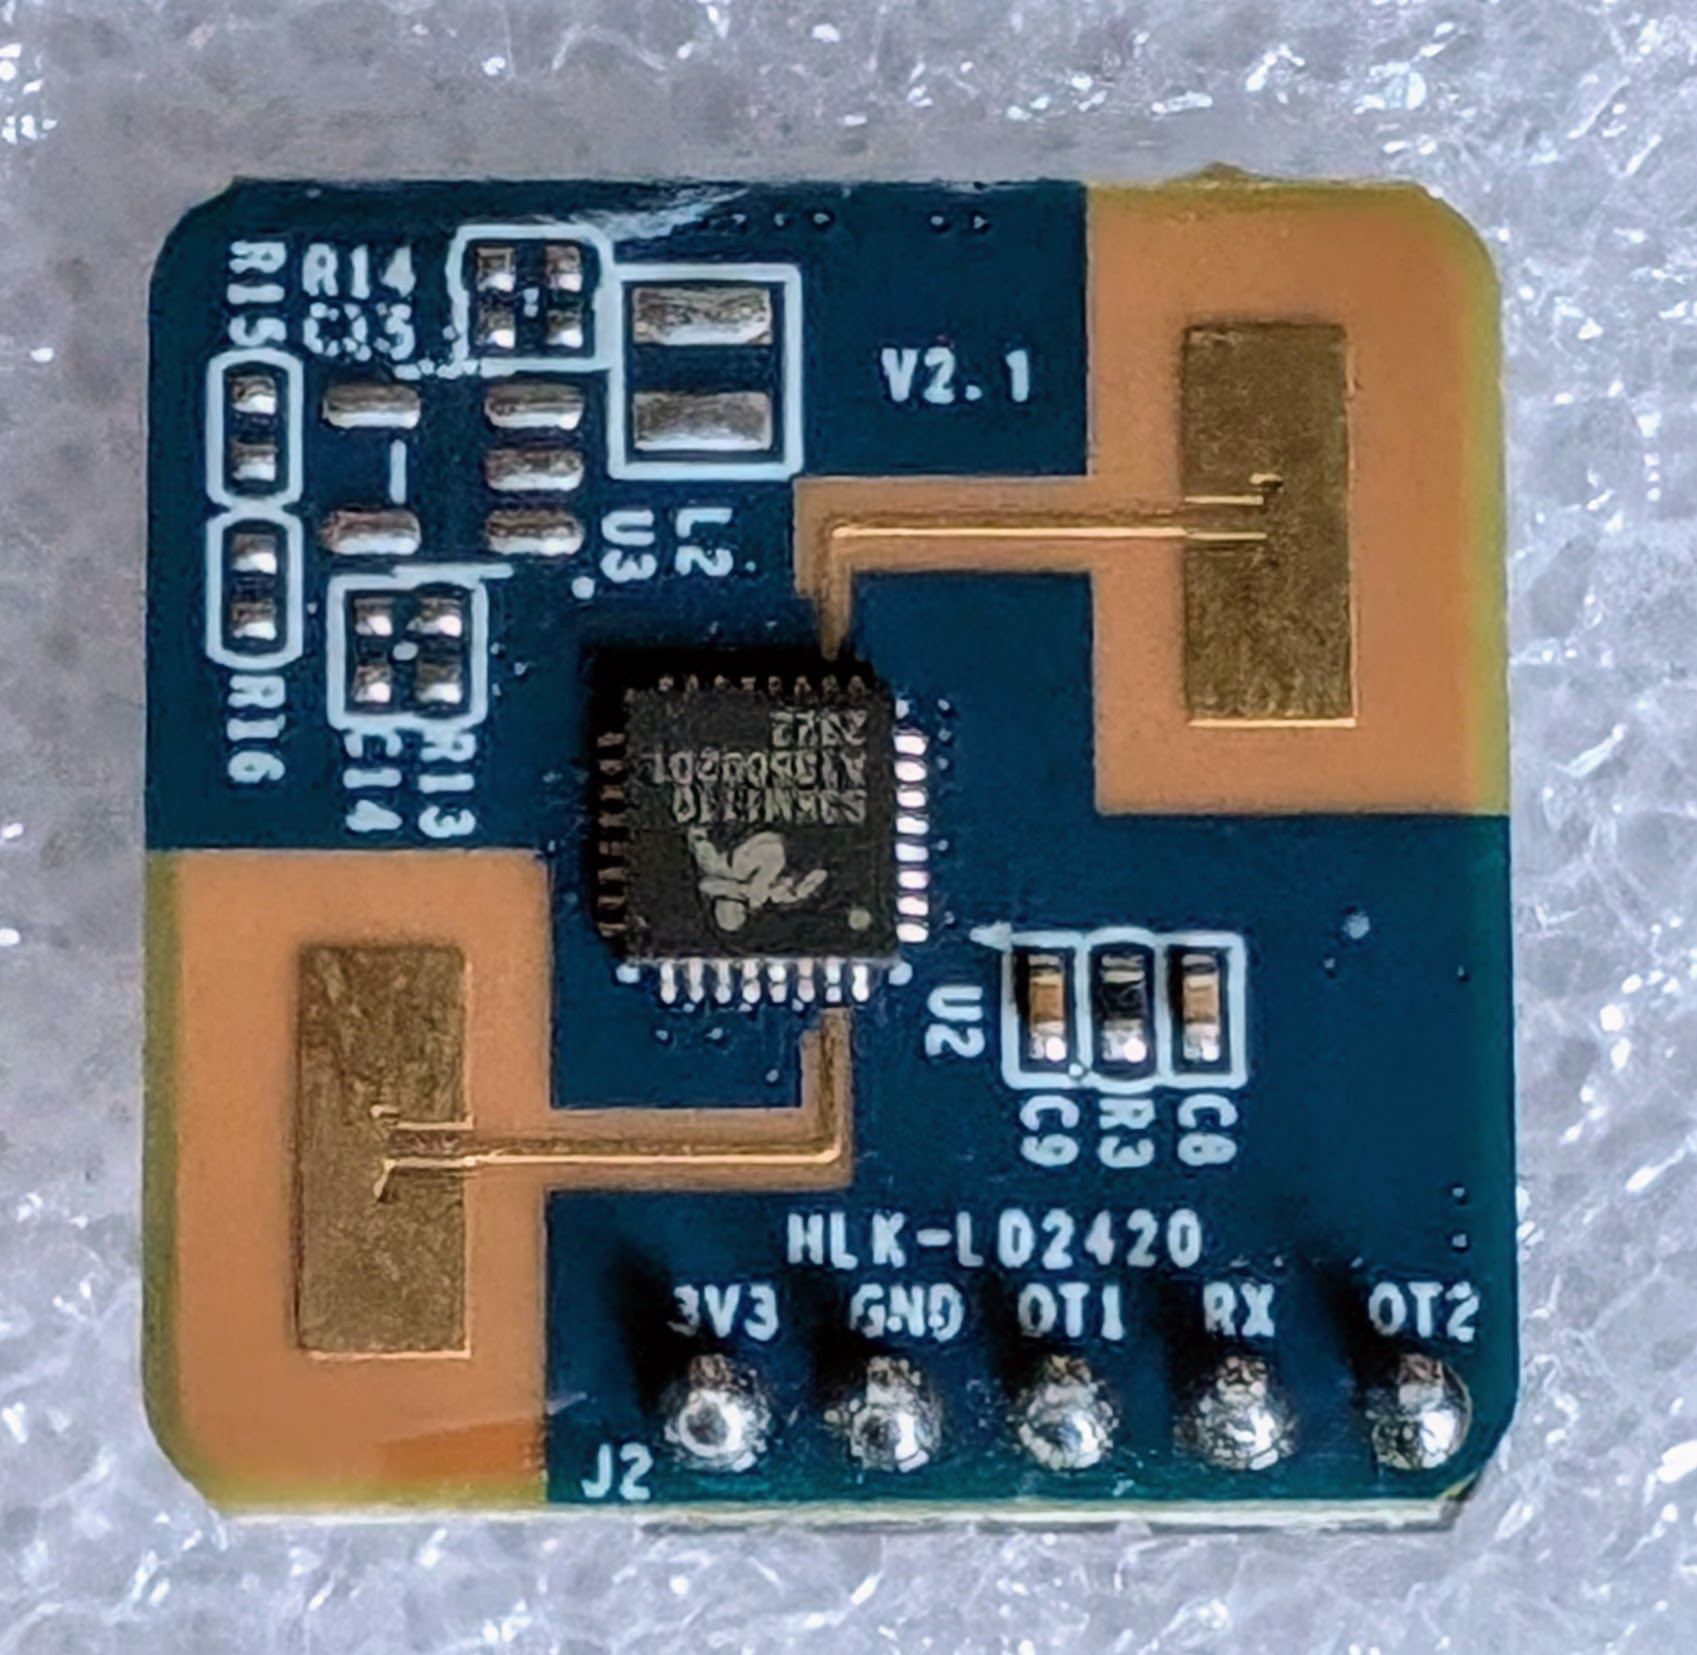
Lately it has become possible to find very inexpensive presence detection modules which use millimeter wave radar. These can detect the presence of people even when they are sitting still.
The Smart Home Scene blog has good information about these sensors and how to make DIY versions using Hi-Link modules, ESP32 dev-boards, and ESPHome software. In particular, this blog entry is a good tutorial for using the LD2410 module. In the end, I found that the LD2420 module is easy to integrate with the Room133 board for presence detection, and much less complicated to setup.
I added an optional header to the board which the module can plug into such that it
sits in front of the board but does not interfere with the ESP32 module’s WiFi
antenna.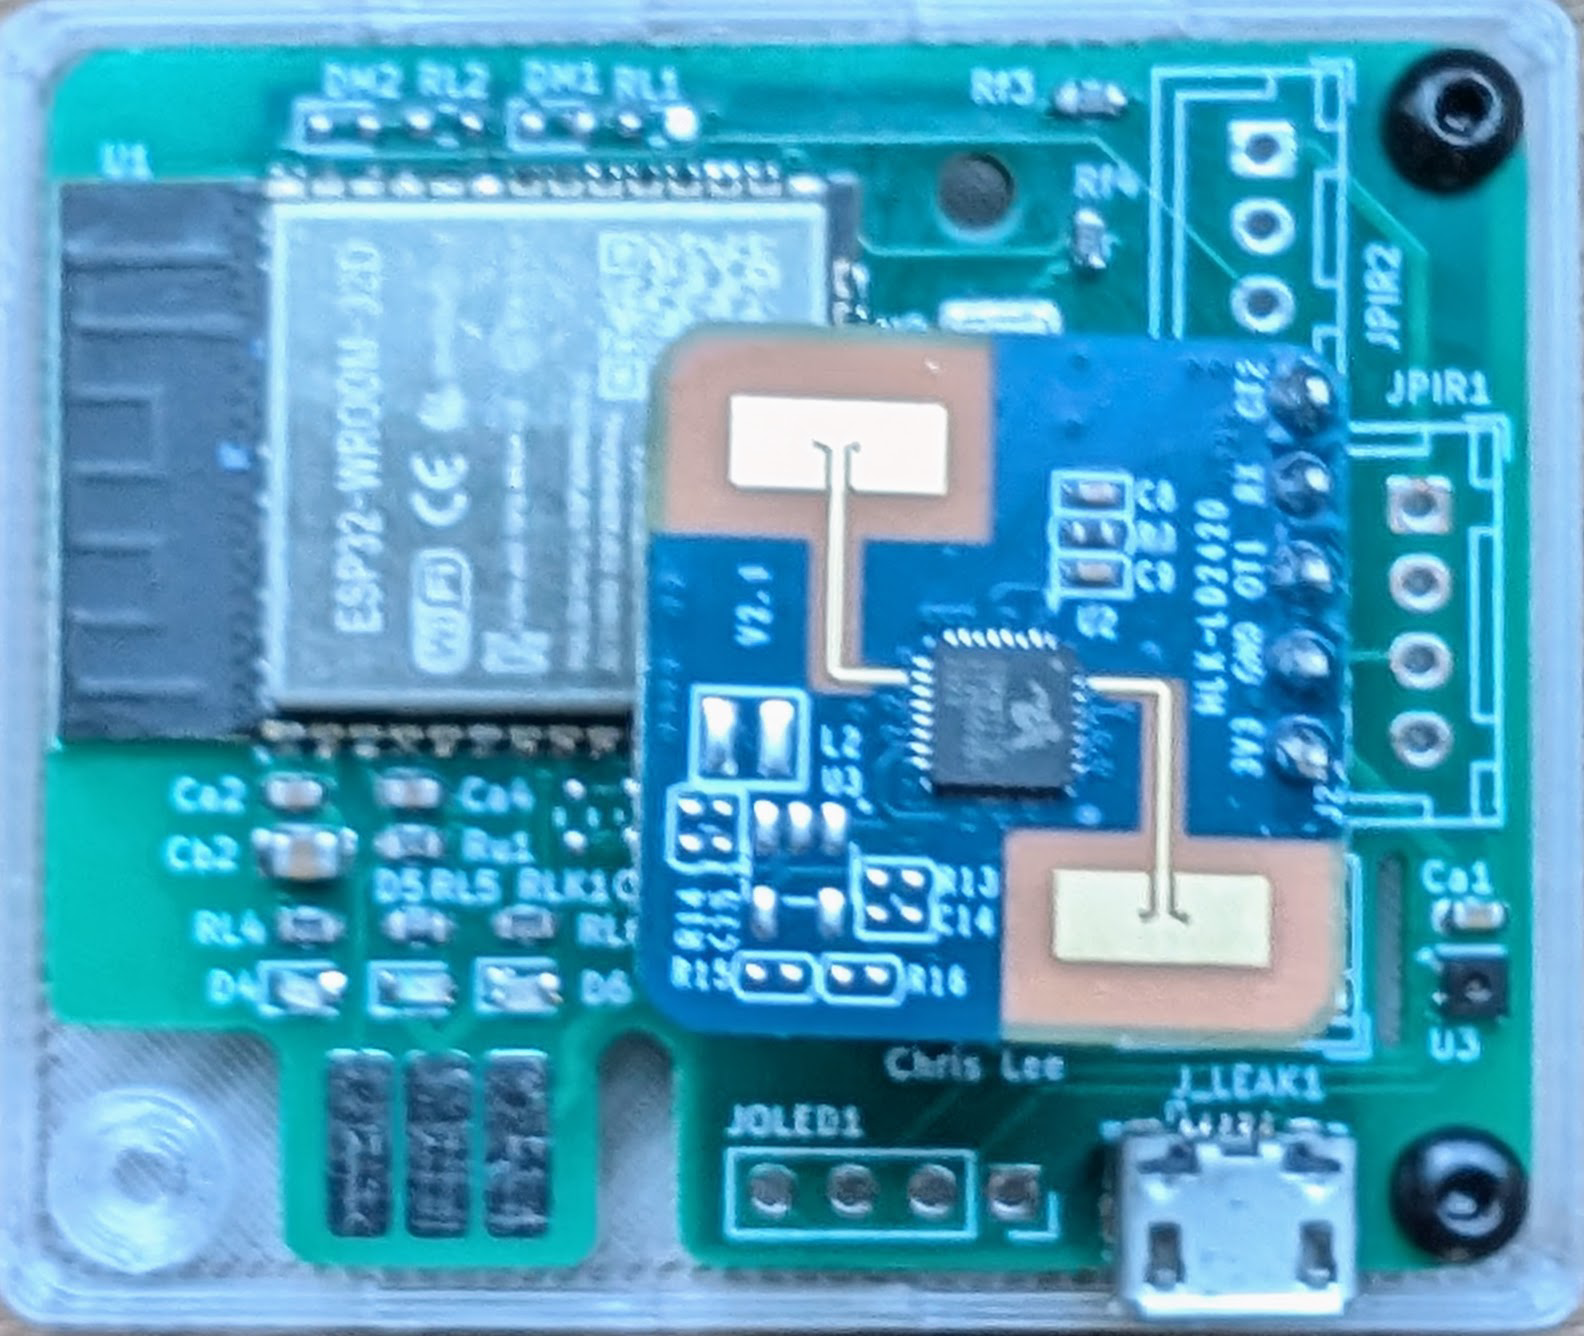
I use the ESPHome integration for this sensor to integrate it with the Home Assistant system in my house.
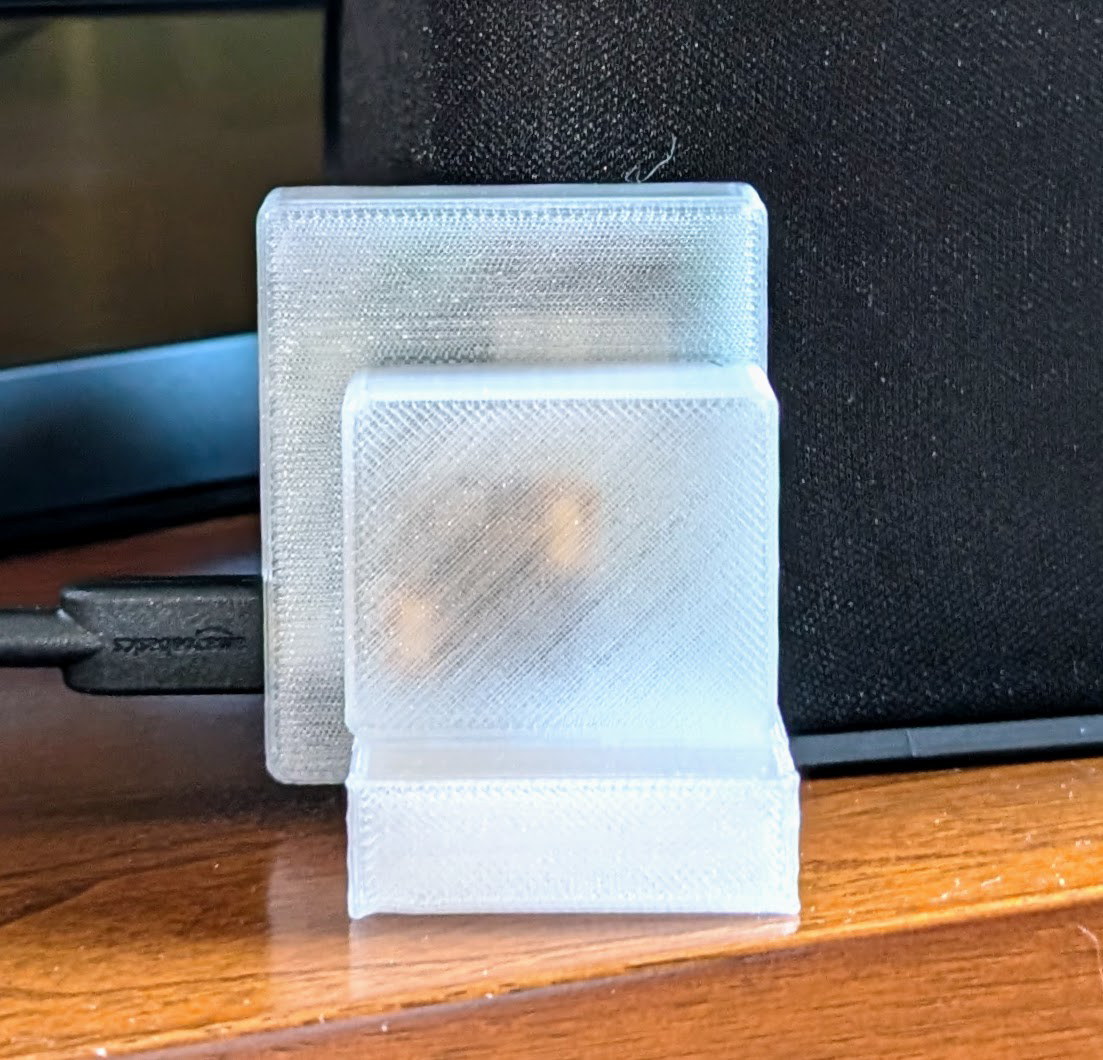
My EBox system for the Plant133 board has an option to make space for this sensor. The radar sees through the plastic of the box.
Hardware components used
Here is a summary of where the microprocessor and sensors used in Room133 configurations can be purchased.
| Component | Purpose | Approximate cost | Link |
|---|---|---|---|
| ESP32-WROOM-32D | Compute, Wifi, Bluetooth | $1.60 | AliExpress |
| HC-SR501 | Motion detection (passive infrared) | $1 | AliExpress |
| Photoresistor | Detect light level | $0.16 | Amazon |
| Floor water sensor | Leak detection | $15 | Amazon |
| Water Level Sensor | Boiler water level detection | $14 | Amazon |
| Hi-Link HLK-LD2420 | Radar presence detector | $2 | AliExpress |
| SHTC3 | Temperature/humidity sensor | $0.90 | AliExpress |
References
Home Assistant is a popular Open Source home automation platform. It is the hub for my own smart home, and it is fun to work with. ↩︎ ↩︎
ESPHome is a system for building firmware for microcontrollers particularly for use in Home Automation applications. Specification for what the firmware should do is written in simple YAML files. ↩︎ ↩︎
PlatformIO is an open source framework for compiling/uploading embedded software, and managing libraries used by this software. ↩︎
OpenSCAD is an open source program implementing a programming language for building 3D models. It is a way to build models using solid modeling primitives. ↩︎
ESP32: a family of microcontrollers made by Espressif Systems. A successor to the ESP8266 microcontroller. ↩︎
SHTC3 module ( AliExpress) ( Datasheet) ↩︎
og3is my C++ utility library for ESP microprocessors, published on GitHub. ↩︎The MQTT protocol ( Wikipedia) is useful for IOT (Internet of Things) applications. ↩︎